IMATS Toronto 2013

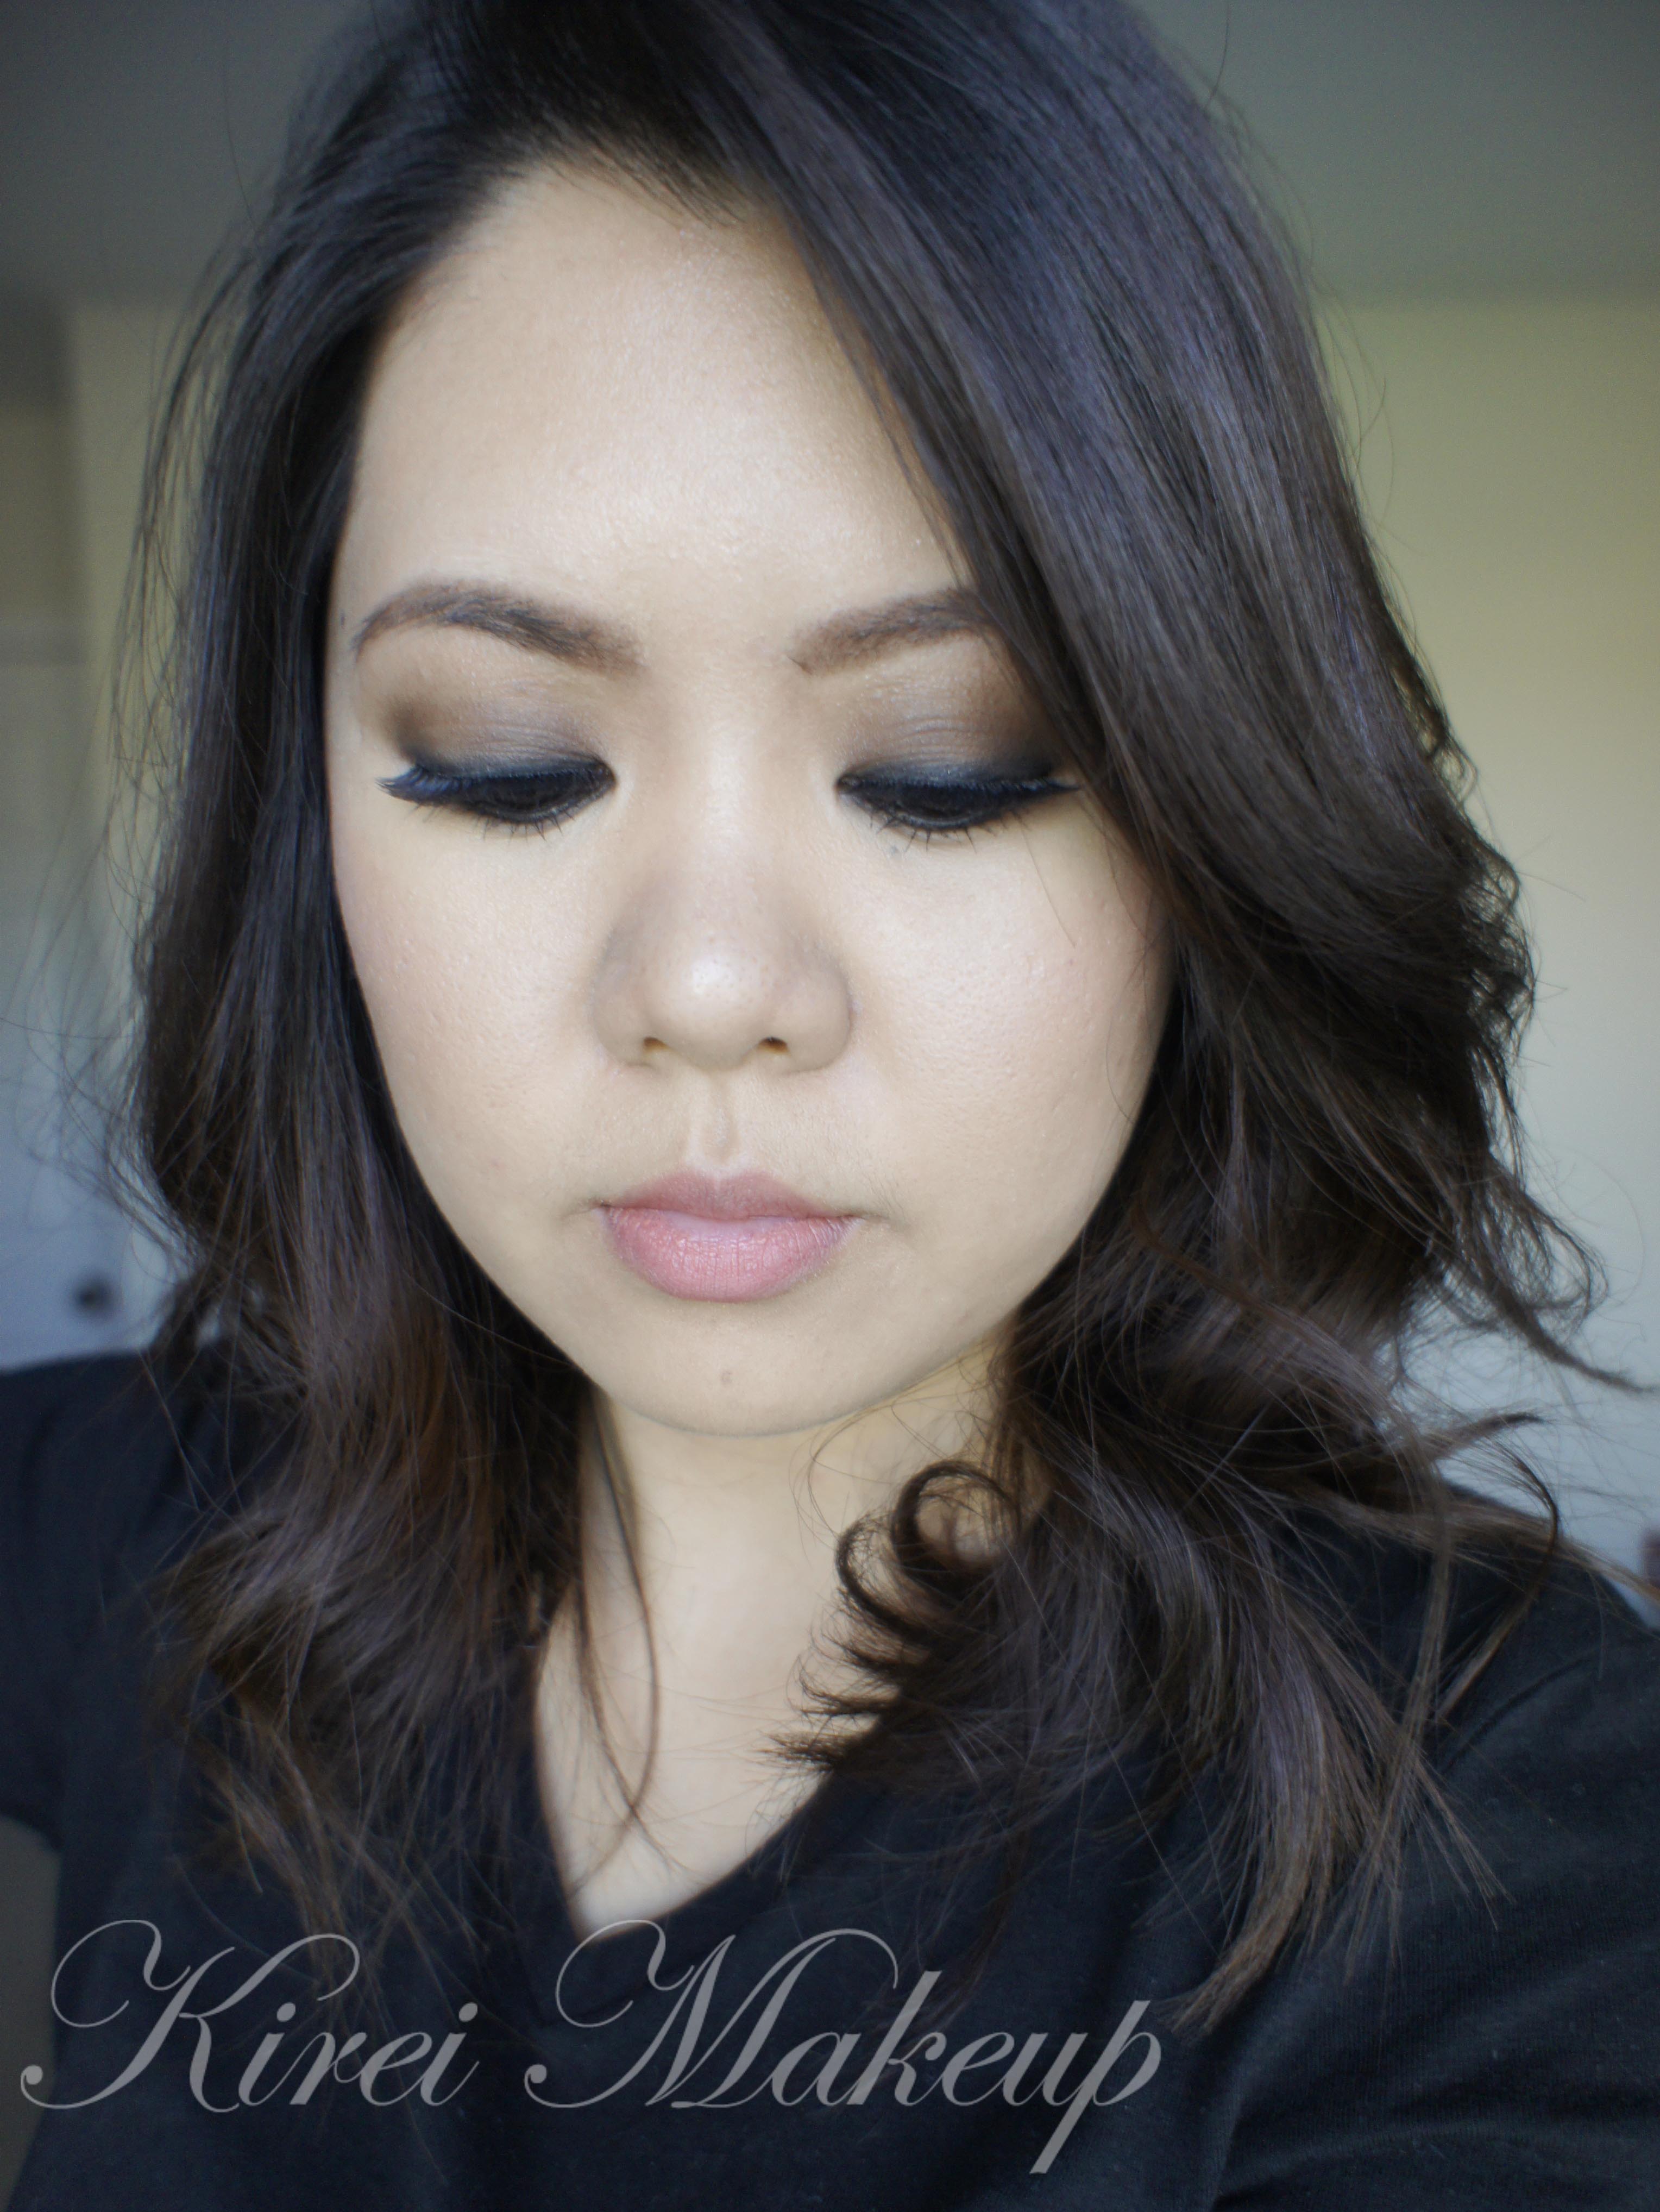
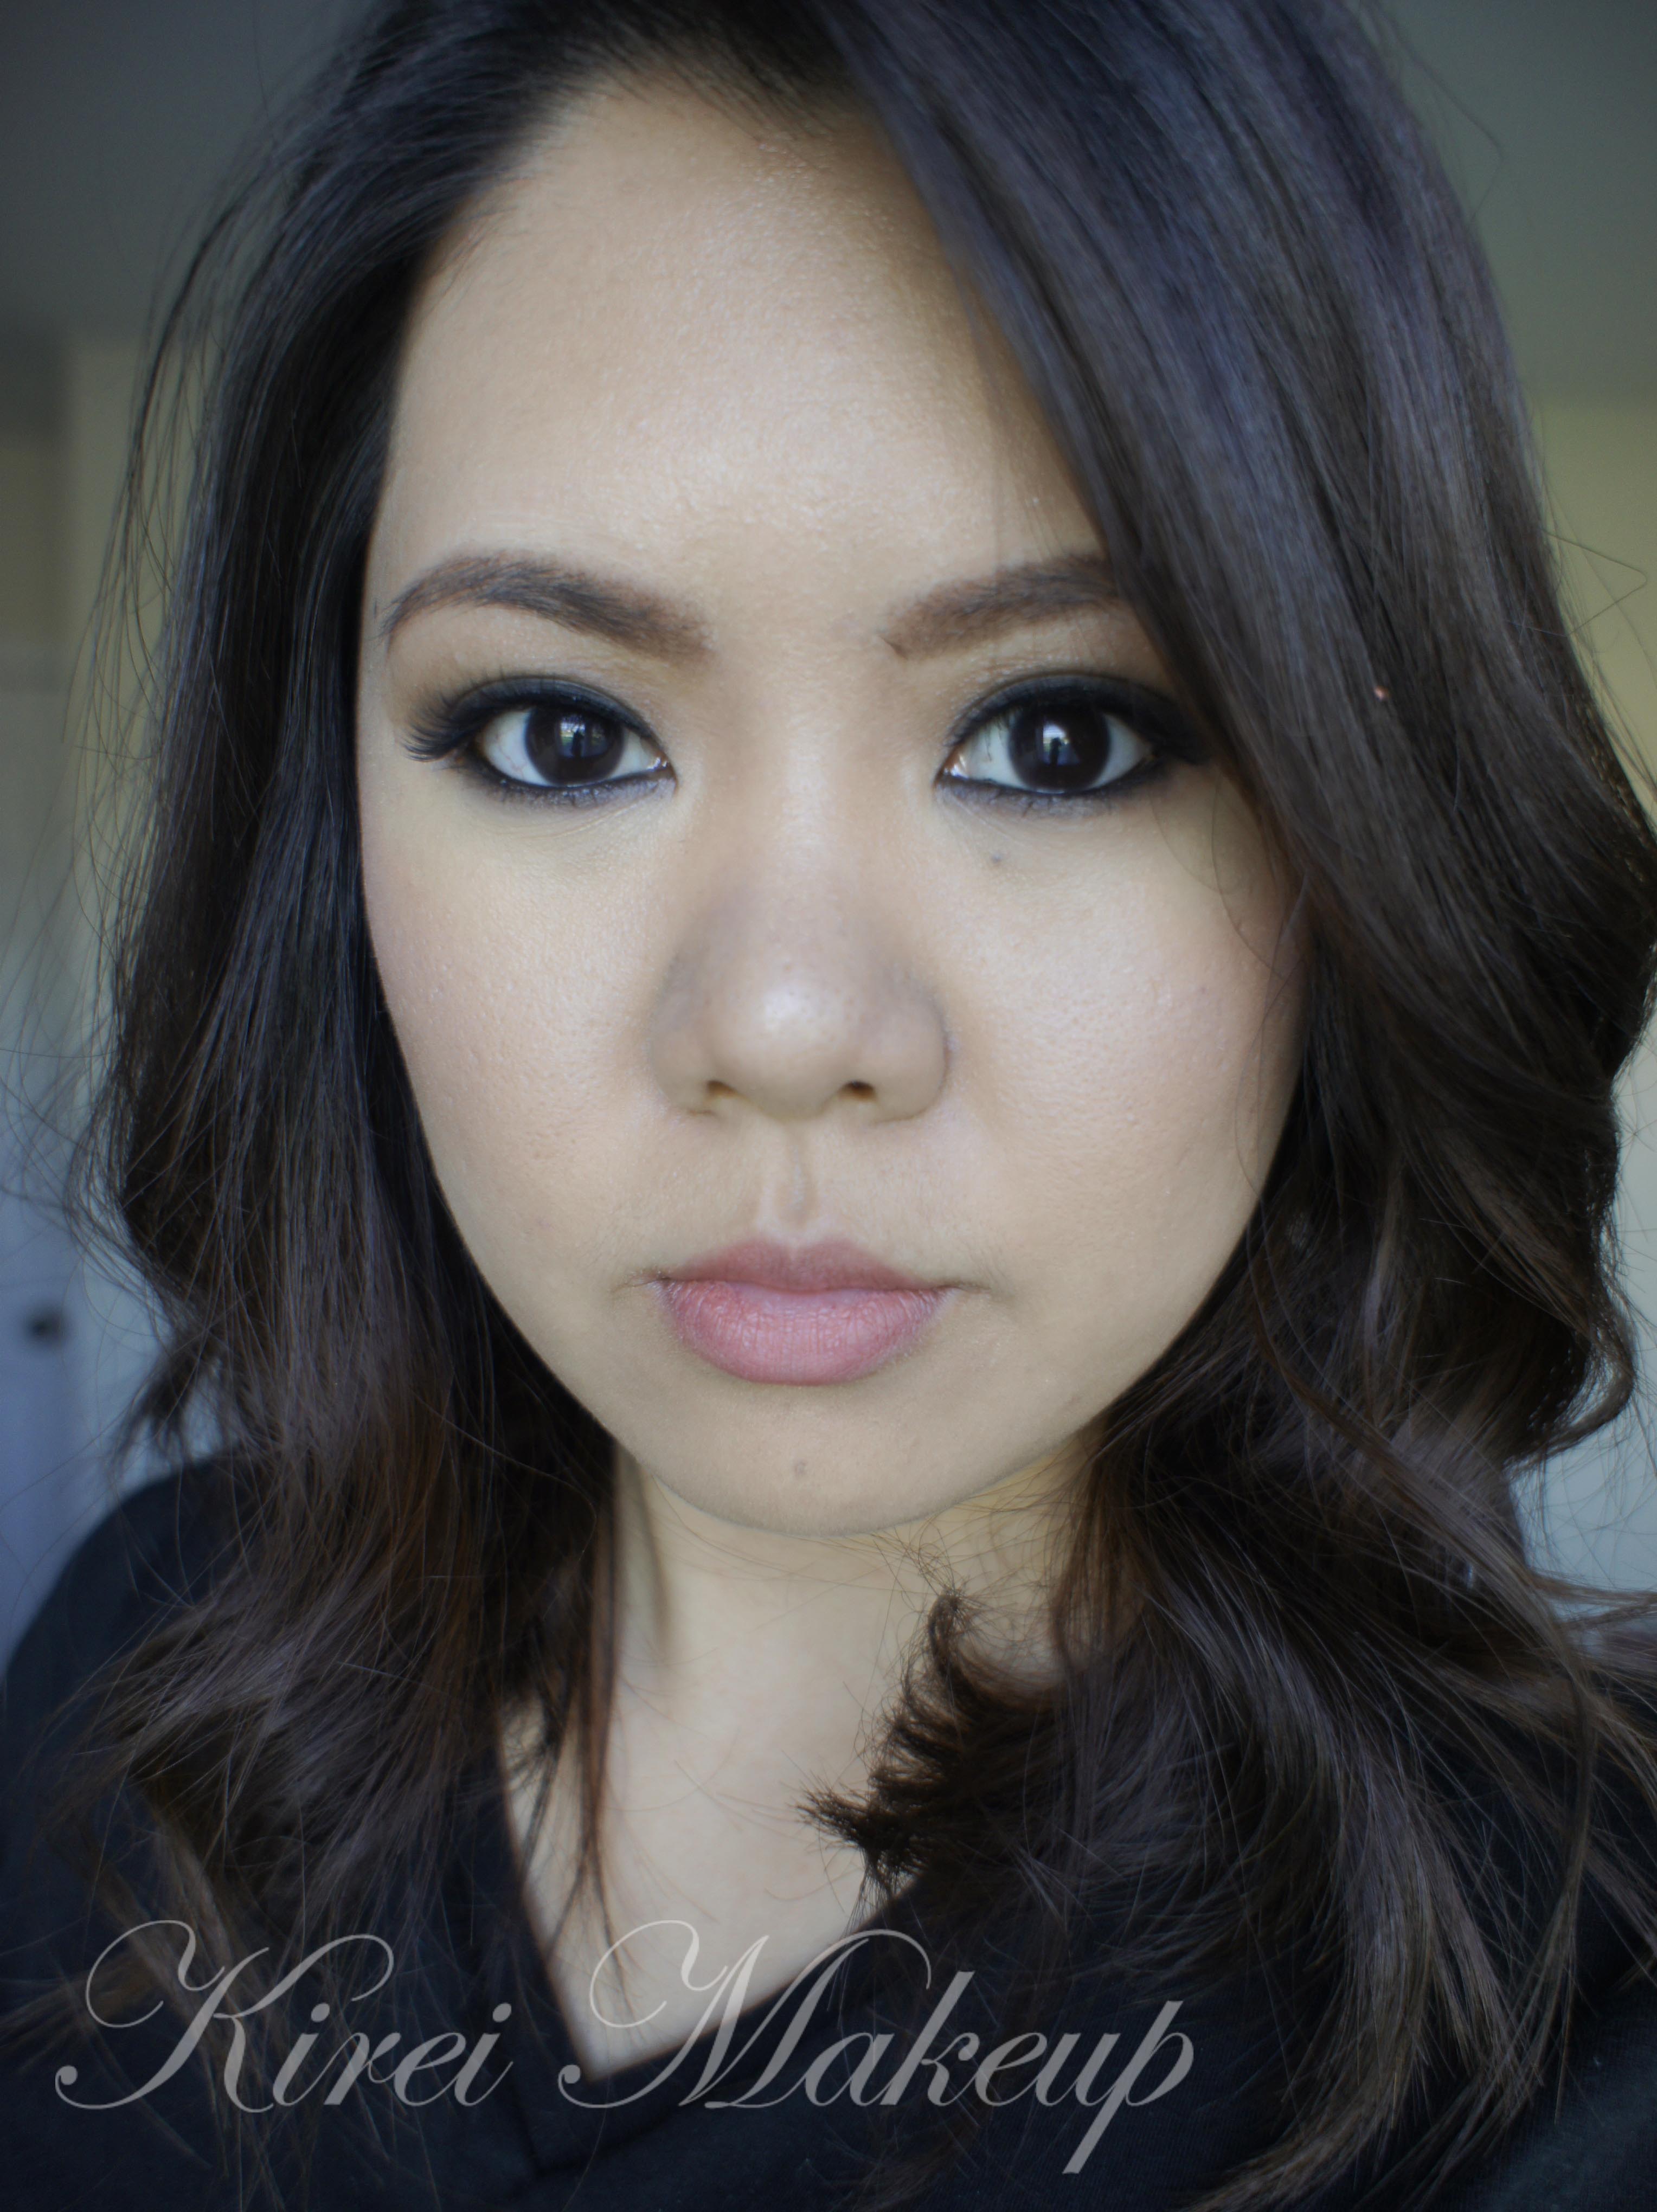
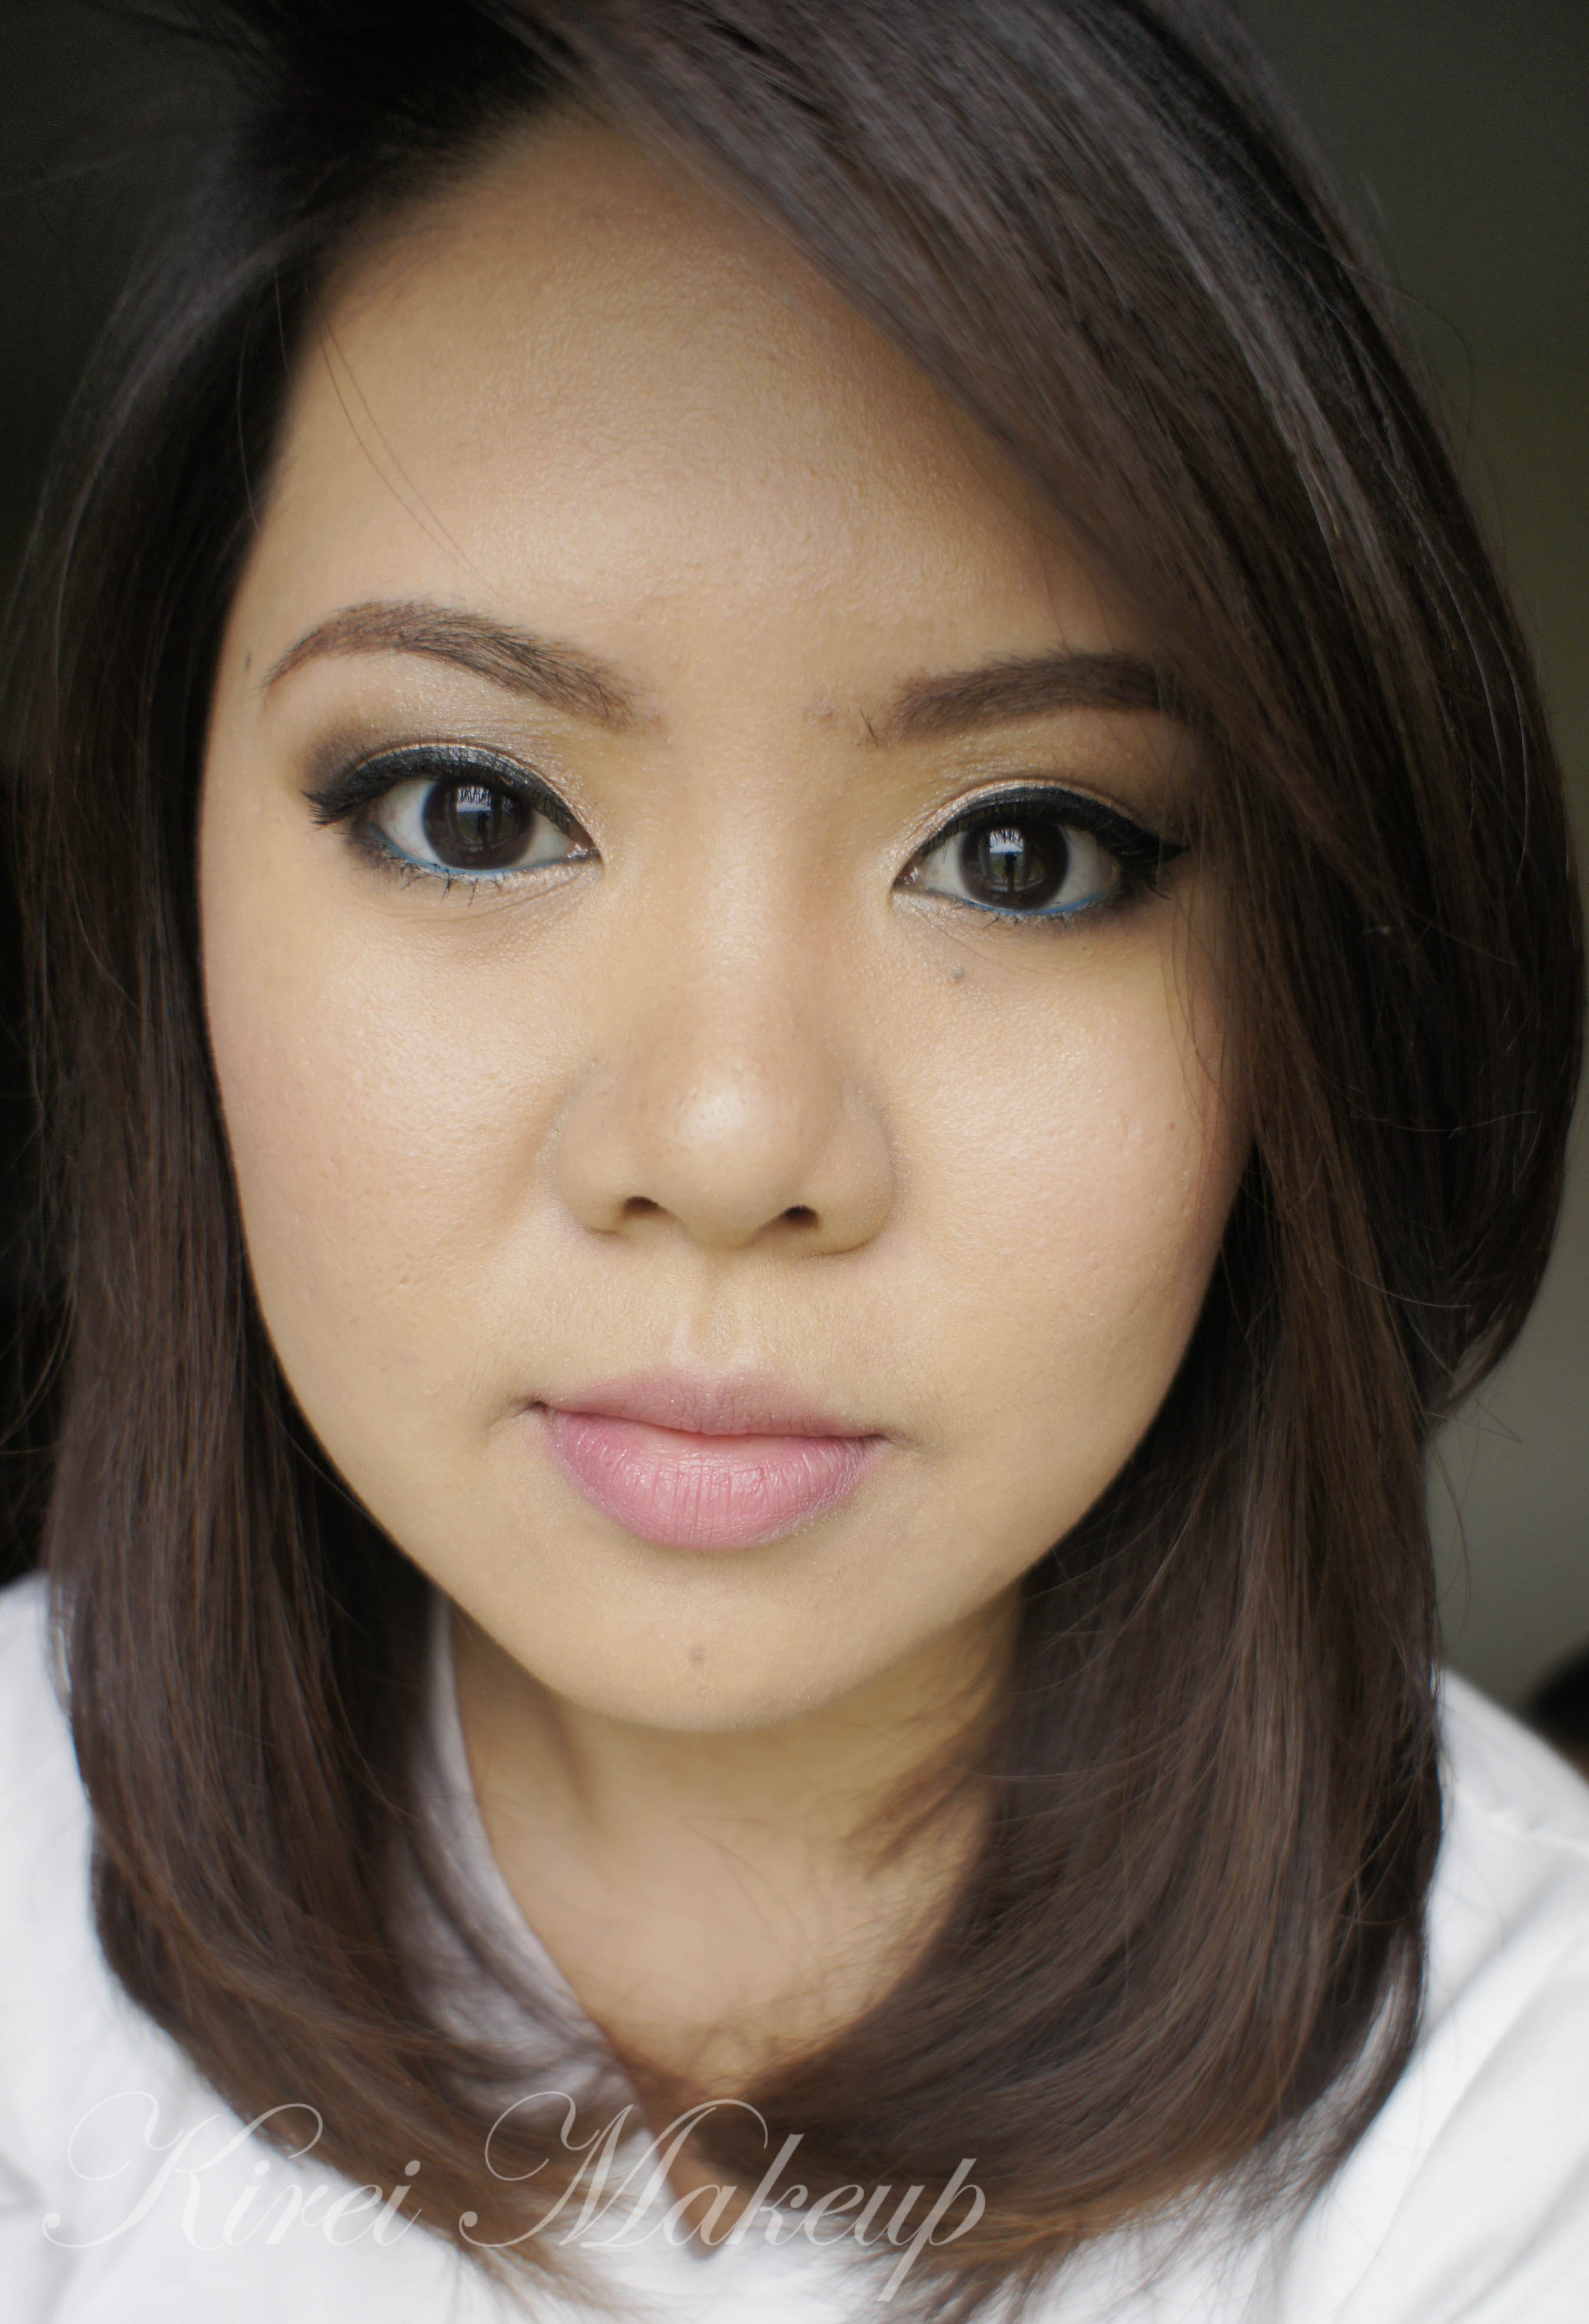
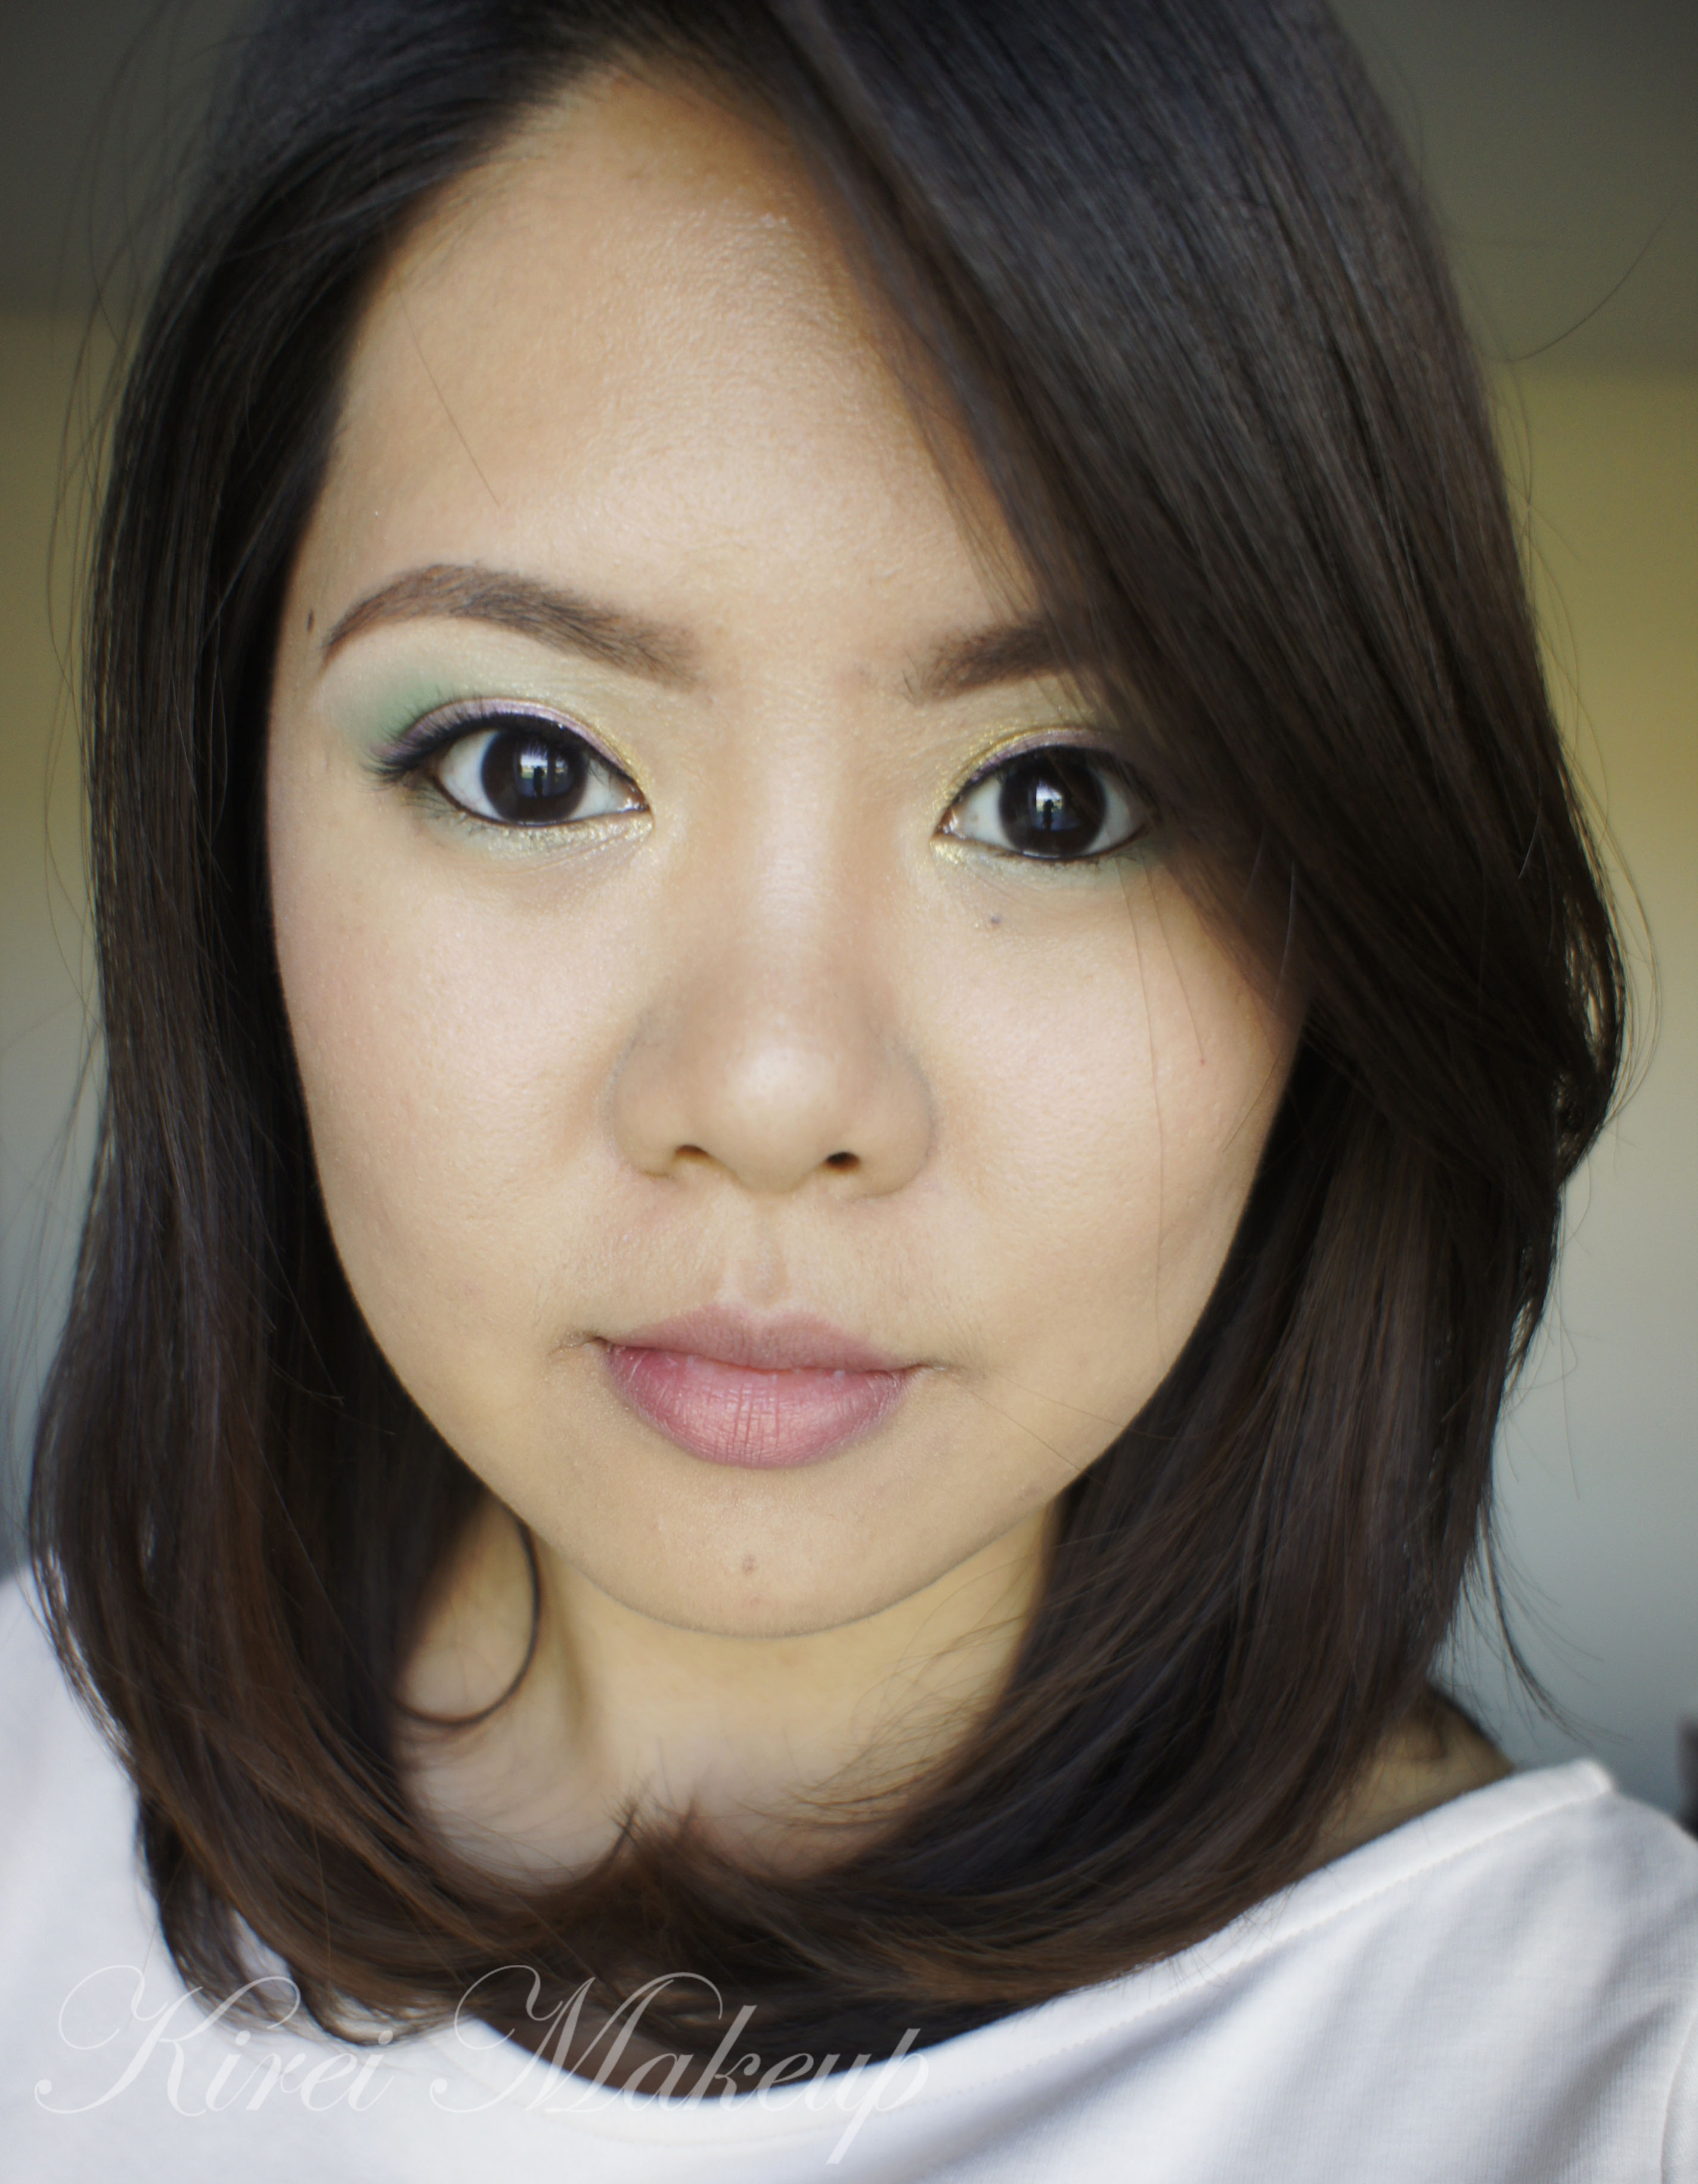
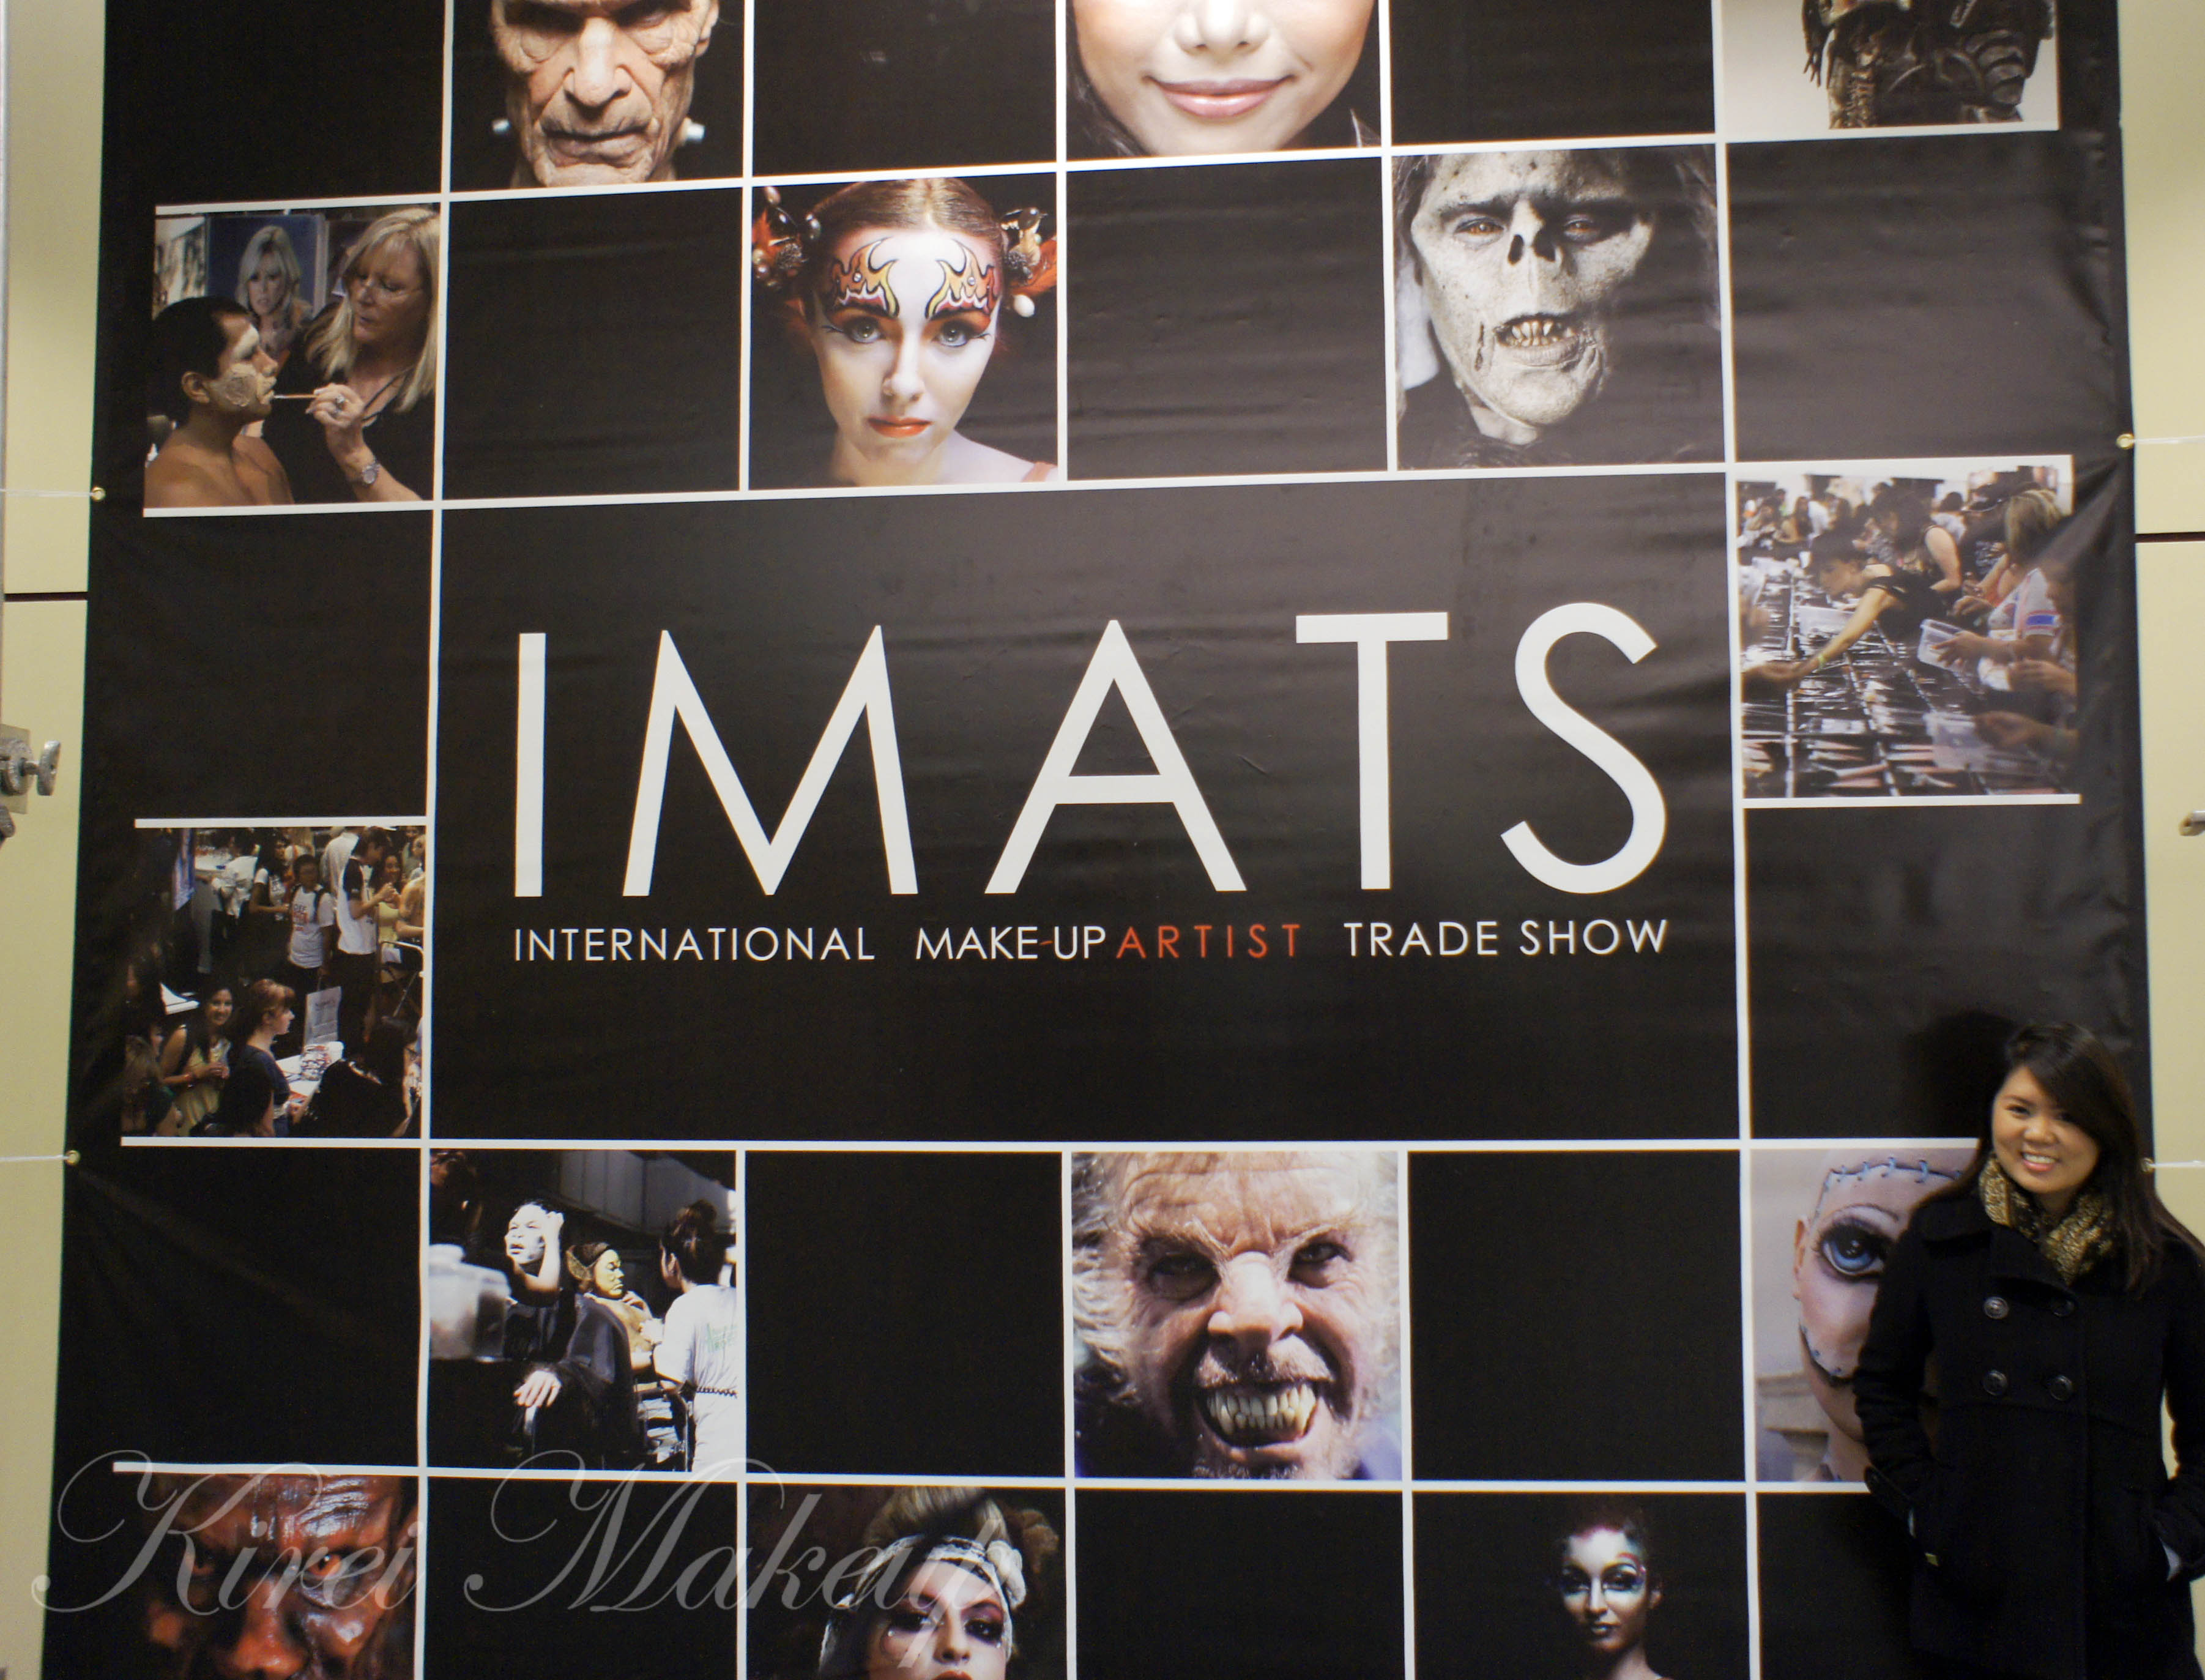
Again, this year, I managed to show up for IMATS in Toronto. It was held in the Metro Convention Center. I attended the event on Saturday only. This year IMATS was definitely more packed and busy than last year. Please check my post on IMATS Toronto 2012 if you want to see my last year event coverage.

I wasn’t expecting anything from the IMATS. I actually went there without any intention of buying anything. I just wanted to see if they have good deals on certain products.

IMATS Toronto

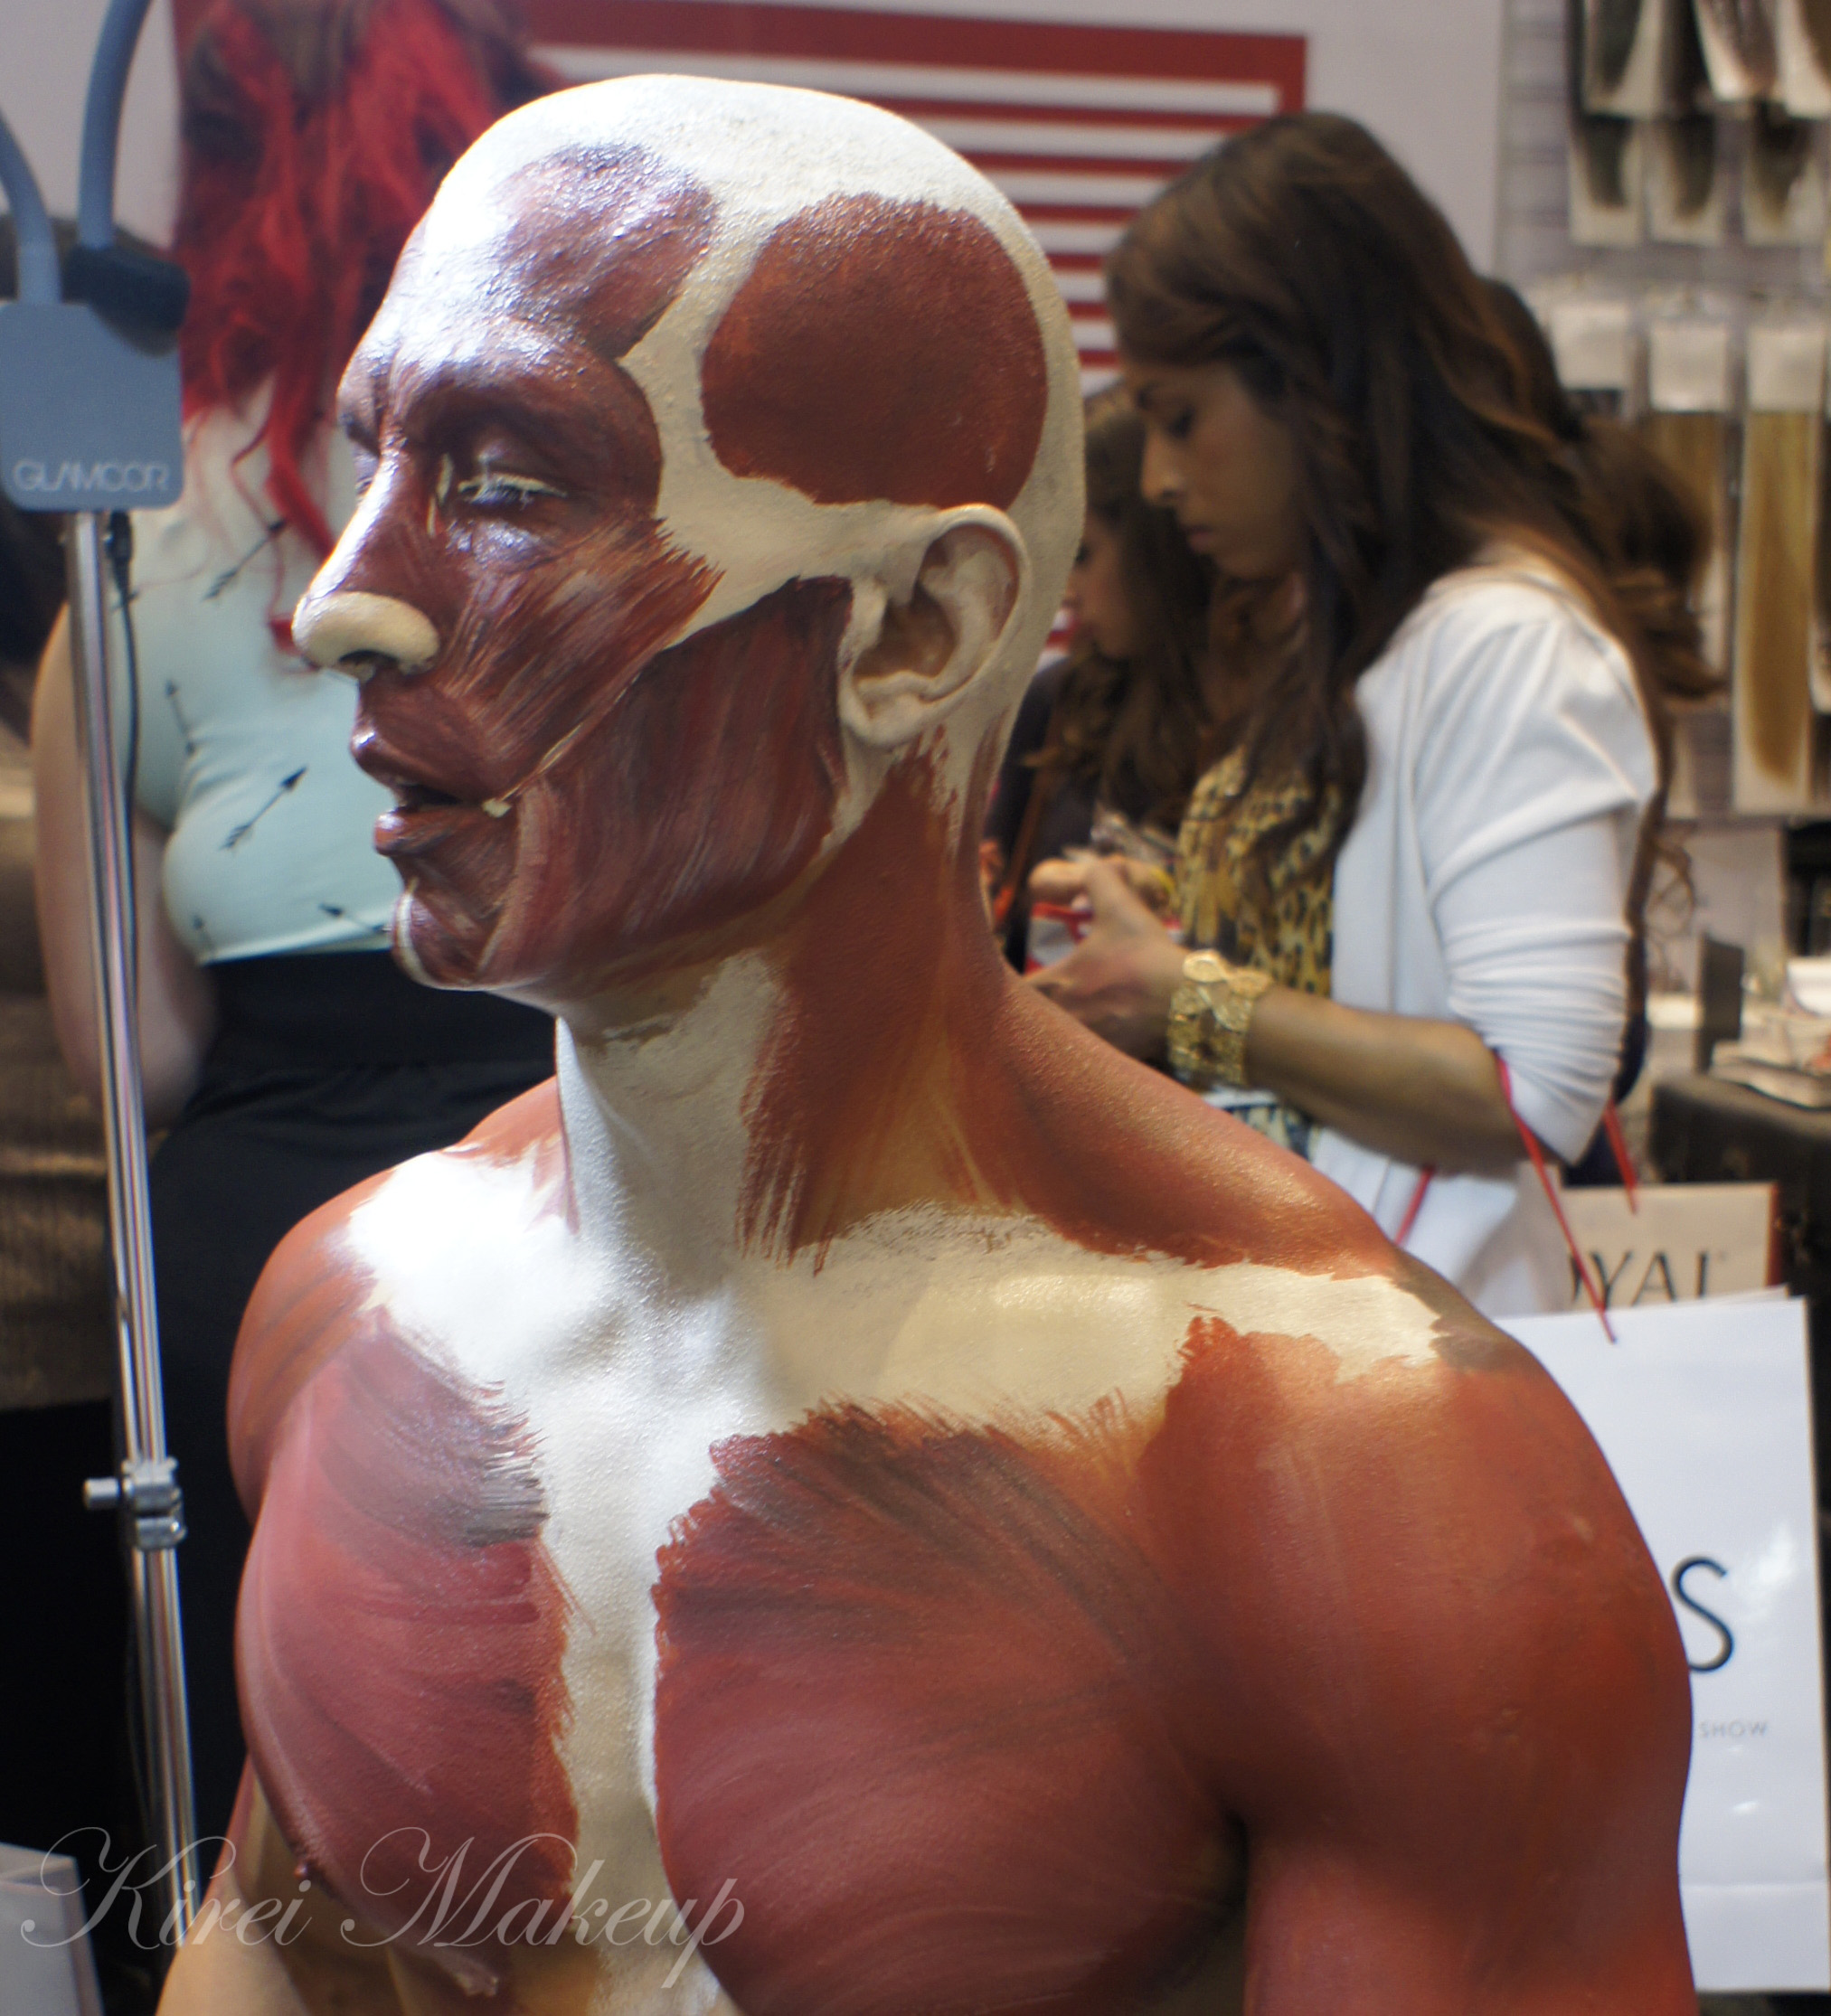
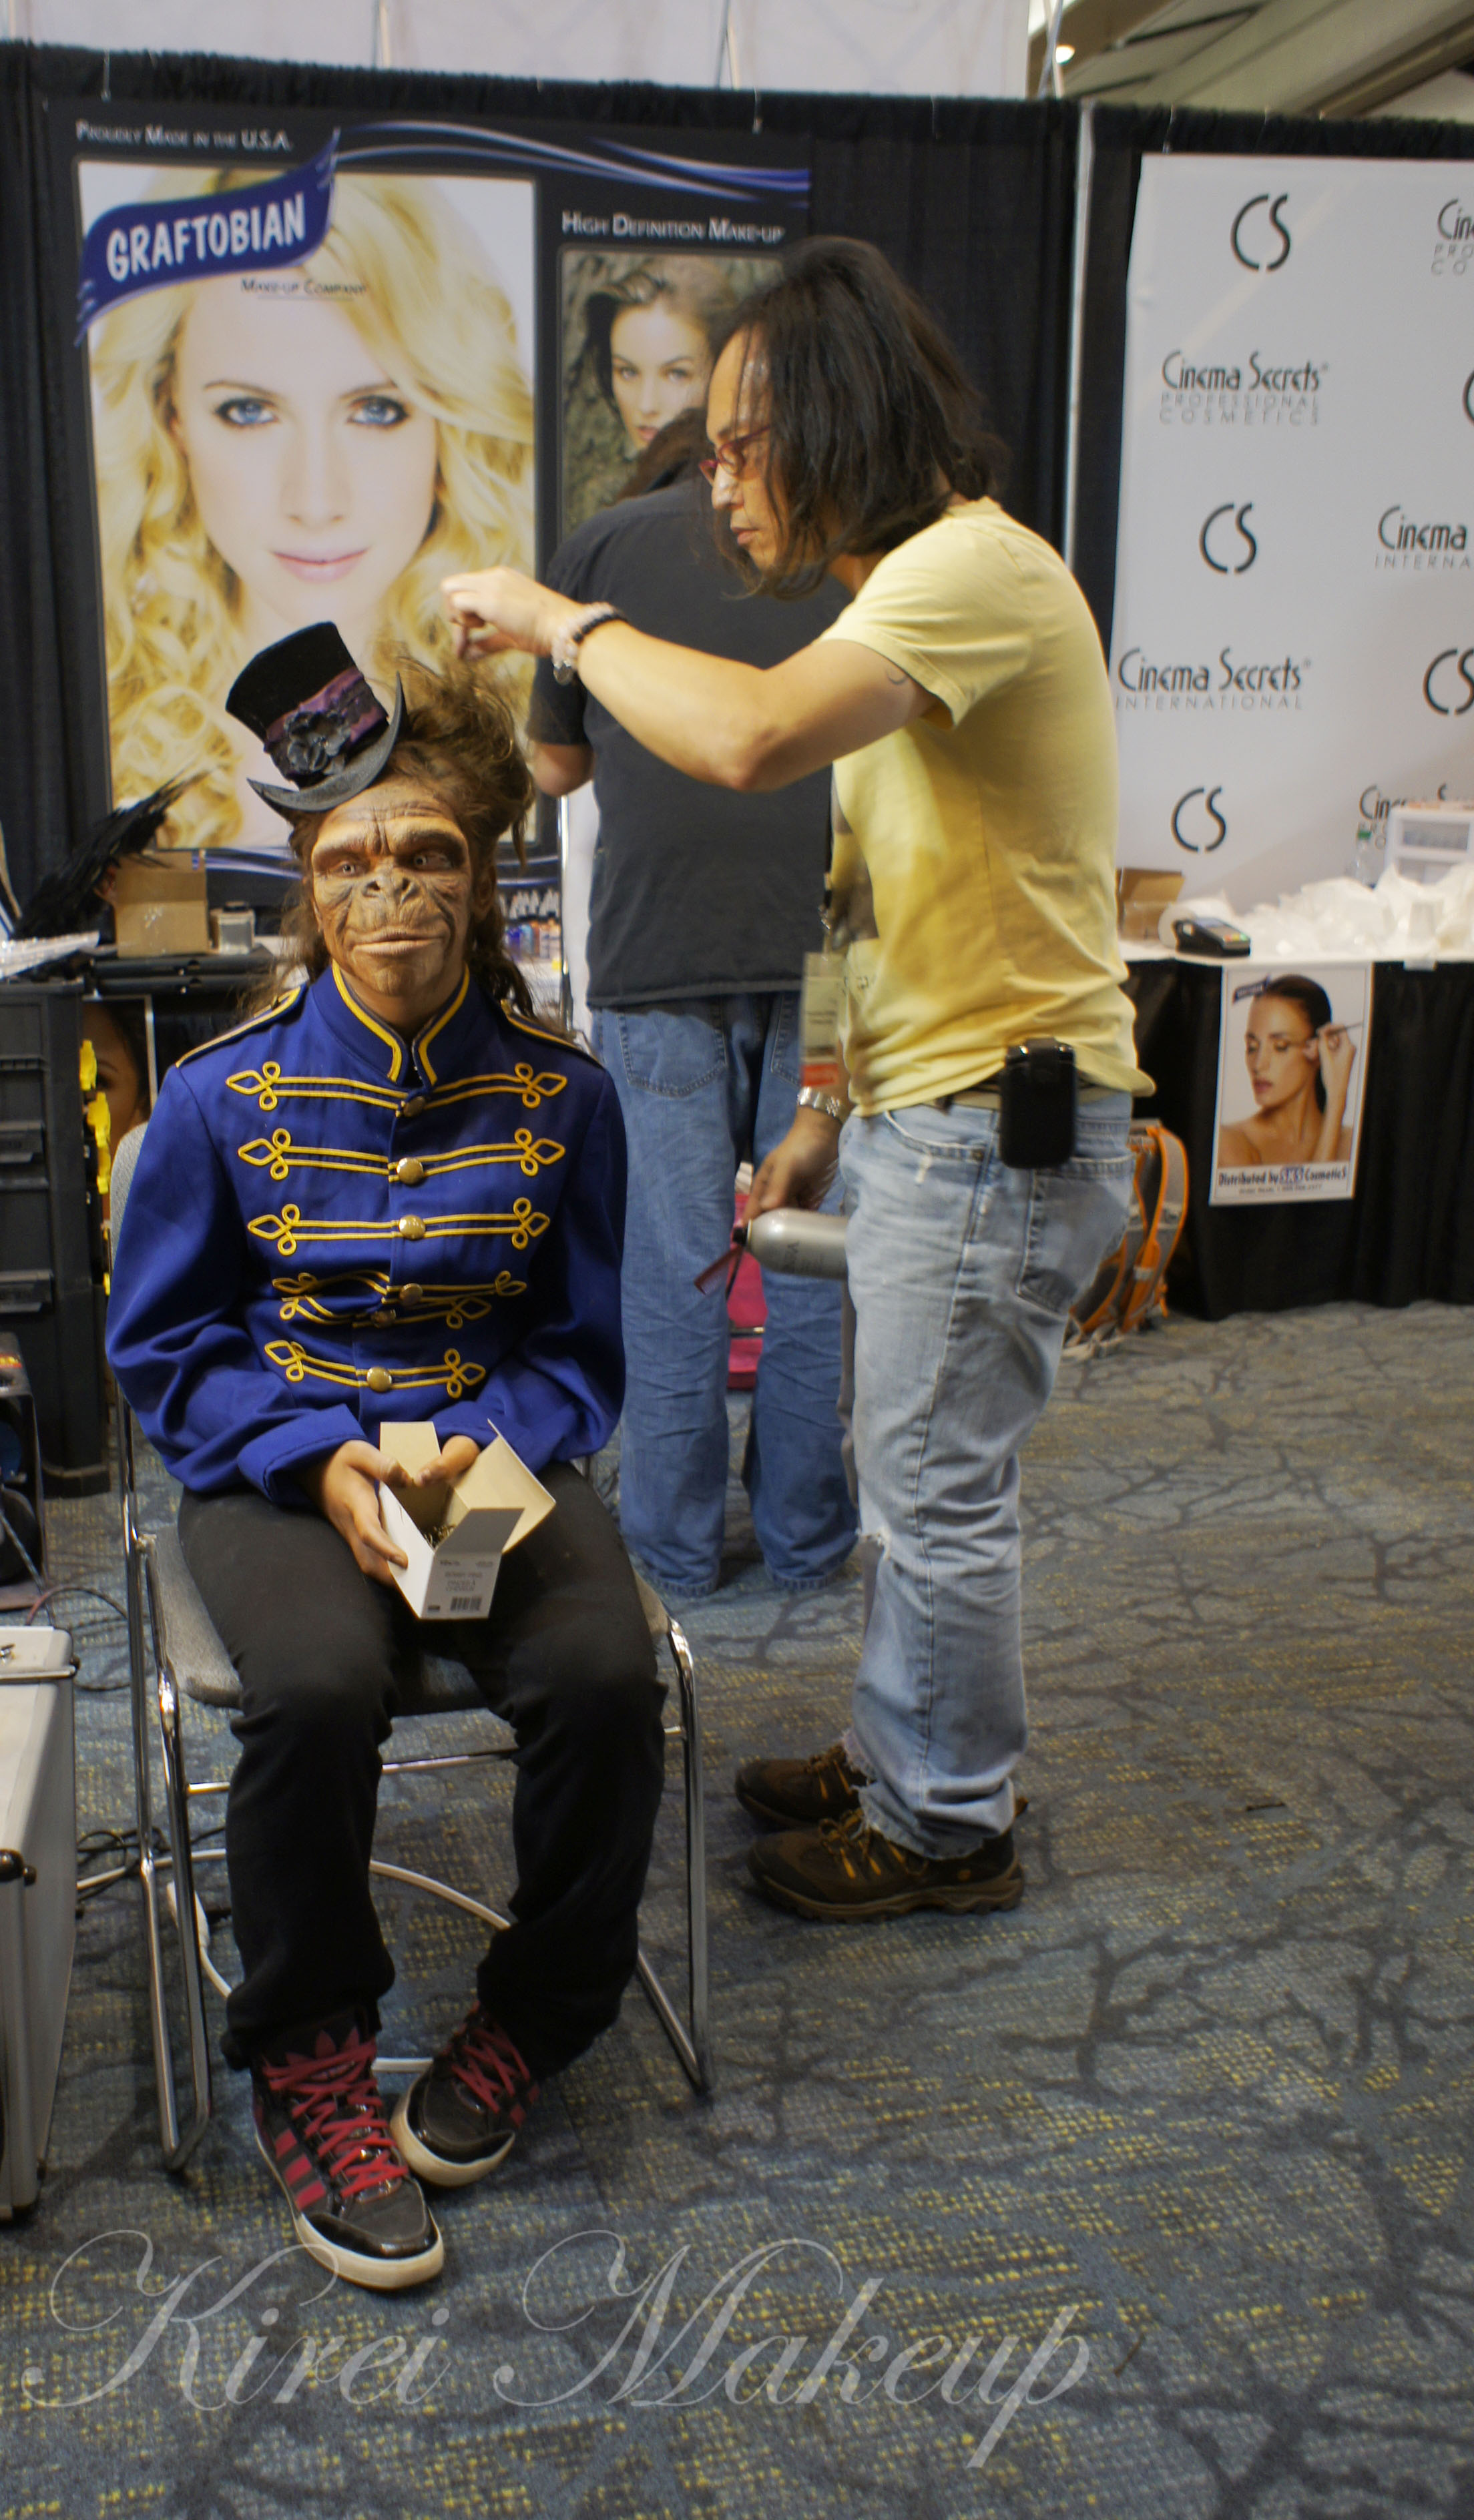
Anyways, it was a makeup trade show, so there was a lot of brands that were present to sell their products. I think MUFE had one of the best booths there. The body paintings done by MUFE makeup artists were amazing! They have quite a great deal too: 50% off makeup brushes, certain deals on a set of foundation/concealers/primers/powder/blush etc. However, there was a HUGE line up for the MUFE booth, and I just couldn’t bring myself to line up for hours…ok may be not hours, but you get my point…

IMATS Toronto

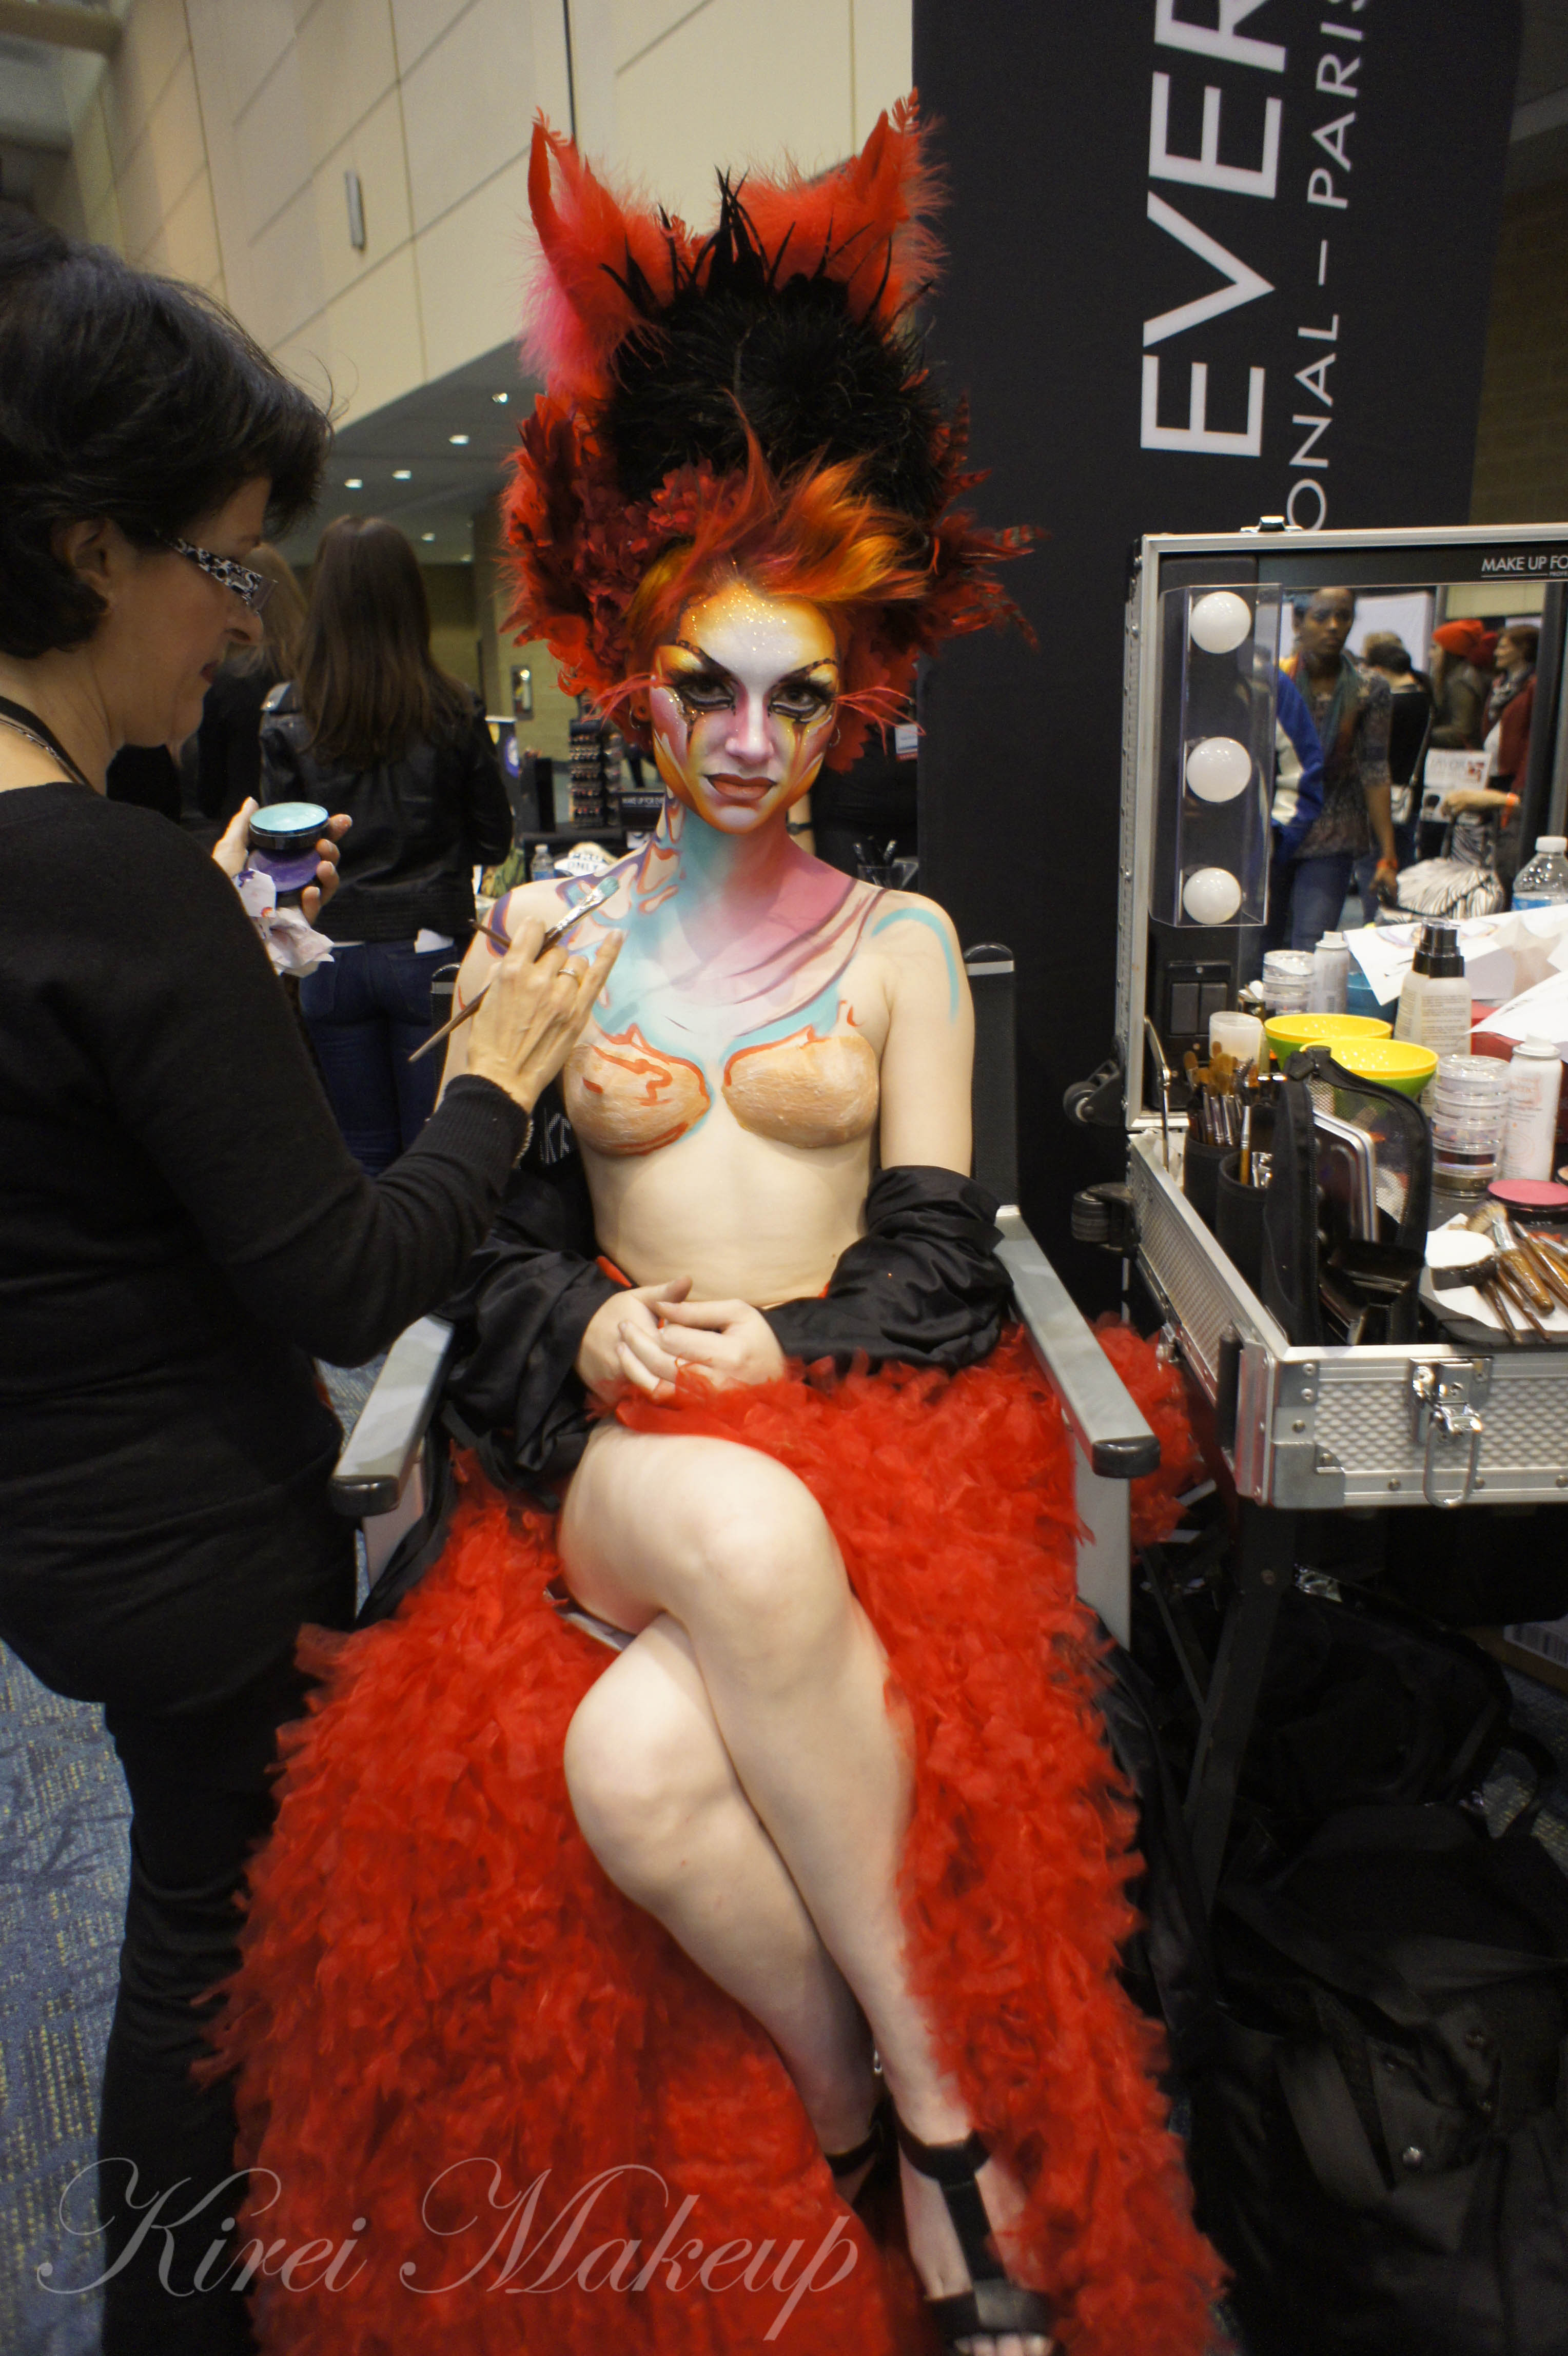
There were several body painters in the show for their own booths, one of which was the makeup artist from Blur booth. Below, you can see the model from Blur. That was one of the most amazing body paintings I’ve ever seen.

IMATS Toronto

So, I walked around the whole exhibition hall, and bought some makeup brushes from Crown Brush. It was such an awesome deal! Some of the brushes were only $4, others were $7.50. Pretty great, no?!

Besides Crown Brush, I also bought 8 nail polishes: 6 OPI for $30 and 2 Essie for $3.50/each. You probably would have seen the picture of the brushes and nail polishes if you followed me on Twitter or Instagram.

IMATS Toronto

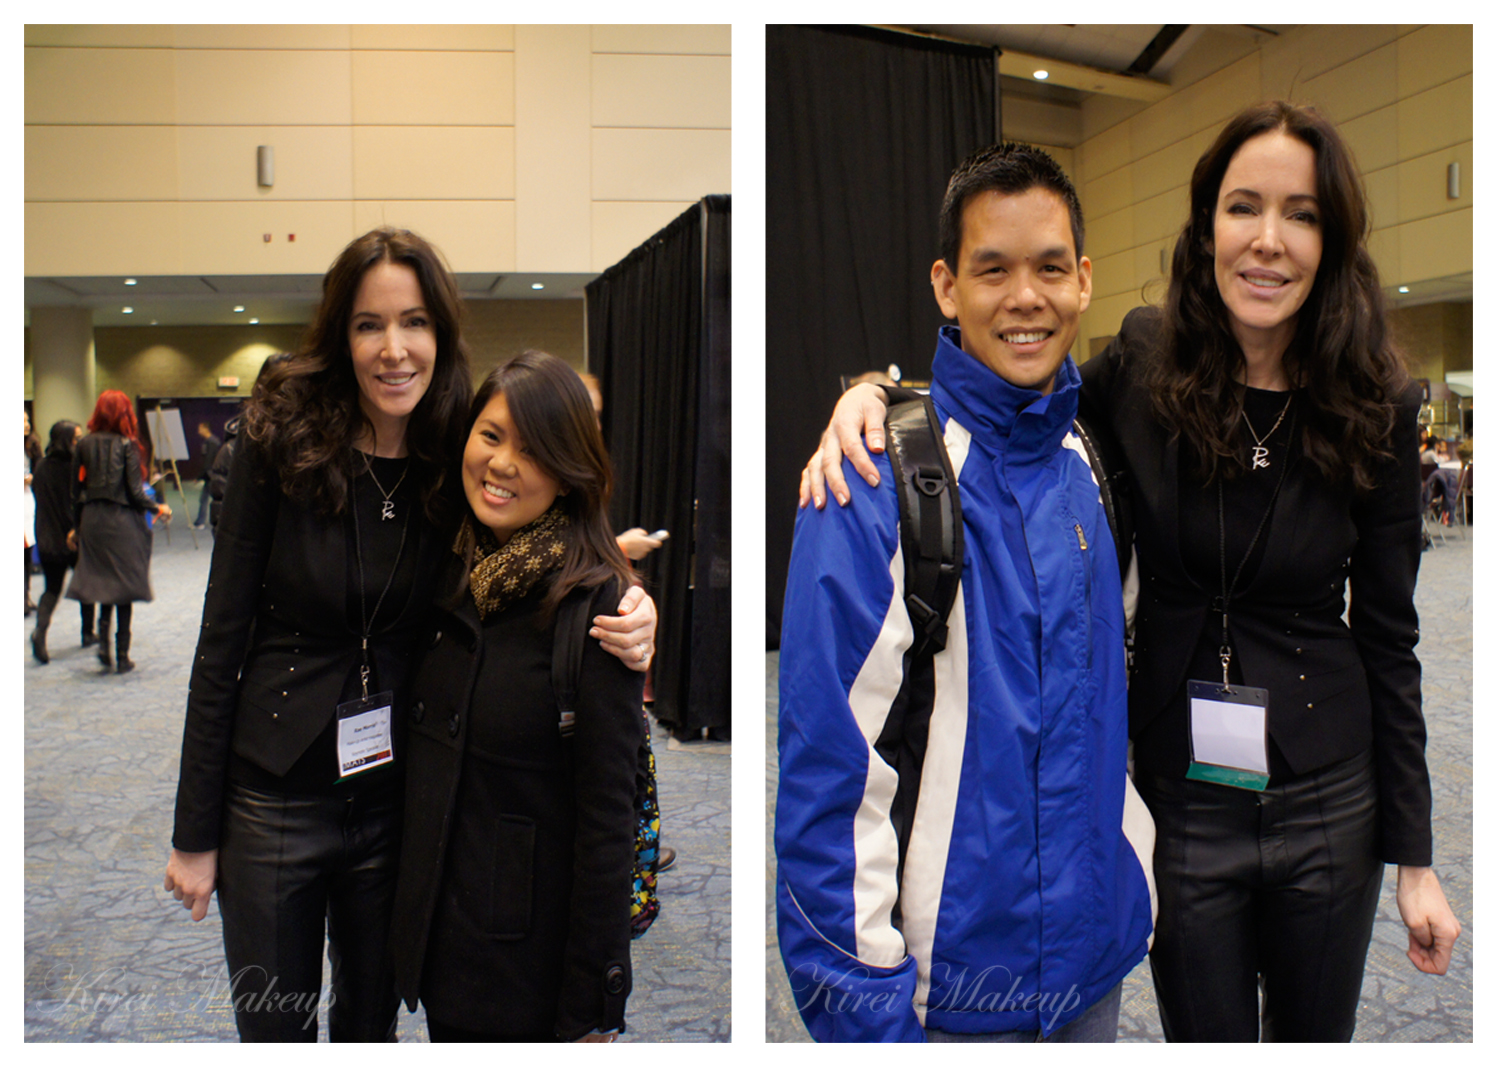
Besides the shopping, a very amazing event took place! Ok, so N was sitting down while I was shopping around looking at all the different booths (kudos to IMATS for providing chairs all around the hall for people to take a short rest).  While I was all skipping down the aisle getting my brushes, N was asked by a lady if she can sit beside him. He said yes, and took a glimpse at her name tag. Guess who??? RAE MORRIS! (the makeup artist, not the singer)

So, N immediately send me a message “you’ll never believe who sat beside me? where are you? come dowwn! it’s Rae Morris!”

Unfortunately, when I went to his seat, she already left to do some judging for the competition. So, N and I decided to stalk her..hahahahaha…Anyways, we managed to catch her after the competition, and we managed to chat and take a picture with the world famous Rae Morris! She was so nice and kind!

Below is pictures of us with Rae Morris. Yep, that’s my N right there! 😀

Rae Morris

Smashbox Full Exposure Look #1

I’ve recently bought Smashbox Full Exposure palette using my 20% discount from Sephora (yippie!). I’m pretty sure if you guys follow me on Instagram or Twitter, you would’ve seen the picture of the palette there.

Anyways, I’ll talk more about the palette in depth later on. I just have to say, this is an amazing palette! The shimmer side of this Smashbox Full Exposure Palette has beautiful glitters, which surprisingly stayed on the lid really well. Not to mention, the palette consists of nudes, greys, blacks and browns! Both in shimmer and matte! So much love!

This look is perfect for everything! If you want to wear it out on a date, skip the false lashes. It’s so perfect for the upcoming holiday (too early?), brides and any type of parties. It’s warm, not too smoky, not too light. Just enough shimmer, and I love the combination of different textures.

The rest of the face is kept quite minimal, with a tad more highlight to compensate for this winter weather. I used L’oreal Color Caresse Shine Stain to keep my lips moist.

smashbox full expsoure palette

How-to:

1. I prepped my eyelid using Urban Decay Primer Potion.

2. Using a fluffy blending brush (Crown Brush Pro Blending Fluff C433), I applied Smashbox Full Exposure palette M2 eyeshadow slightly above my crease.

3. Then, using Sephora Bullet Crease 221 brush, I applied M1 on the outer V and on the crease.

4. I applied Smashbox Full Exposure palette M7 on the outer quarter of the lid using Crown Brush Round Crease.

5. I used the tip of the Round Crease Crown brush to apply Smashbox Full Exposure palette M1 eyeshadow on the lower lid. Then, I applied M7 just on the outer half of the lower lid.

6. Using  Firm Shadow 157 Crown Brush, I applied S3 on the eyelid.

7. I created a winged liner along the upper lashline using Kanebo Kate Super Sharp Liner.

8. I lined the outer half of my tightline using the black side of Revlon PhotoReady Kajal Intense Eye Liner + Brightener in Carbon Cleopatra.

9. I applied Tarte Light, Camera and Lashes mascara, and also Eyeme false eyelashes (sample from a friend) on the upper lashes.

10. Using Red Sable Oval Crown Brush, I applied Smashbox Full Exposure palette M4 under the brows.

11. I filled my brows using Anastasia Brow Wiz in Medium Ash and Brunette.

smashbox full expsoure palette

12. I applied MUFE HD Elixir to prep my face.

13. Then, I applied MAC Pro Longwear foundation in NC30 all over my face.

14. Under the eyes, I applied Giorgio Armani Master Corrector no. 2.

15. Then, I applied MAC Pro Conceal/Corrector in Medium under my eyes, and on my blemishes.

16. I powdered my face using CoverFX Translucent loose powder.

17. I applied MAC Shadowy as contour, MAC Cubic as blush, and Diorskin Shimmer Star Amber Diamond as highlighter.

18. On the lips, I applied L’oreal Colour Caresse Shine Stain in Eternally Nude.

smashbox full expsoure palette

Chanel Kaska Beige re-visited

Hello, everyone! It’s been a while since my last post. I do apologize for the lack of post. Things have been going really crazy in my personal life, and I can barely catch my breath. Anyways, let’s put those things aside, and get back to this whole blogging things back on track!

Today’s tutorial used one of my all-time favorite palette from Chanel, called Kaska Beige. I’ve actually used this palette before in my Chanel Kaska Beige tutorial. This tutorial has a little bit more of a smokier feel than the older post, however still wearable for party, wedding, prom, night-out, pageant etc.

I also added a white eyeliner on the tightline to make my eyes look bigger, and heavier lashes for a doll-eye look. I applied more blush on the cheeks, just to complete the whole “doll” look. I love to add extra pinch of blush esp. in the winter when the colors are grey, and my skin feels blaaaah.

Oh, I also used the new MAC Masterclass Brush Oval 6 on my face, and I’ve to say I love it! I’ll post a review later.

earthy plum makeup

How-to:

1.  My eyelid was prep using Urban Decay Primer Potion.

2. I applied eyeshadow 2 (refer to picture below) on my crease using a shader brush (MAC 239).

3. Using a clean blending brush (MAC 217) to blend the edge off.

4. Using a flat eyeshadow brush, I applied eyeshadow 4 on my eyelid.

5. I applied eyeshadow 3 on the outer V using a small angled shader brush.

6. Using a clean blending brush (MAC 217), I blended the outer V.

7. I applied eyeshadow 3 along the lower lash line using an angled eyebrow brush.

8. I created a winged liner using L’oreal Infallible Super Slim Liquid Eyeliner.

9. I applied Tarte Light, Camera and Lashes mascara, and also false eyelashes (sample from a friend) on the upper lashes.

10. I lined my tightline using a white eyeliner from Revlon PhotoReady Kajal Intense Eye Liner + Brightener in Carbon Cleopatra.

11. I filled my eyebrows using a mixture of Anastasia Brow Wiz in Medium Ash and Brunette.

12. I applied eyeshadow 1 under my brows and in the inner corner of my eyes.

chanel kaska beige

13. I applied MUFE HD Elixir to prime my face using MAC Masterclass Brush Oval 6.

14. Using the same brush, I applied MUFE HD foundation all over my face.

15. I applied MAC Pro Conceal/Correct in Medium under my eyes.

16. I set my foundation using MUFE Pro Finish powder.

17. I contoured my face slightly using MAC Shadowy and NARS Ita Kabuki brush.

18. I applied MAC Dainty blush along my cheeks using MAC 219 brush.

19. Then, I applied NARS Mata Hari right on the apples of my cheeks using MAC 219 brush.

20. I filled my lips using MAC Dervish lip liner, and then top it off using Revlon Colorstay Ultimate Suede lipstick in Socialite.

asian wedding makeup

Stitched Up (face paint only)

Last minute Halloween idea using very simple products:

  1. Dark red lip liner (or face paint) – I used the dark red from Kryolan Bruised Wheel palette, and an angled eyebrow brush.
  2. Light red lip liner – I used MAC Brick lip liner.
  3. A small flat eyeshadow brush.
  4. White pencil eyeliner.
  5. Liquid eyeliner – I used L’oreal Infallible Super Slim Liquid Eyeliner.

No latex, no glue, no special equipment needed. Everything is face paint, and it’s easy to achieve. You can get all these products from Wal-Mar, Shopper’s Drug mart etc. Very easy to make!

Should you decide to wear this look out, you might want to apply your makeup first and then create the face paint.

stitched face paint

How-to:

1. Create dashes along your face using a dark red lip liner, or using face paint with an angled brush.

2. Using a lighter red lip liner, smudge it beside the lines that you’ve created.

3. Using the flat eyeshadow brush, blend out the lighter red lip liner to create pink tenderness on the face.

4. Lightly line the outside perimeter of the “dashes” to highlight it. This will make your wound look swollen.stitched up makeup

6. Using the black liquid eyeliner to create the “stitches”. Create dots at the end of the stitches.

7. (Optional) You can use the white pencil eyeliner to highlight the ends of the stitches.

halloween stitched up stitched face paint

Infected!

Are you guys ready for Halloween?! I sure am! I’ve been posting a few pictures on my Instagram (follow me!), and decided that today I should do a Halloween tutorial. To continue the tradition that I’ve been doing these past 2 years, I shall do half-pretty half-ugly makeup for today.

This makeup will look even better if you have one of those zombie contact lenses! I currently do not have a pair, so I decided to just skip it. If you do have the time to look for one, you should really get it!

Also, I intended to have this look as the first stage of zombie infection, thus the flesh and skin are just starting to fall apart.

Just to keep in mind, obviously this isn’t how those amazing makeup artists did zombie makeup for TV shows and/or the big screen. They used certain products, which I know most of us would probably have a hard time getting (not to mention expensive!). However, if you’re interested in getting those products, you should look up Premiere Products Inc. (PPI). They have the best products to create zombie, infected, bruised makeup. PPI products are alcohol activated, so be very careful during application.

Anyways, for this tutorial, everything is affordable and hopefully can be found easily should you decide to replicate it. You need the products below to create the peeled skin and flesh:

  • Liquid Latex
  • Loose powder
  • Brushes – preferably synthetic and cheap from art store
  • Makeup sponges – 2 or 3
  • Snazaroo face paints – red, black (purple is optional)
  • Clear lipgloss
  • (optional) Kryolan Bruised wheel
  • (optional) Pen liquid eyeliner

For the “pretty” side, I used:

  • MUFE HD Foundation in 117 (a shade lighter than my skin)
  • NAKED Basics palette
  • Kanebo Kate Super Sharp eyeliner
  • Anastasia Brow Wiz in Brunette for the browszombie makeup using latex

I decided to REMOVE the “Scar” on my forehead for the end result, so please ignore it.

How-to:

1. Using makeup sponge, I stippled Kryolan Liquid Latex on the area where I wanted the skin to rip. I applied it lightly to my skin, letting it dry and then applied a few more layers. I did about 3-4 layers.

2. You’ll know the latex is dried when it becomes transparent. Once it dried, I liberally applied translucent/transparent loose powder on the latex using a clean makeup sponge. This will prevent the latex from sticking to each other.

3. I applied MUFE HD Foundation all over my face, and did the pretty side first.

4. Next, for under my eyes, I pulled the latex and applied loose powder on the inside to prevent it from sticking to itself. You can be as creative as possible, don’t worry if it looks ugly! The uglier the better!

5. For the one near my mouth, I used a tweezer to rip the latex. This helped me to control the ripping better since I want very tiny small rip near the corner of my mouth.zombie makeup

6. Now, be creative with your blood! Since Snazaroo face paints are activated using water, dip the tip of your brush very lightly into a clean water before dipping it to the face paint.

7. I mixed red and black face paint, and applied it to my face.

8. I applied black face paint using a smaller brush at the edge where the skin and the flesh meets.

9. I used Kanebo Kate Super Sharp eyeliner to create the “stitches” along the corner of my lips. You can use the black face paint and a tiny brush to create the stitches if you do not own a liquid liner.

10. Using Kryolan Bruised Wheel (or you can use the red and purple face paint), I created veins on my face to mimick zombie’s skin.

11. To make the flesh look wet and fresh, I applied clear lipgloss on the flesh area.

Just make it as ugly as possible and have fun doing it! The “infected” side is slightly lighter since it’s dying, and the veins are closer to the skin than the “pretty” side.

ripped skin makeup

HAVE FUN! xoxo


ps: I’m available for Halloween makeup! Contact me for details at jilly@kireimakeup.com

Bridesmaids Makeup

Last Sunday, I was offered to do bridesmaid makeup (all thanks to the wonderful Keirsten) for 5 bridesmaids. The first girl, Kristin, came up to me and showed me what kind of makeup she wanted and after she was done with the makeup, the next 3 girls wanted the same look! The last girl, Amanda, had a different look which was similar to a tutorial that I’ve already done in this post. Also, you’ll be able to see Amanda’s makeup if you follow me on Instagram!

Anyways, this look obviously can be used for anyone, bridesmaids or brides. It’s not too smoky, but at the same time there’s some intensity on the eyes. Not a lot of contouring for the face, since the focus is on the pink flushed cheeks. The lips is kept neutral,however one of the bridesmaids, Mimi, had a bright pink lips which also works with this makeup.

The look is very fresh and brightening. Nothing too smoky or too contoured. Very youthful, and the overall look for the face is semi-matte. That way, the bridesmaids didn’t stand out from the bride, since the bride went for a more smoky eyes makeup.

Bridesmaids makeup

How-to:

1. I primed my face by applying MUFE Elixir all over my face and down to my neck. This will ensure that the face is moisturized and primed for foundation. This also will ensure your foundation stays all day long. The Elixir works for every skin type.

2. For the eyes, I applied UD Primer Potion from the eyelid all the way to just below the brow. This will ensure your eyeshadow stays put the whole day.

3. Using a flat eyeshadow brush, I applied A from Sleek Makeup iDivine Storm palette (see picture below) all over the eyelid.

4. Using a small shader brush, I lightly applied B from Sleek Makeup iDivine Storm palette on the crease.

5. Using an angled brow brush, I applied a mixture of C and D from Sleek Makeup iDivine Storm palette on the outer V, and right on the crease/socket.

6. Using a fluffy blending brush, I blended C + D so there’s no harsh line.

7. Using whatever was left on the brush on step 5, I ran it along the lower lash line.

id--storm_1

image is courtesy of Sleek Makeup

8. I created a winged liner using Kate Kanebo Super Sharp liquid liner. (For the bridesmaids, I used MUFE Aqua Black gel eyeliner since it’s waterproof).

9. I lined my waterline and tightline using MAC Smoldering eyeliner. (For the bridesmaids, I used L’oreal Voluminous Smoldering eyeliner).

10. I curled my lashes and applied Tarte Light, Camera and Lashes mascara on both top and bottom lashes.

11. I also applied Quo false eyelashes (I think this is 803). (Bridesmaids brought their own false lashes).

12. I filled my brows using Anastasia Express Brow Powder kit in Brunette.

bridesmaids makeup

13. For the face, I applied MAC Pro Long Wear foundation in NC 30. (for bridesmaids, I used either MUFE HD or Kryolan HD, whichever matched them better).

14. Under the eyes, I applied Benefit Erase Paste. (For bridesmaids, I used MAC Pro Correct/Conceal).

15. I lightly applied Benefit Moon Beam on the high planes of my cheeks (cheekbones, bridge of the nose, cupid’s bow)

16. I set my face using Cover FX Translucent powder.

17. I slightly contoured my face using Smashbox contour/highlight palette (discontinued).

18. On the cheeks, I applied MAC Dainty mineralized blush, which seemed to be the favorite for the girls!

19. For the lips, I applied Revlon Colorstay Ultimate Suede lipstick in Socialite.

Sleek iDivine Storm

Basic Smoky

Another tutorial using Urban Decay Naked Basics palette! Don’t forget to check a more neutral, day-makeup tutorial using UD Naked Basics palette on my last post. This time I decided to do my go-to smoky eyes makeup! This look is so simple and easy. I tend to do very simple makeup on myself because I’m quite lazy, to be honest. This palette is perfect for me, since I do like matte finish for my go-to smoky eyes.

Everyone can do this look! You don’t even have to have the same palette, just use whatever products you already have. All you need is 1 eyeshadow and a black eyeliner. It’s so simple, yet the result is so chic! If you’re a beginner, this would be a perfect look to create your very first smoky eyes makeup. I get asked all the time “how can I not look like I’ve a black eye when I do smoky eyes?”. Here’s the answer!

Tip no. 1: Use black eyeliner only to frame your eyes – meaning on the waterline, tightline, lower lashline and upper lashline.

Tip no. 2: Invest in a good blending brush.

Remember: Less is More!


Smoky eyes using urban decay naked basics

How-to:

1. Using a flat eyeshadow brush, I applied UD Faint all over my eyelid, up to the crease.

2. Using a CLEAN blending brush, I blended out the crease very lighty.

3. I lined my upper lashline using L’oreal Voluminous Smoldering eyeliner.

4. Using whatever is left on the brush from Step no. 1, I patted the eyeshadow on top of the eyeliner.

5. I lined my waterline and lower lash line using L’oreal Voluminous Smoldering eyeliner. I blended the eyeliner on the lower lid using an angled brush.

6. Using a small shader brush, I applied UD Faint on top of the black eyeliner on the lower lid.

7. I filled my brows using Shu Uemura Hard Formula 9.

8. I curled my lashes and applied false eyelashes. If you are not comfortable with applying false eyelashes yet, you can omit this step.

9. Using a clean blending brush, I applied UD Venus under the brow and on the inner corner of the eyes very lightly.

matte smoky eyes

10. For the face, I applied UD Naked foundation all over using a foundation brush.

11. I also applied yellow corrector under my eyes using MAC Pro Correct/Conceal palette in Medium.

12. I set my foundation using MUFE Pro Finish powder.

13. I applied Benefit Coralista on my cheeks as blush.

14. On the lips, I applied Revlon Just Bitten Kissable lip balm in Charmed.

ud naked basics tutorial

Neutrally Blue

I LOVE Urban Decay Naked Basics Palette! There, I said it! At first I thought that the UD Naked Basics is just another hype. I mean, I like my UD Naked 1 and 2, but I didn’t love it. I thought that the Naked Basics would be another palette that’s just so-so. Boy, was I wrong or what?!

I’ll talk more about the palette itself on my review, but today I wanted to share this look with you. The overall look is very soft and feminine. This look can be worn during the day if you want some definition on your eyes, or for engagement pictures. Obviously you can skip the blue eyeliner on the tightline and change it to beige/white/black instead.

The reason why I chose to wear the Stila Cobalt Blue eyeliner on the waterline is to show you guys that you can add color into your makeup without having to wear it on your lid. This is a good way to incorporate color, especially if you are not used to it. Not to mention, the blue eyeliner makes the white part of your eyes look whiter, thus making you look more awake.

How-to:

1. I applied MUFE Aqua Shadow in 28E all over my lid.

2. Using a clean blending brush, I applied UD Naked Basics in Faint on the crease.

3. Using a Sephora Bullet Crease (no. 221) brush, I applied UD Naked Basics in Crave on the outer V.

4. Using the same brush as step 2, I blended the eyeshadow on the crease.

5. I applied UD Sin eyeshadow all over the lid, focusing the color on the center of the eyelid using a flat eyeshadow brush.

6. Using a small shader brush, I applied Faint on the inner half of the lower lid and then Crave on the outer half.

7. I lined my waterline using Stila Cobalt Blue eyeliner.

8. I created a winged liner along the upper lash line using Kanebo Kate Super Sharp Liner.

9. I curled my lashes and applied L’oreal Carbon Black mascara on both upper and lower lashes.

10. I also applied false eyelashes sample given to me by a friend (currently not for sale to public).

11. I filled my brows in using Anastasia Brow Wiz in Brunette.

12. Using a clean fluffy blending brush, I applied Venus from UD Naked Basics palette under the brow.

Stila Cobalt Blue eyeliner

13. I applied MUFE HD foundation using Shiseido foundation brush all over my face.

14. I applied MAC Shadowy powder as contour, and Benefit Hervana blush on my cheeks.

15. On the lips, I applied Tarte Lipsurgence in Hope.

Natural makeup using Urban Decay Naked Basics

L’oreal Neon Skirt

Finally! A tutorial to be posted. I do have to say, I’m not really loving how this look ends up. I used L’oreal Neon Skirt Color Riche quad eyeshadow that I recently purchased (posted on Instagram and Twitter). I love the colors that come with this quad, but…*sigh here comes the but*…I feel that one of the shadows is quite difficult to blend. May be it’s my fault for not priming my eyelid since  I can’t find my primers because I’m not totally unpacked yet.

Anyhooow, I just wanted to do a quick tutorial so I don’t go missing for another week or so, leaving the blog empty. Hmm, what do you guys think? I followed the instruction from the back of the quad for this look. I feel that the green color wasn’t blended properly. I wanted a sheer wash of color, so I tried blending it out, but it doesn’t look that great, eh…Also, I don’t know how I feel about the purple eyeliner. It’s not intense enough for me to be an eyeliner. Also, there’s a lot of fall out from the purple, so watch out for it.

Nevertheless, I think this can be a great look if you want to try to wear colors to go out. It’s very sheer and kinda look like watercolors, no? Oh, I love the vanilla highlighter in the middle of the lid! It makes the eyes look so pretty when you blink.

How-to:

1. I applied the gold eyeshadow from L’oreal Neon Skirt quad on the inner half of the lid using a flat eyeshadow brush.

2. Using a clean blending brush, I applied the green shadow from the same quad on the outer half of the lid.

3. (you can skip this step) I blended out the green eyeshadow towards the brow bone, leaving a little bit of color concentration in mostly the outer V of the eyelid.

4. Using my ring finger, I lightly tapped the vanilla eyeshadow from the quad to the middle of the lid.

5. Using an angled brush, I applied the purple eyeshadow of the L’oreal Neon Skirt quad along the upper lashline.

6. I applied the green along the lower lash line using a pencil brush. I dabbed a tiny bit of gold in the inner corner of the lower lid using a small shader brush.

7. I also lined the waterline and tightline using L’oreal Voluminous Smoldering eyeliner.

8. I curled my lashes and applied L’oreal Carbon Black mascara on both upper and lower lashes. I also applied EyeMe false eyelashes (free sample from a friend) on the upper lashes.

9. I filled my brows in using Anastasia Brow Wiz in Brunette.

L'oreal Neon Skirt

10. For the face, I applied MUFE HD Foundation in 118 using a foundation brush.

11. I set the foundation using MUFE Pro Finish powder.

12. I contoured my face and nose slightly using MAC Shadowy.

13. On the cheeks, I applied MAC Dainty blush.

14. I filled my lips in using MAC Dervish lip liner.

L'oreal Neon Skirt

ps: Pictures are taken using natural light.

pps: Like my new hair? hahaha 😛


Product Review: Arte Stile [sponsored]

Hello, everyone!!! Has the week been treating you well? Again, I apologize for the lack of tutorials, but I’m sure if you follow my Twitter and/or Instagram account, you’ll find snippets of what’s going on in my life right now. Anyhow, if you’ve followed my Instagram account, you’d probably already know that I received a sample from ArteStile!

What is ArteStile?

“Originally created for beauty experts, each ArteStile piece is handcrafted in Italy with the finest grade surgical steel for lasting performance.The tips and blades are hand-filed and perfectly aligned to effectively grab even the smallest hairs.

The ArteStile Collection is a unique line of tools with a patented baked enamel finish for a luxurious in hand feel and a perfect grip for at home use. The collection is available in different colours and patterns and is designed to be stylish and chic without compromising the professional quality ArteStile prides itself on. The ArteStile Collection is the perfect balance between luxurious artistry and expert quality making each piece an ideal beauty tool.”

ArteStile, 2013

tweezers

The best part about this brand is:

“[…] our products are crafted in Italy by small family businesses that are subjected to third party audits to secure all compliances are met. Our lead free implements may cost a little more but when you purchase one you can be assured we have remained true to this policy. There are NO harmful labour processes involved in creating our products. ArteStile is proud to stand behind this promise and it is something you can count on!”

ArteStile, 2013

I’d like to say a big thank you to Nick for sending me the tweezers and nail scissors! They are so adorable. You know how I like to put “xoxo” in a lot of my tweets and/or insta comments?! These 2 products are the “Hugs and Kisses” edition! Ah, perfection! I love the cute details on it.

arte stile

To be honest, I’m a big fan of Tweezerman’s tweezers. I owned several, and I thought nothing could replace those. They are the best tweezers in the whole wide world. Yet, after trying the ArteStile tweezer, I think I might have to change my opinion. Don’t get me wrong, my Pointed Slant-Tip Tweezerman will always be the one. However, the slant-tip tweezer by Arte Stile is actually better than my Slant Tweezers by Tweezerman! I find that the one by ArteStile graps my fine eyebrow hair better, and it doesn’t slip. The tip feels thinner and grips my individual eyebrow hair better.

I love it! This will go on my kit, for sure. This specific ArteStile Hugs and Kisses tweezer costs CA$24.97.

arte stile tweezers

The ArteStile Nail Scissors is slightly curved. The use of the nail scissors is obviously to cut or trim your nails. I usually used it to cut my cuticles or any hangnail.

Another use of the nail scissors, esp. the one like the ArteStile Nail Scissors is to actually cut the eyelid tape. As most East Asians know, if you have monolids, you probably have used eyelid tape to create a lid. My fellow Indonesian Bloggers and Makeup Artists most definitely have tried to cut and create their own eyelid tape. This scissors is perfect in creating those eyelid tape because of the curvature of the blade.

The other possible use of this nail scissors is to trim your eyebrows (in conjunction with eyebrow brush/spooly). Please be very careful when using this to trim your eyebrows as the tips are very sharp.

This ArteStile Hugs and Kisses Nail Scissors cost CA$24.97 as well.arte stile nail scissors

You can get all these products from their website ArteStile.ca ! They have an amazing collections, like the super adorable glitter tweezers, nail scissors, c0lorful eyelash curlers and more. So, what are you waiting for? Go check them out!