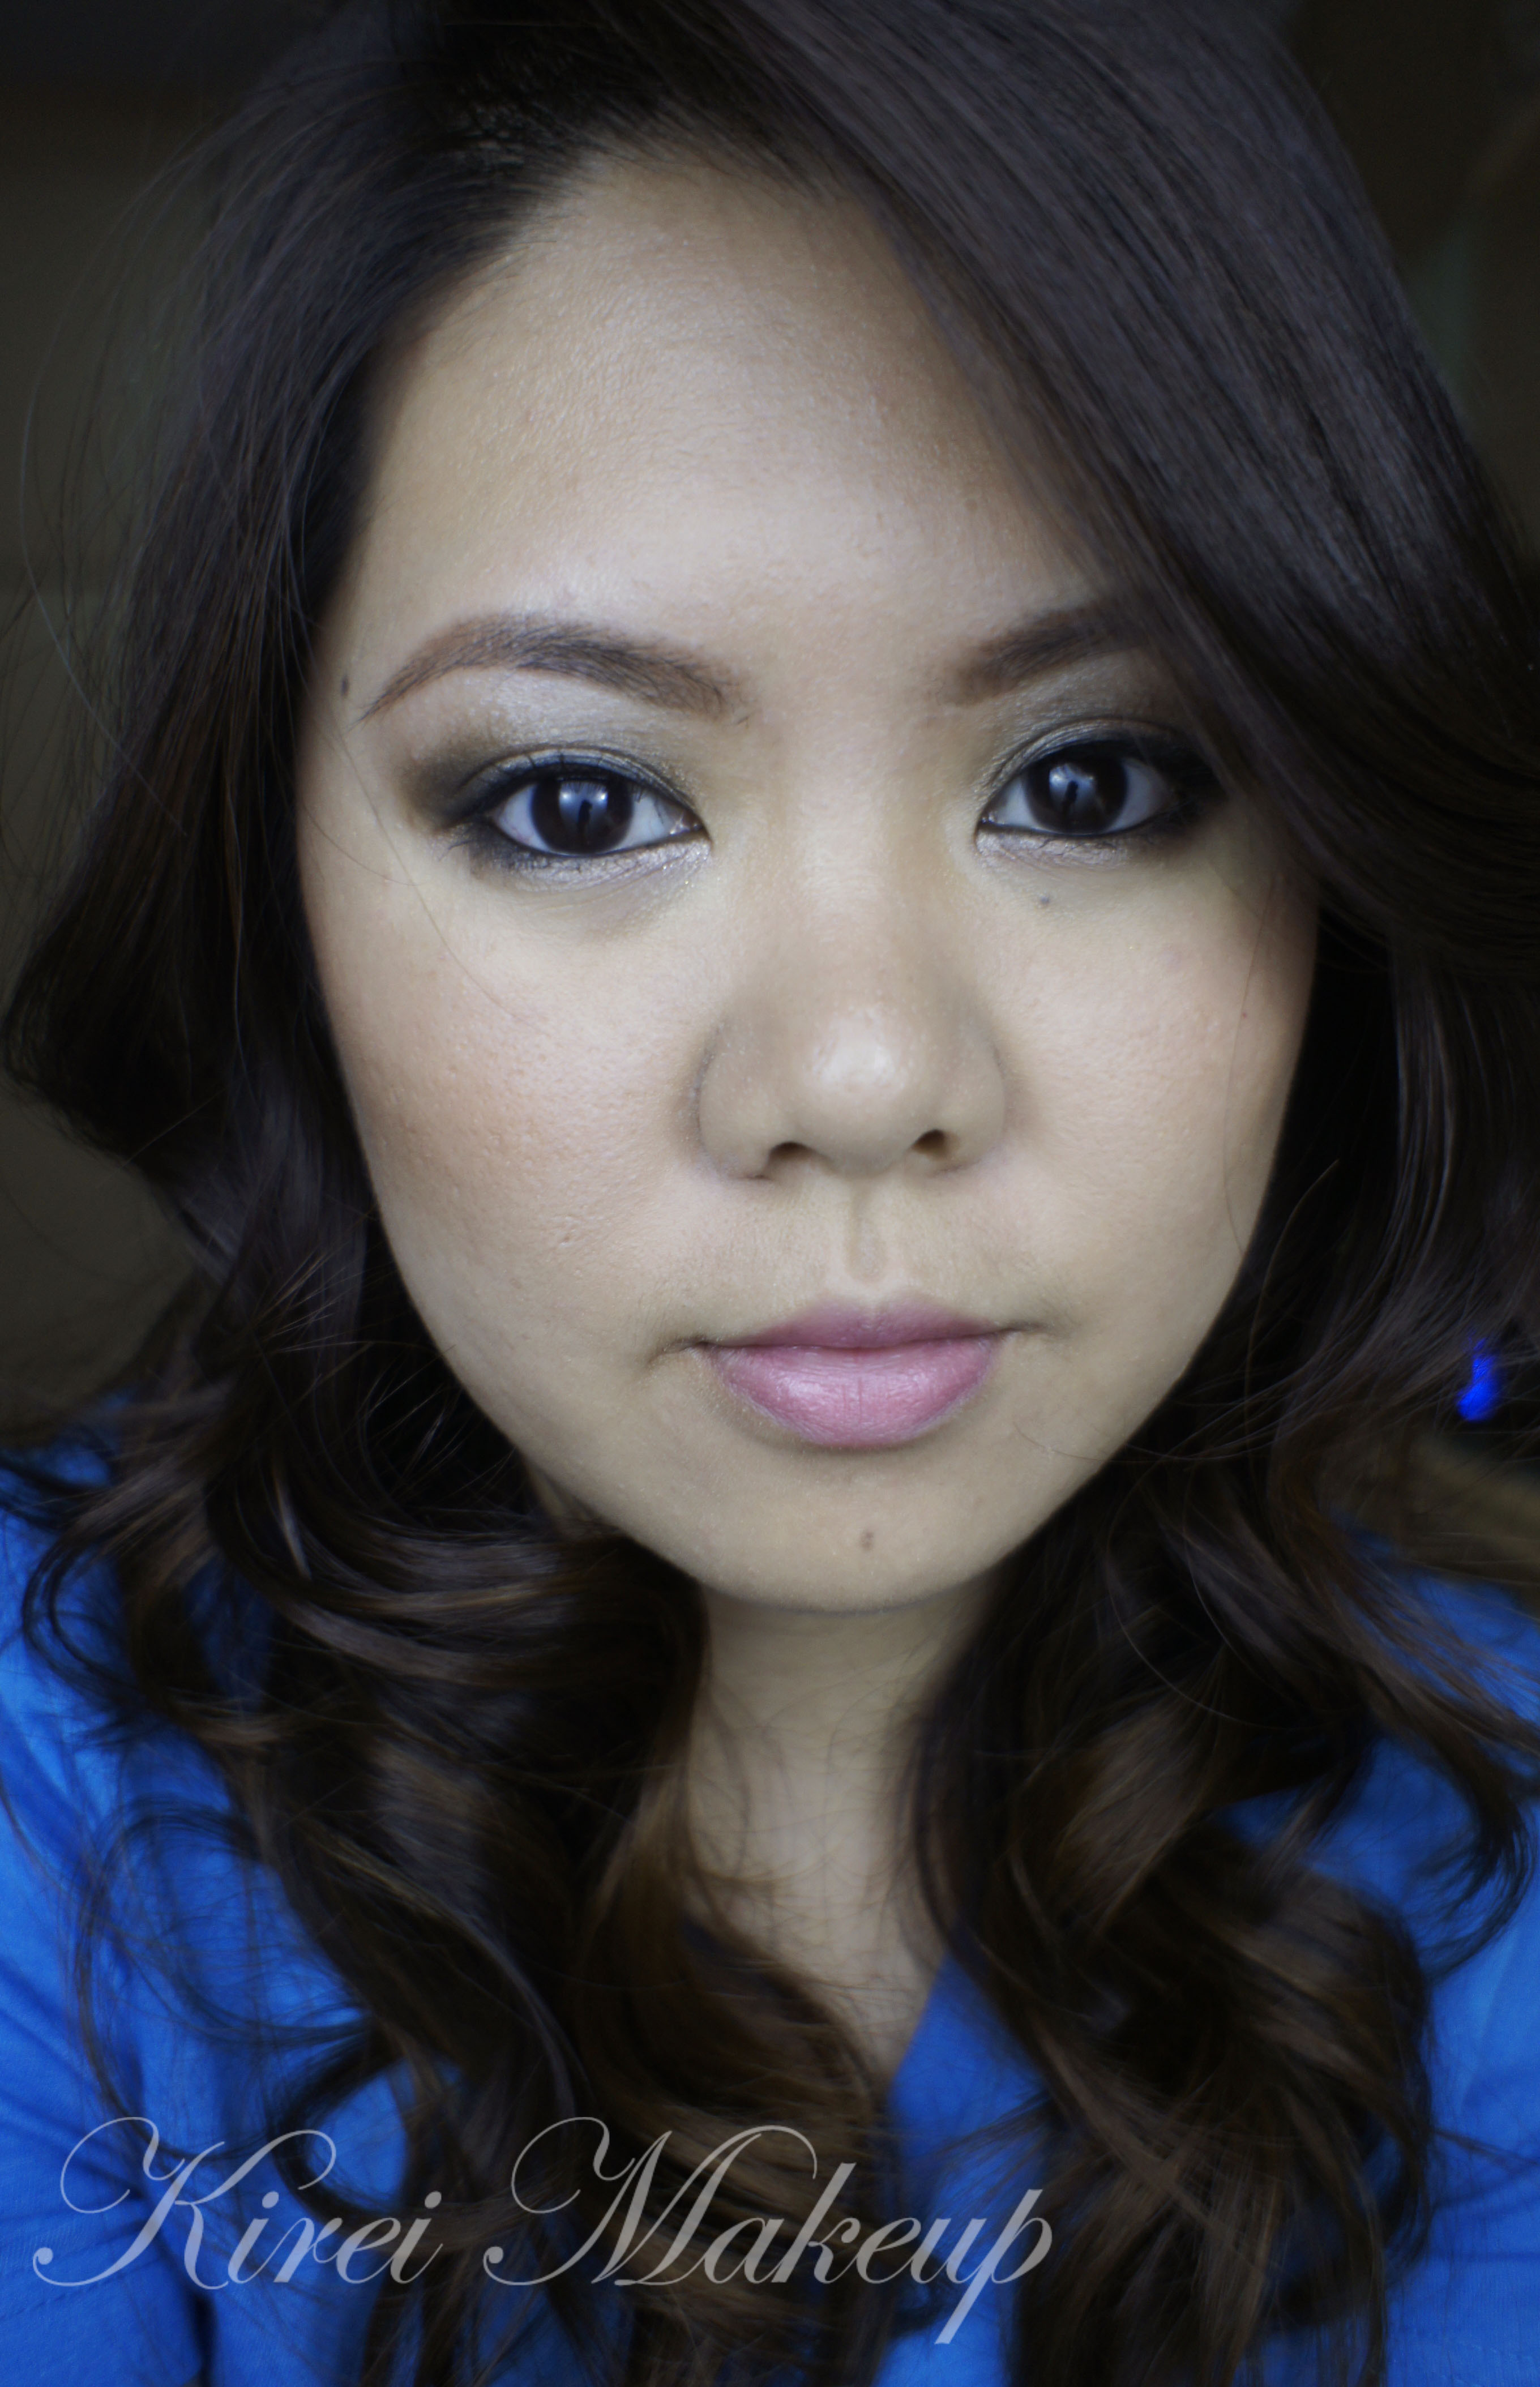
Another smoky tutorial! This time, I wanted to show you guys another way of doing a smoky eye. This look highlights the center of the eyelid, instead of the usual highlight on the inner corner. I like doing this smoky eyes more than the other ones since I find that the eyes catch the light when you blink or look down. It’s something different than the classic sooty, dark grey smoky eyes. Obviously, you can do this with any color. I’ve done this type of look using cranberry and blue eyeshadow in my Peek a Blue post.
How-to:
1. Using a synthetic art brush, I applied Smashbox Stone cream eyeshadow on the inner and outer corner of the eyes, leaving the center part of the lid bare.
2. Using a flat eyeshadow brush, I applied Urban Decay Dark Horse eyeshadow on top of the cream eyeshadow. Again, leave the middle part of the lid empty.
3. Using another clean synthetic art brush, I applied Chanel Illusion D’ombre in Emerveille in the middle of the lid.
4. Using a clean flat eyeshadow brush, I applied Urban Decay Sidecar eyeshadow on top of Chanel Emerveille cream shadow.
5. Using a clean small fluffy brush, I blended the edges where the dark and the light eyeshadow meet.
6. I applied UD Darkhorse on the outer half of the lower lid and UD Sidecar on the inner half.
7. I lined my waterline, tightline and upper lashline using L’oreal Voluminous Smoldering eyeliner.
8. I curled my lashes and applied Maybelline Express Volume Turbo boost mascara on my lashes.
9. I filled my brows in using Shu Uemura brow pencil.

10. On my face, I applied MUFE HD foundation in 118 all over using IPKN Auto Wave makeup.
11. I contoured my cheeks using MAC Shadowy.
12. On the cheeks, I applied MAC Peaches blush.
13. On the lips I applied Chanel Confidentielle lipstick.