I was asked to show how I do contouring by a few readers as well as my clients. So, I’m going to show you how I do highlight, contour and blush placement. For the eyes, please refer to my previous post Rosy for the tutorial.
I do contour differently depending on the shapes of the face, but in general, everyone always asked to get the hollows of the cheeks contoured, as well as nose (esp. for asians), and sometimes the jawlines. The idea of contouring is to make the facial structure looks sunken in. On the other hand, highlighting is all about making your feature stands out.
In this tutorial, my highlight/contour/blush technique used powder products. This is a very subtle way to contour/highlight/blush the face. If you want a heavier application, feel free to add more products.
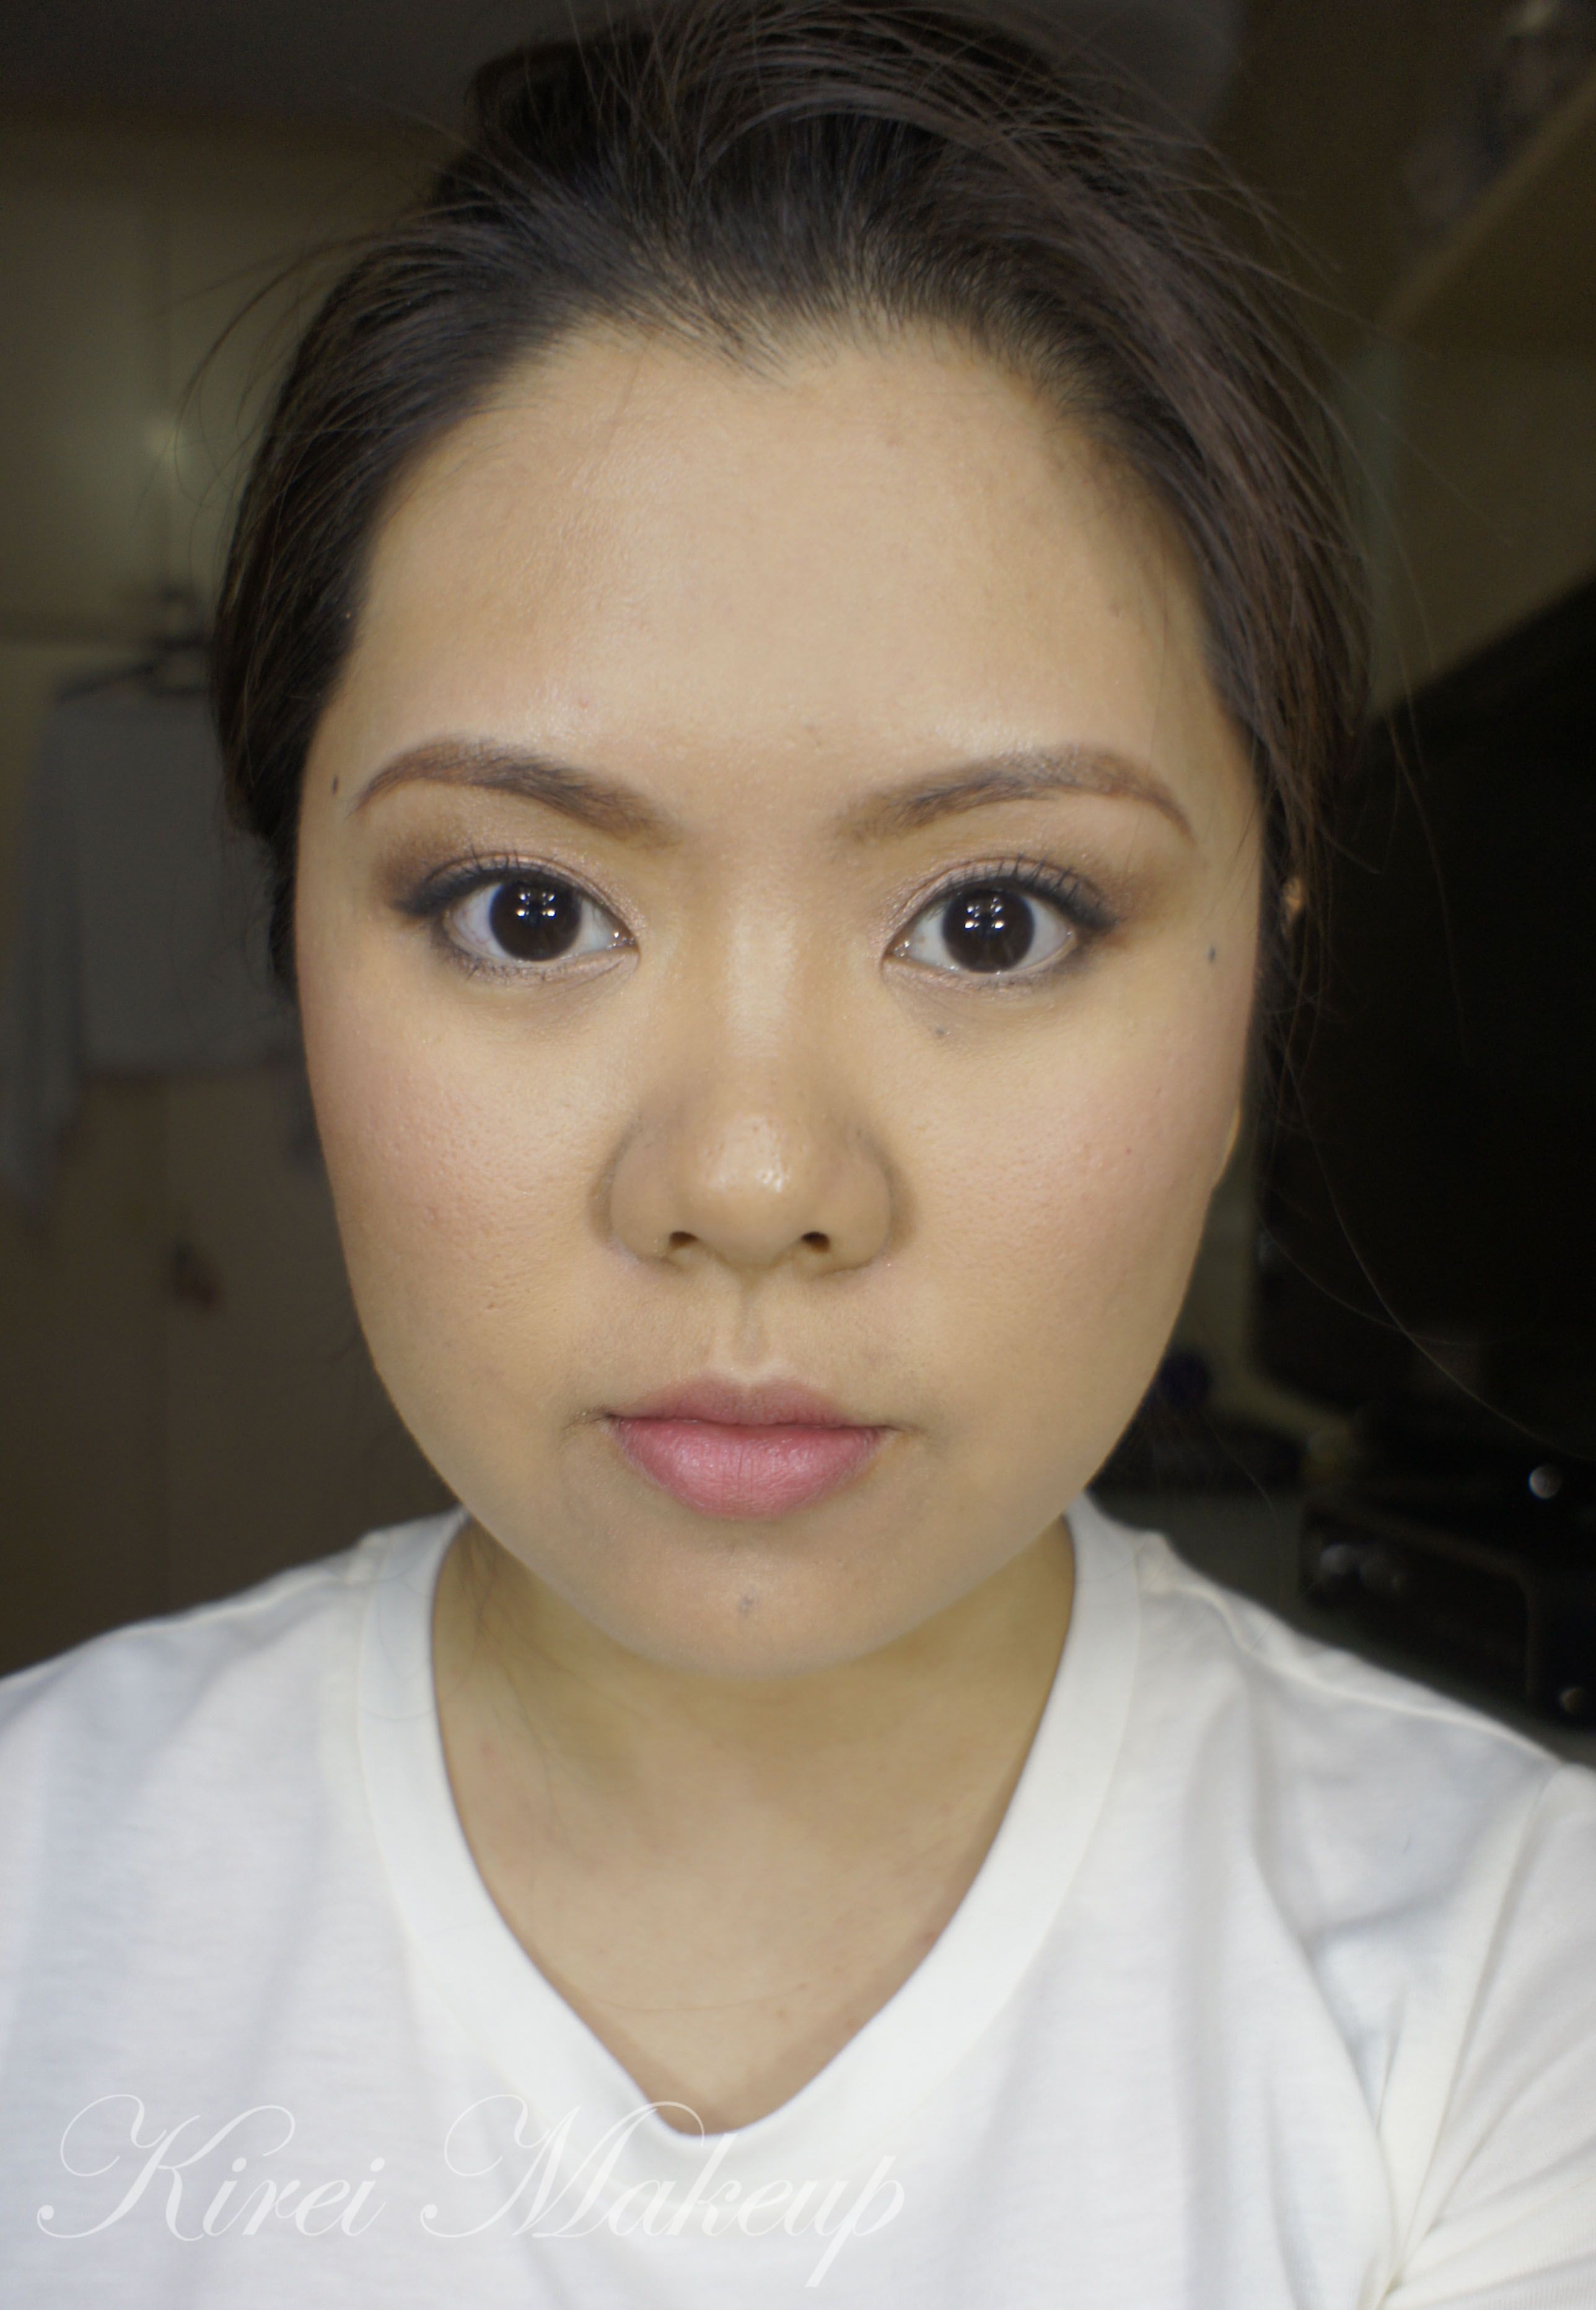
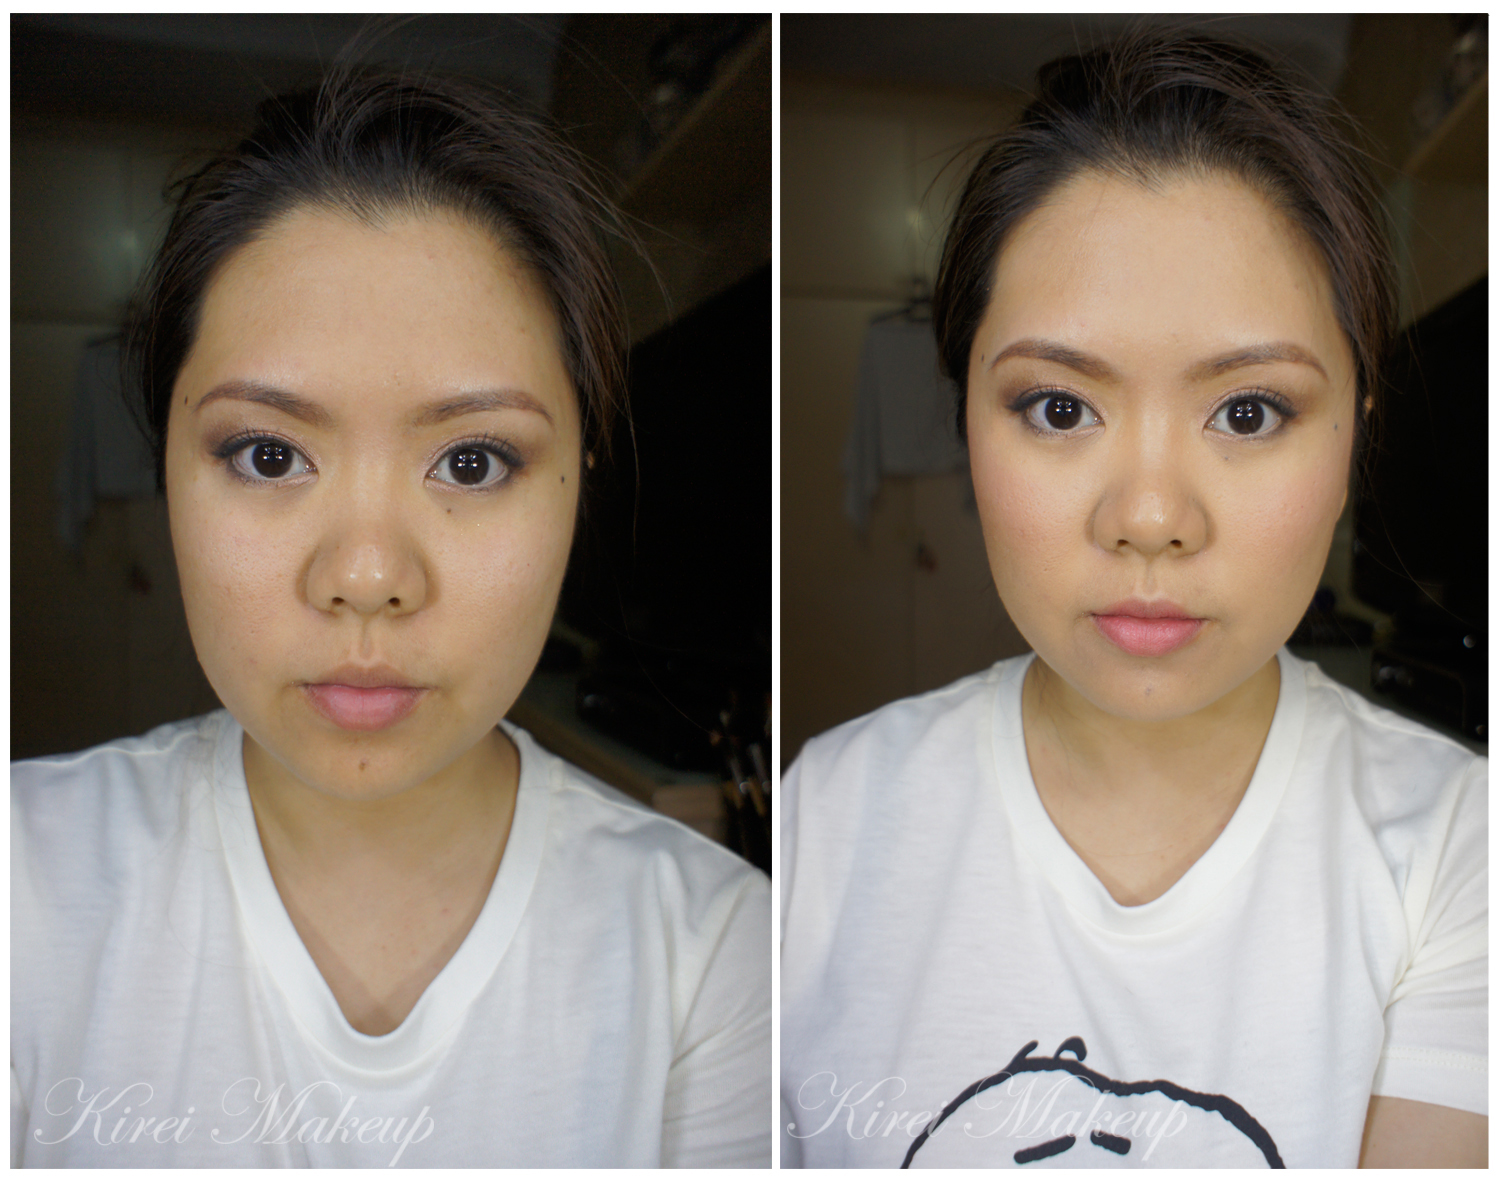
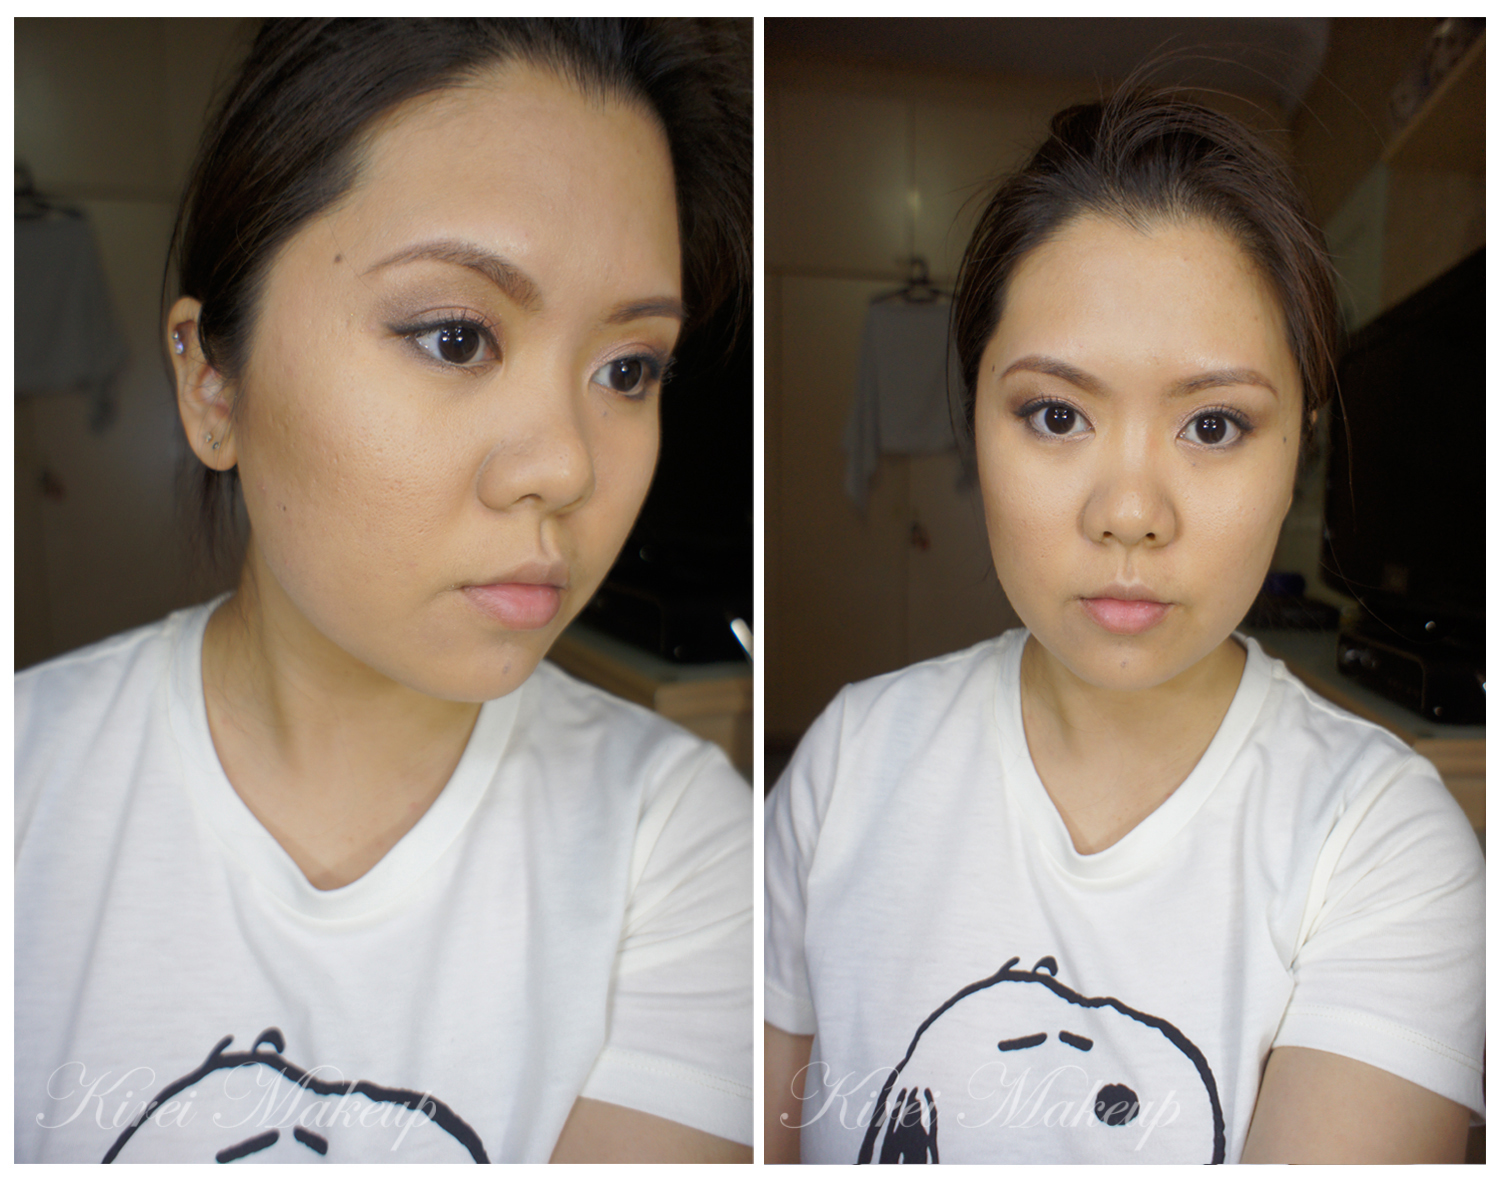
Below is the Before and After photo.
Just let me mention that this is NOT the only way to do highlight/contour/blush. There’s so many different version, you just have to play around and find what you like and which version you prefer. I might do a heavier contour/highlight/blush with cream products next week 🙂
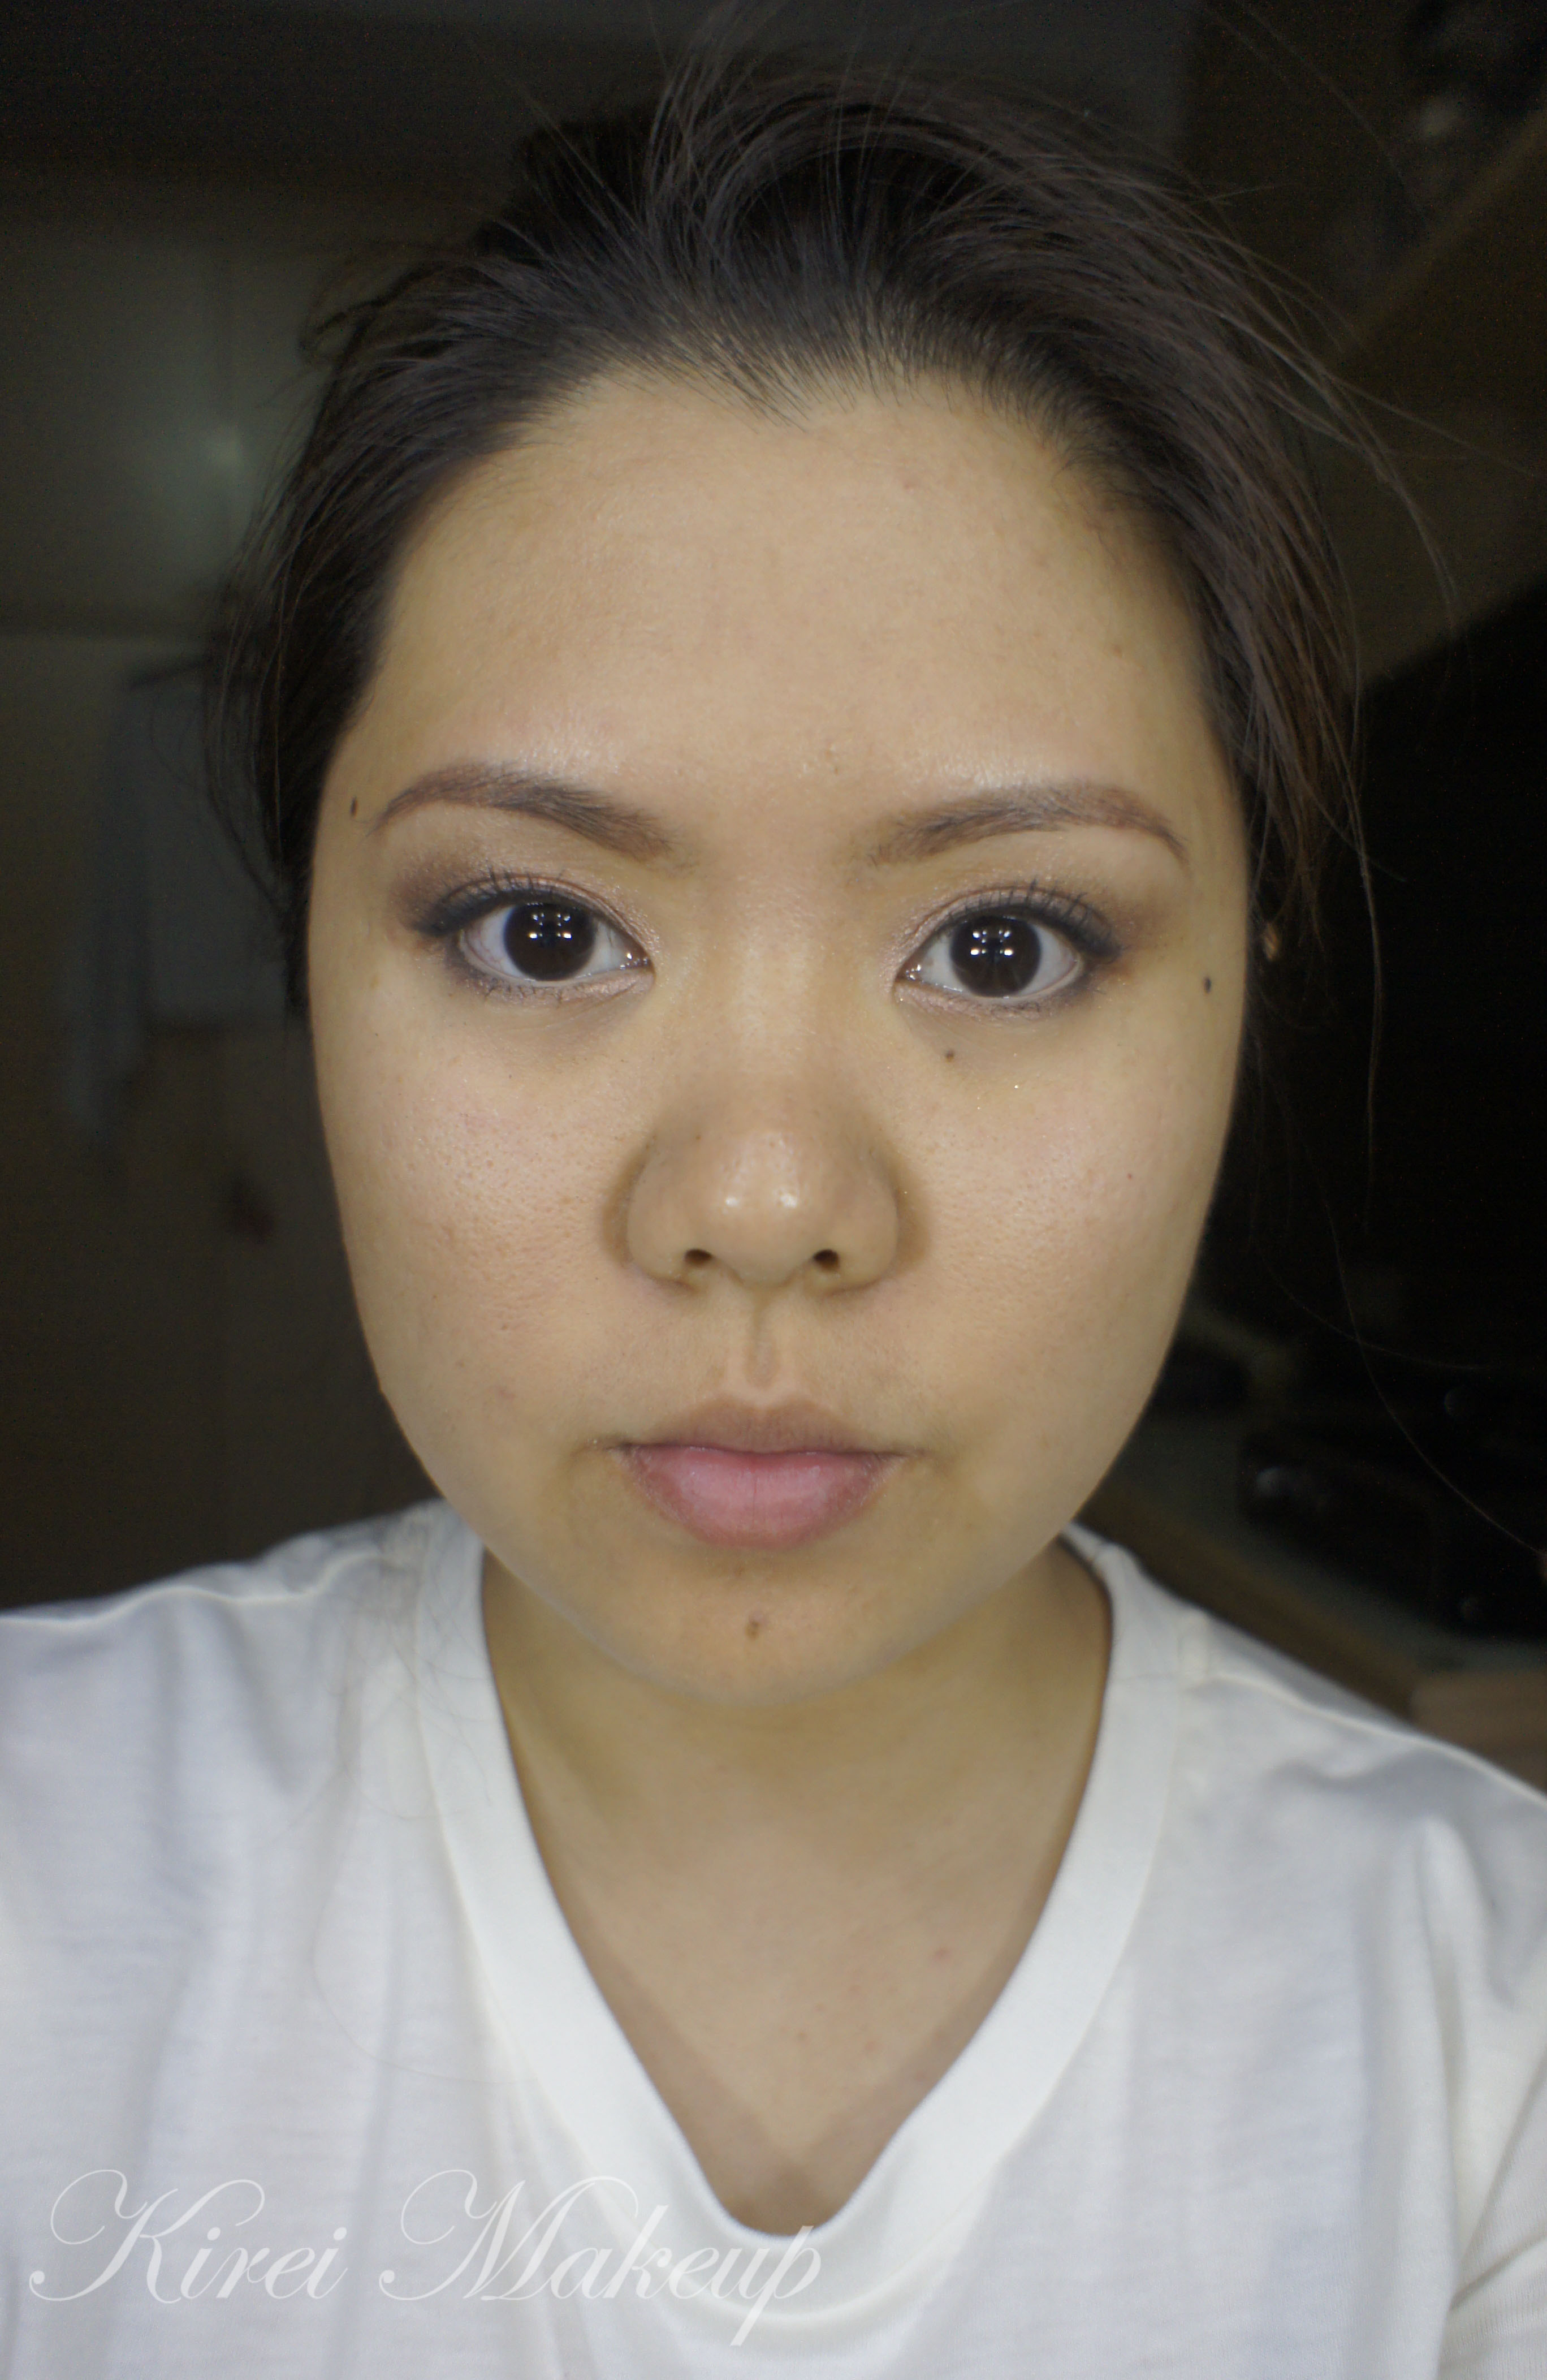
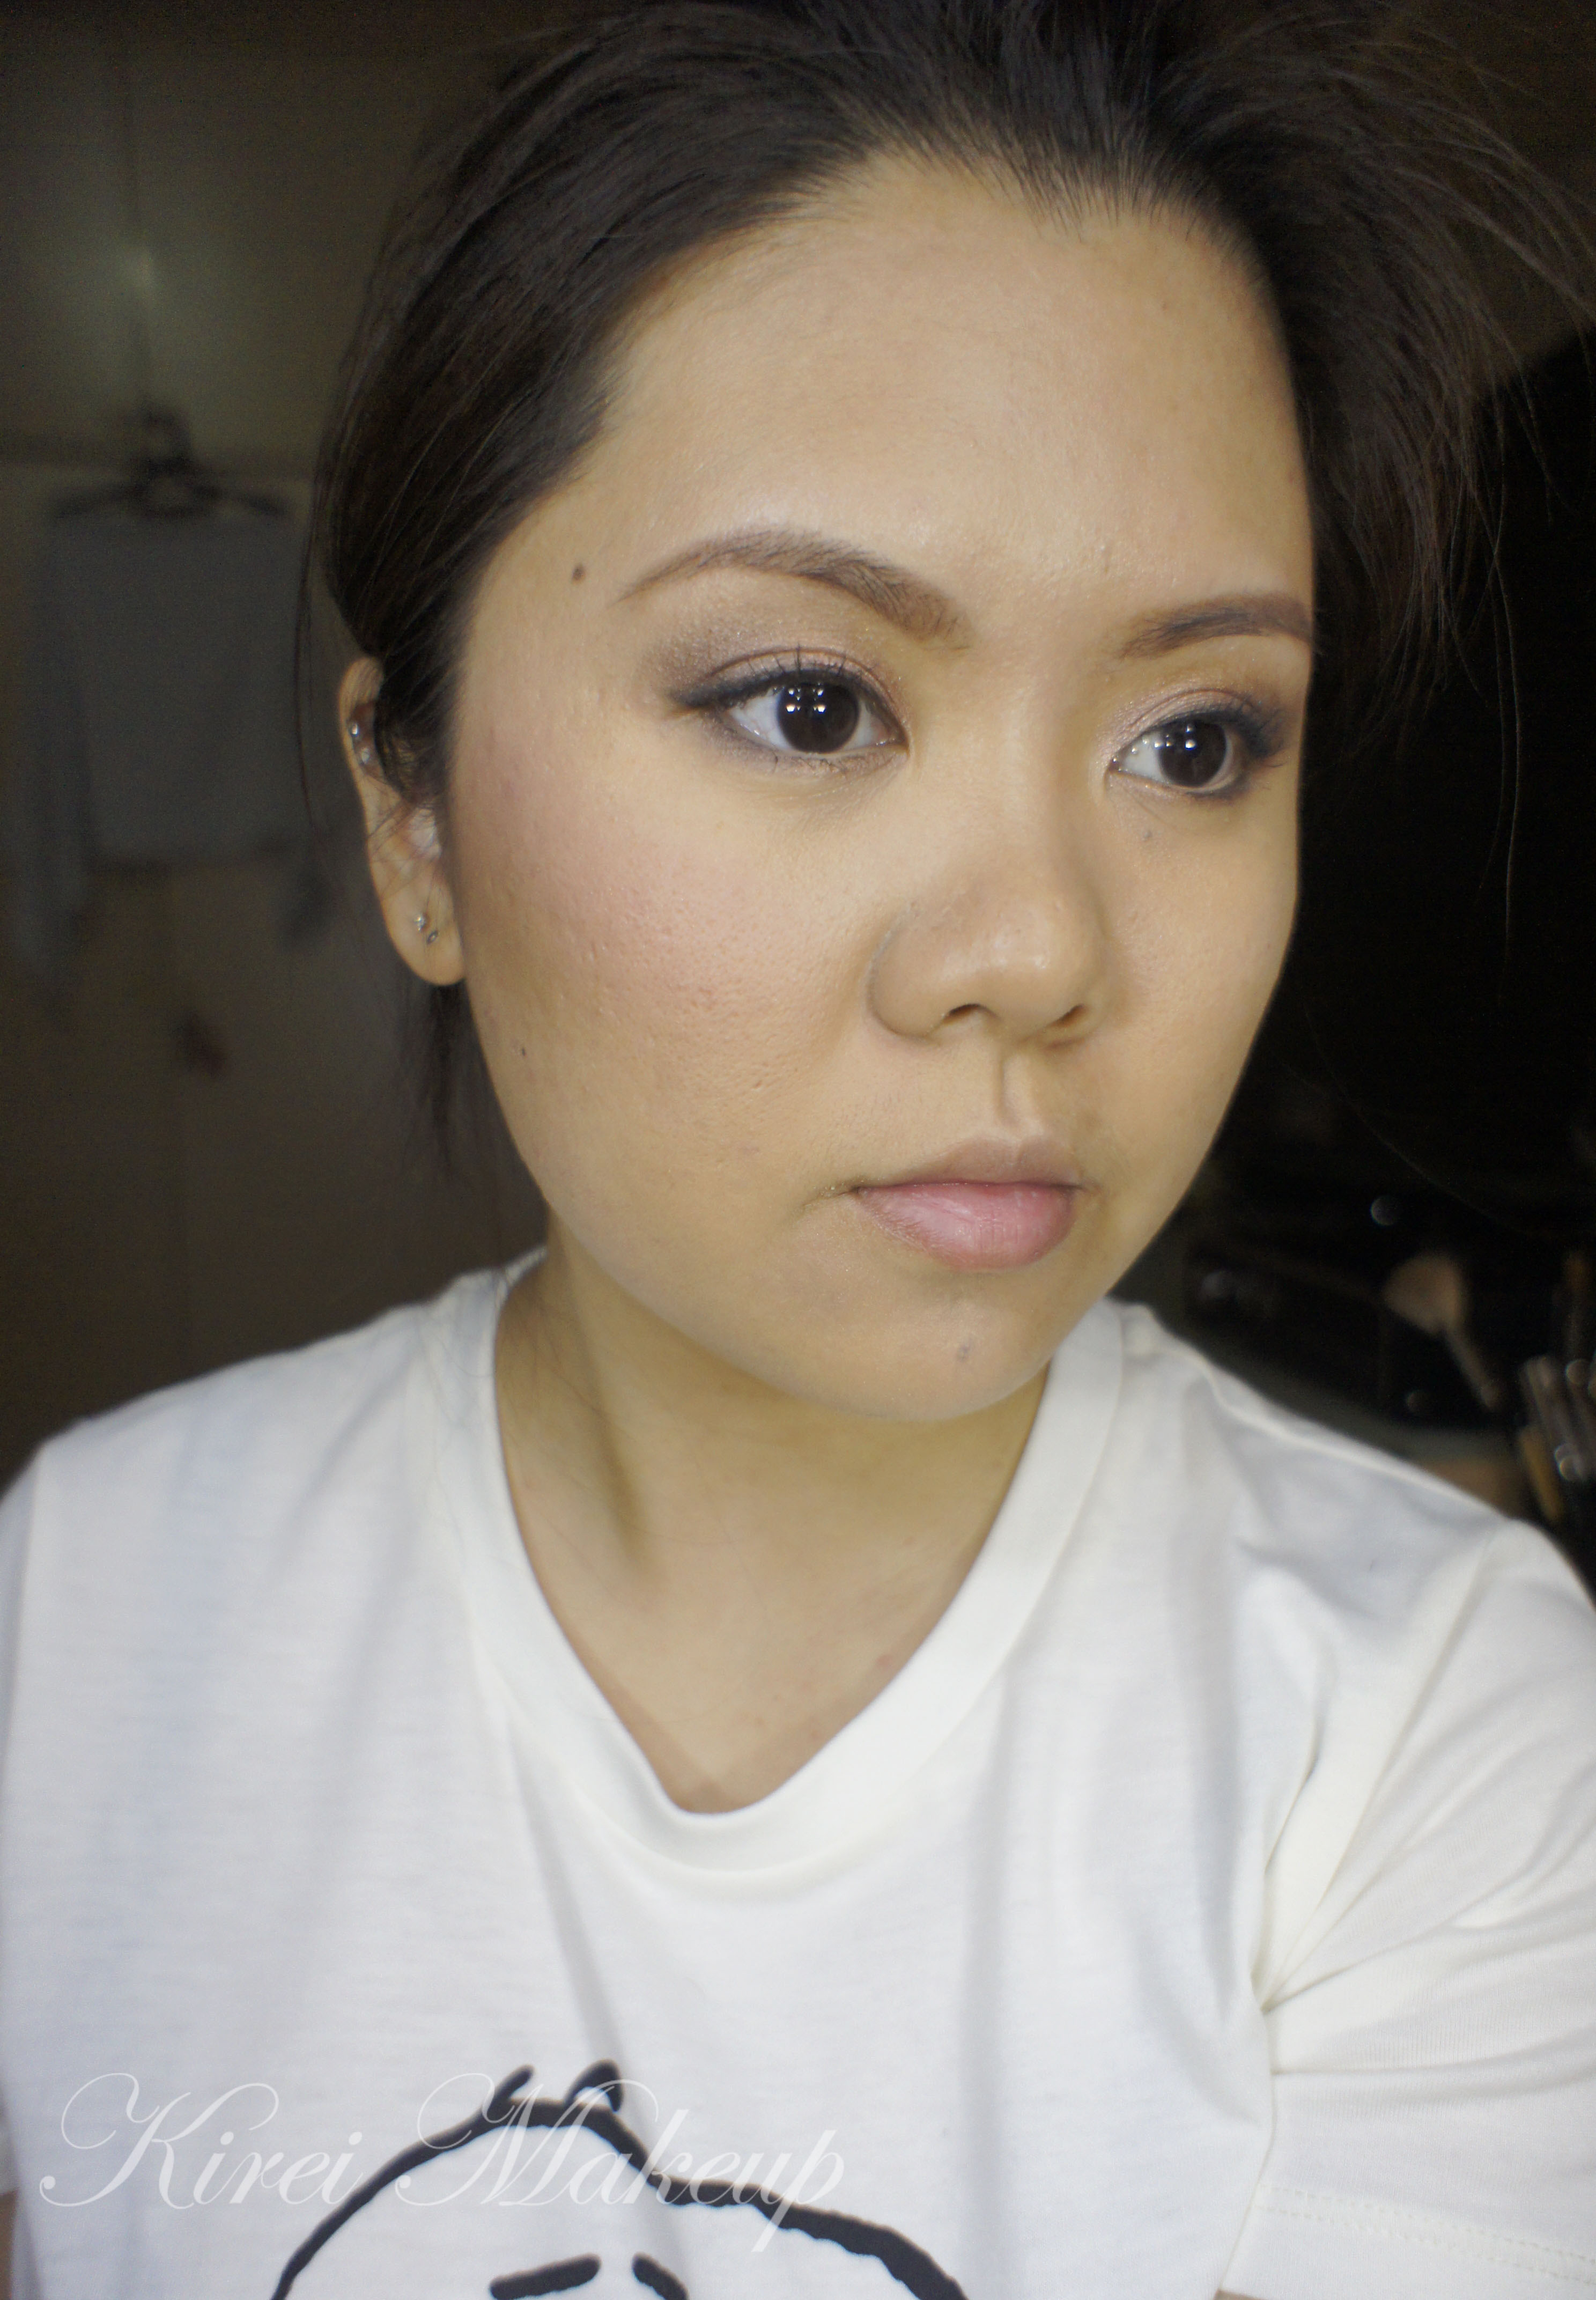
Below is the “Before” photo with bare face.
1. I applied moisturizer (Clinique Dramatically Moisturizing Gel) and face primer (Smashbox Foundation primer) all over my face before I started out.
tips: For mature and/or dry skin, I probably would choose to use a thicker moisturizer like the Clinique Dramatically Different Moisturizing Lotion, Elizabeth Arden 8hr cream, or Embryolisse etc to ensure that their skin gets enough hydration before foundation application.
For pictures below, please note that I only applied foundation, highlight, contour and blush on one side of my face (the left side on your screen). The other side is kept bare as a comparison.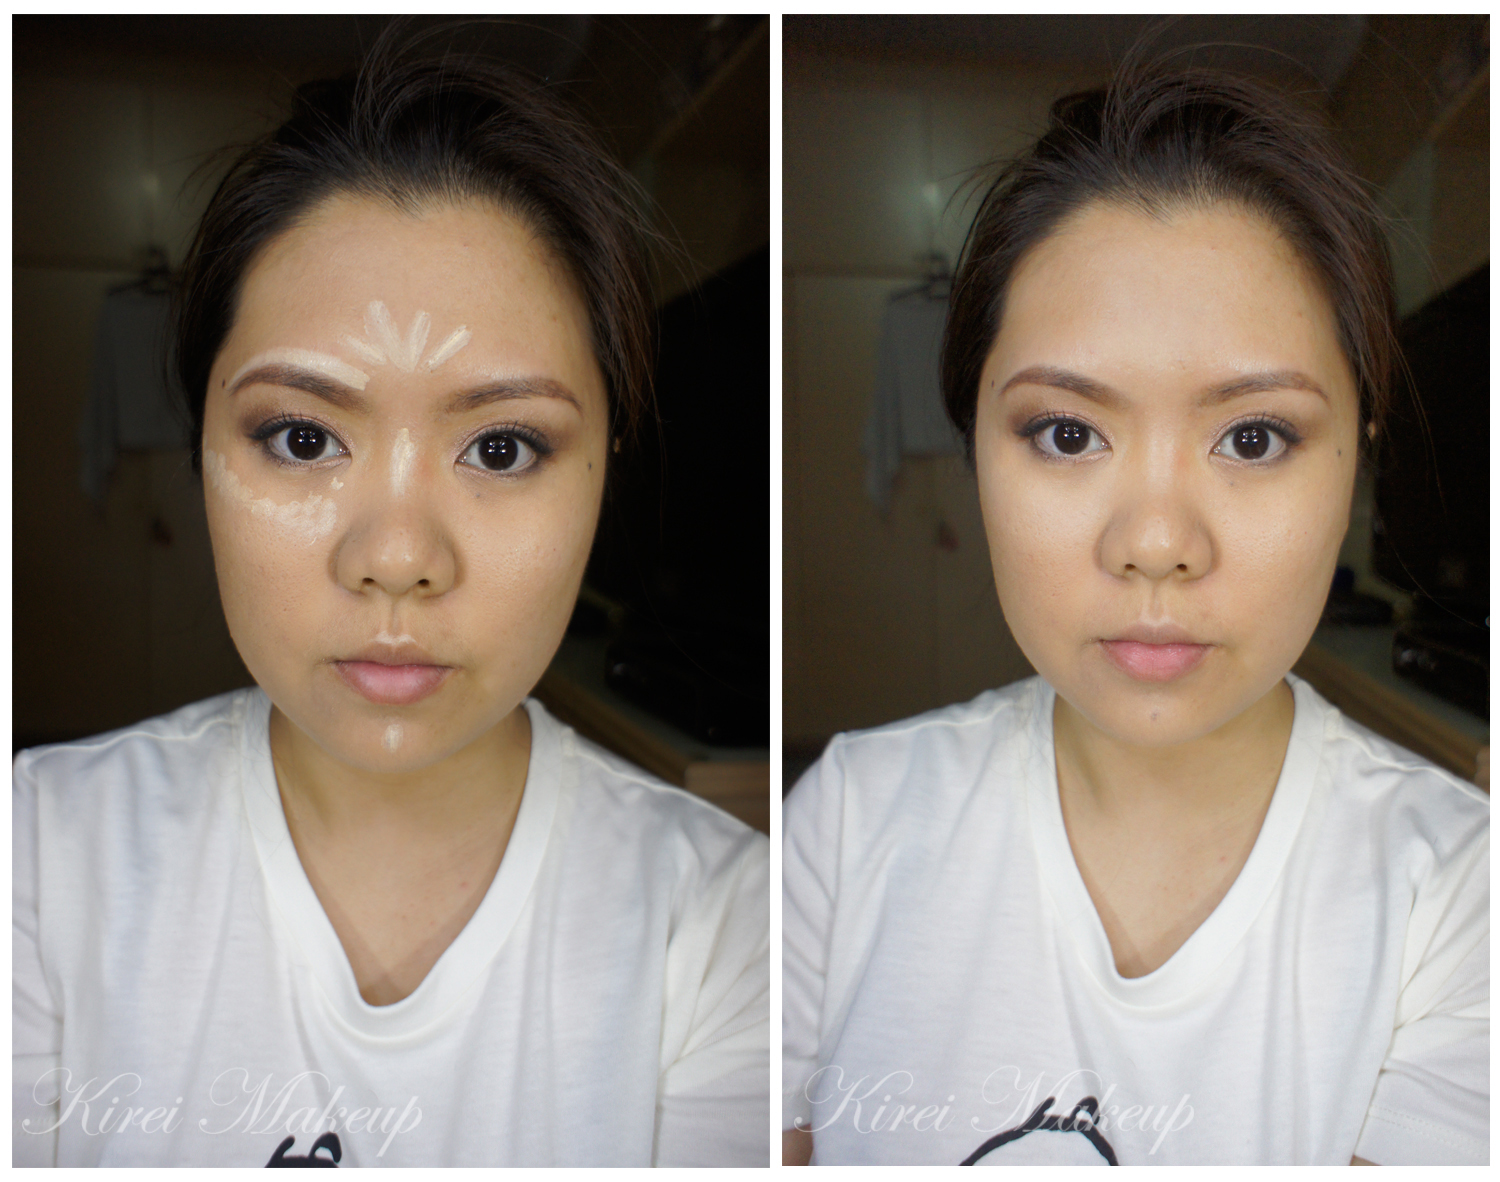
2. I applied YSL Touche Eclat in no. 1.5 on the places where I want my features to stand out: bridge of my nose, under the eyes, on top of the cheekbones, forehead, top of the brow, cupid’s bow and chin.
3. Using your finger/sponge/brush to feather the highlighter out and blend to the skin.
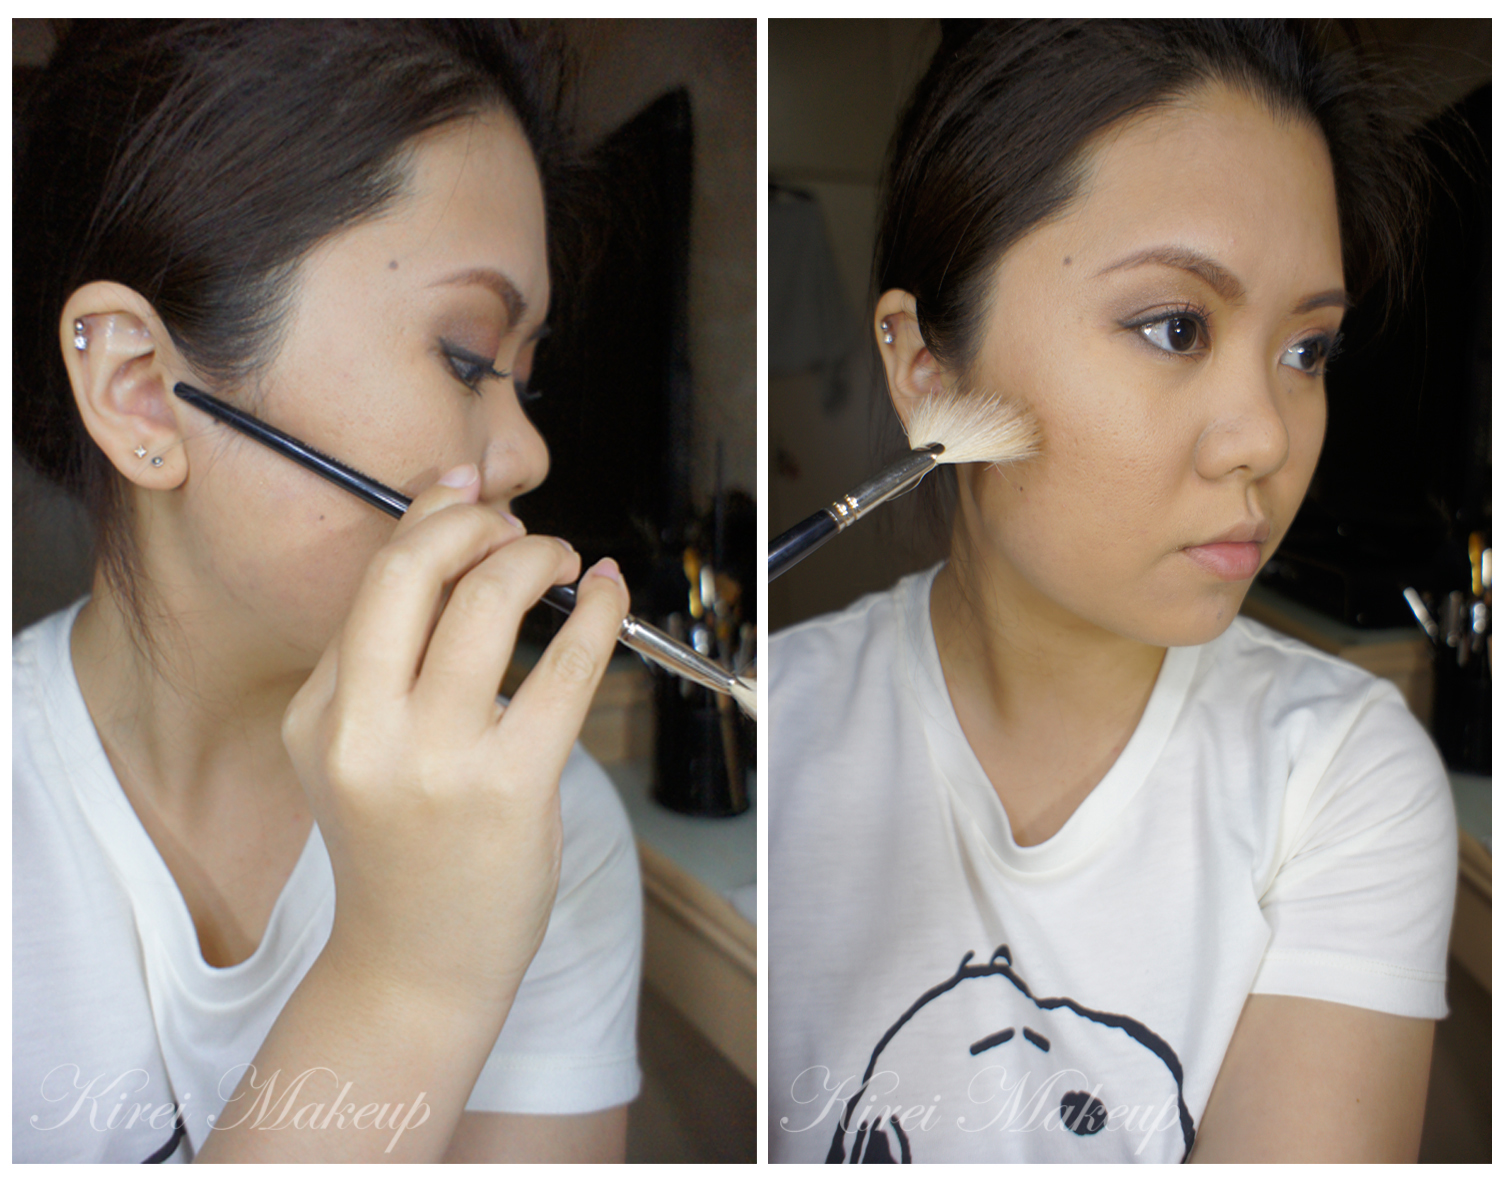
4. Using the handle of a fan brush, I placed the brush underneath the cheekbone. You should be able to feel a hollow area under your cheekbones. The area where you want to contour is from your ear to just before the corner of your mouth.
5. Using MAC Shadowy pro powder and the face fan brush, I applied the contour right at the hollows of the cheeks towards the corner of the mouth. Stop your contour about 2-3 fingers away from the corner of your mouth.
6. Use whatever is left on the brush to be applied on the temples and jawline.
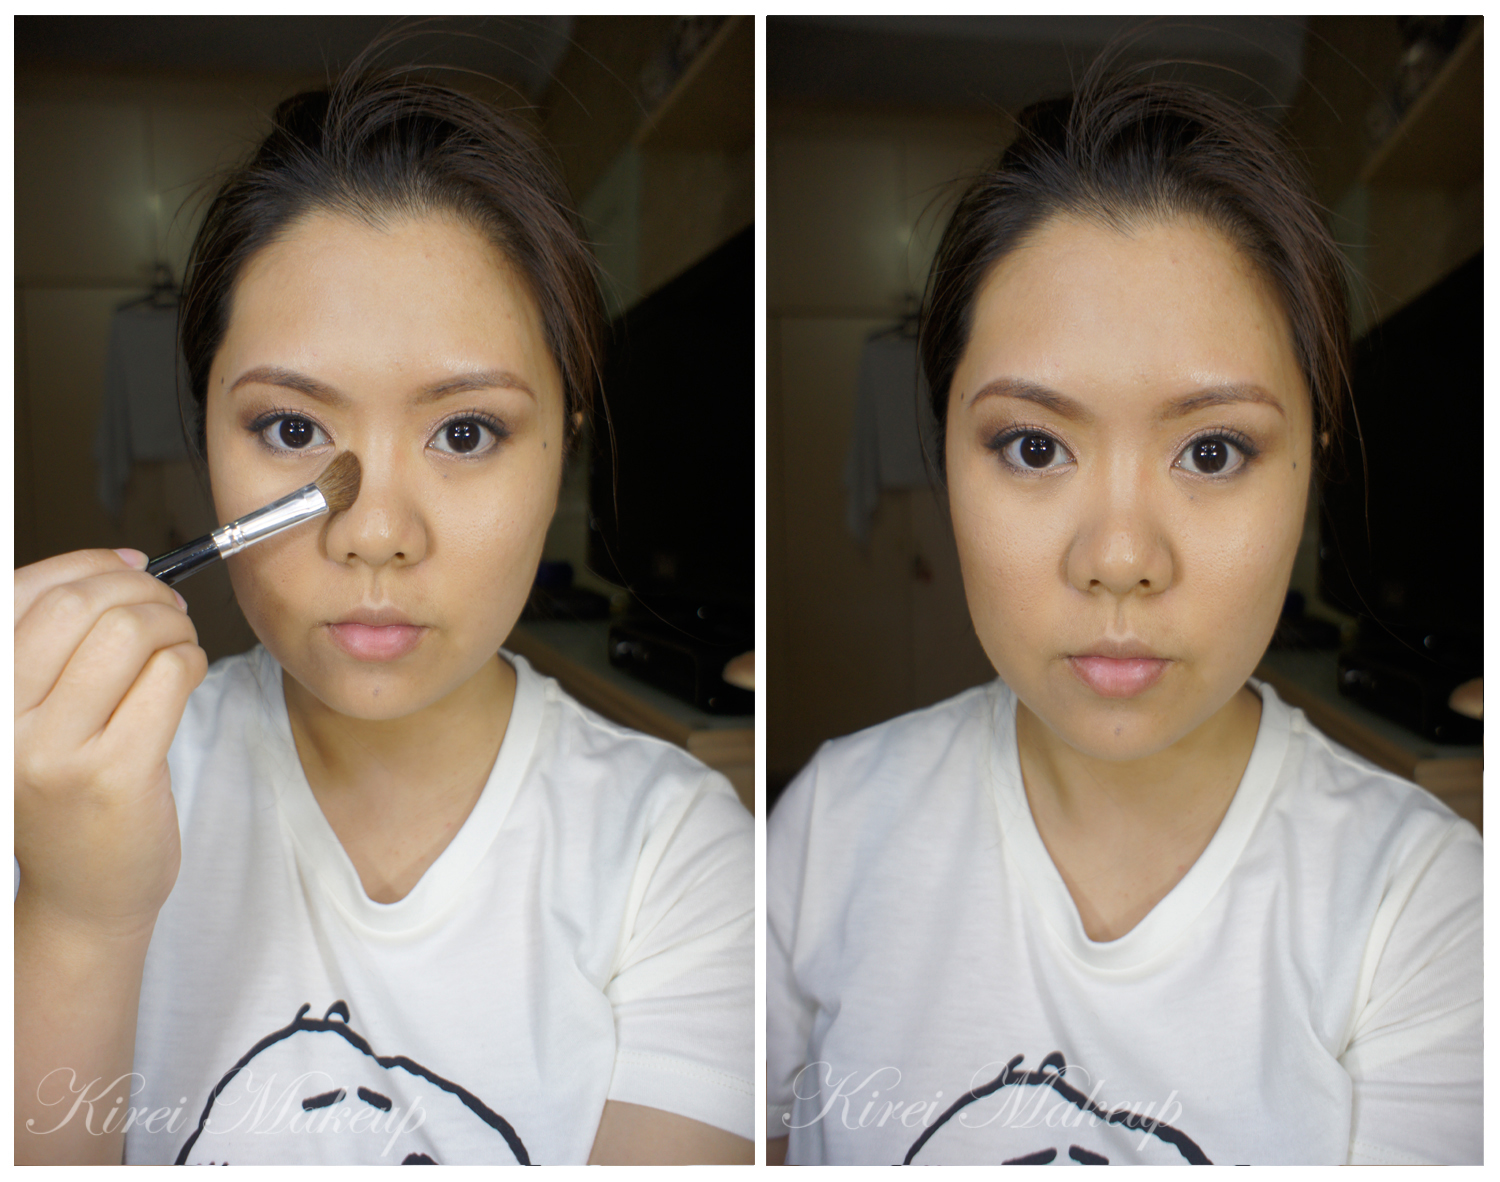
7. I used a fluffy angled brush and MAC Shadowy powder to contour the side of the nose.
8. I placed the brush in the middle (see photo below), and swiped it down and up. Blend the line down to the side of the nose to remove any harsh line.
9. Using Benefit Hervana blush, I applied it to my cheeks with a blush brush.
10. I applied the blush to the center of my cheeks without smiling so that the blush doesn’t get droopy. This will help to create an illusion of a higher cheekbone. This will benefit mature women to create a face lift and look younger.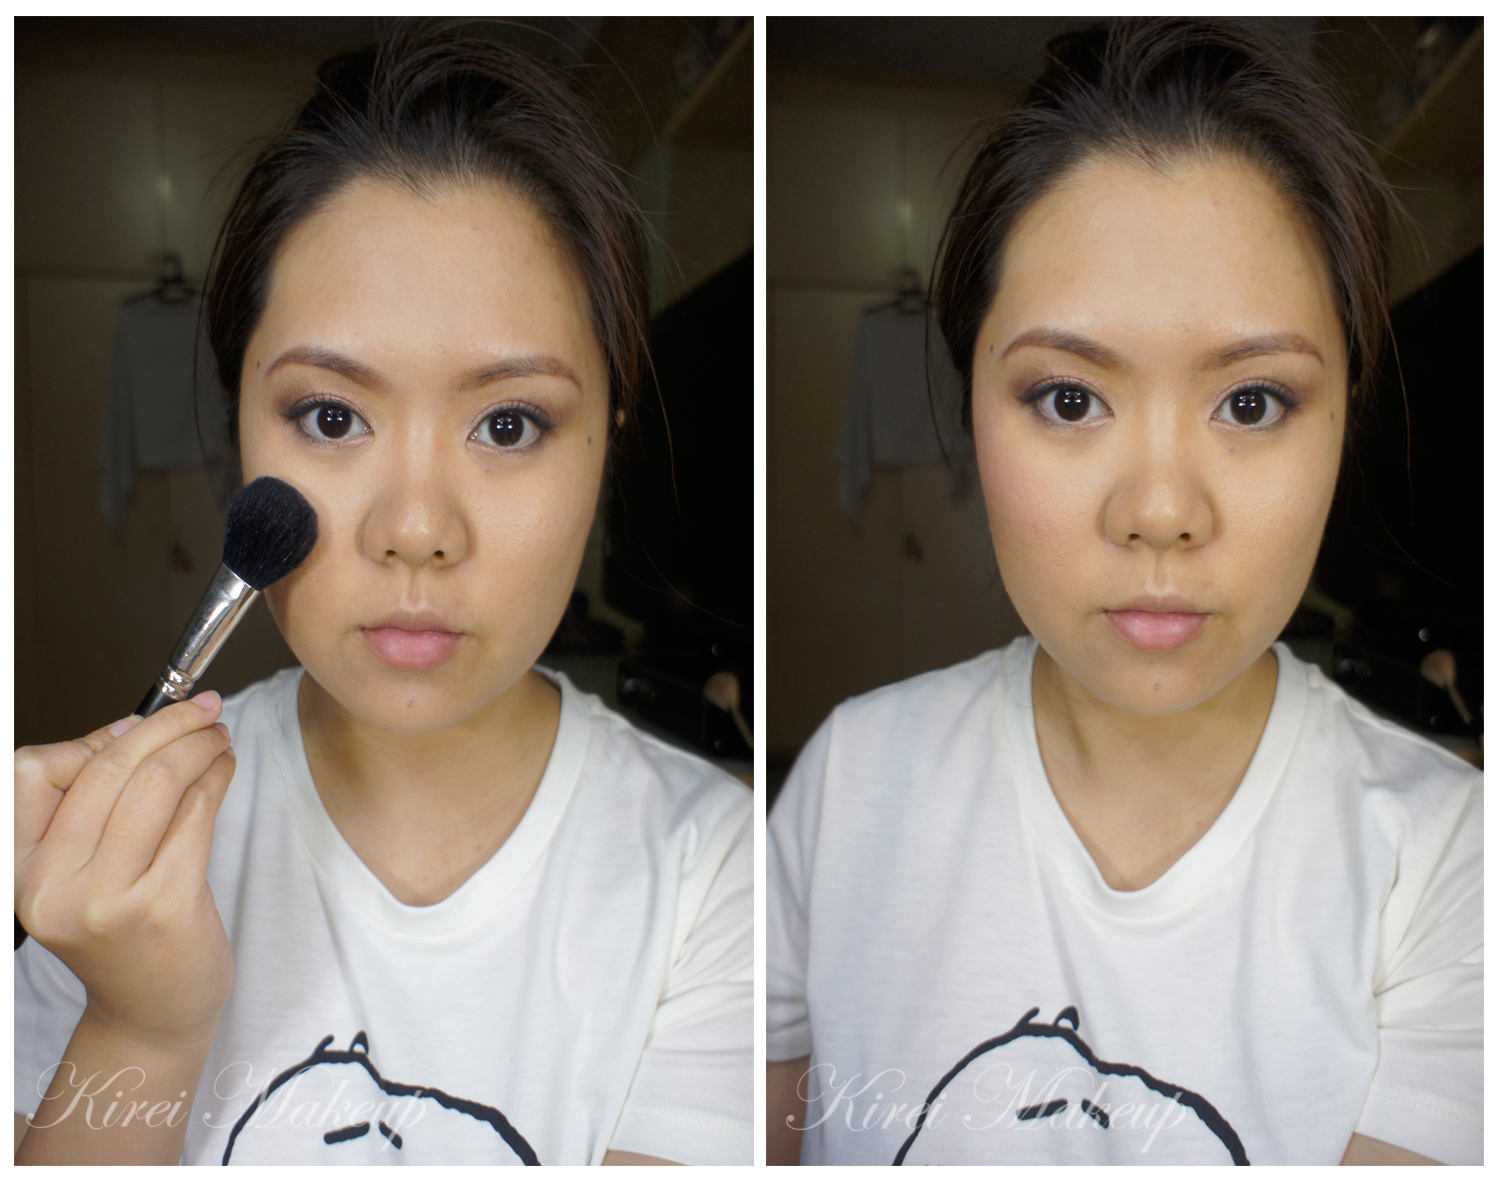
Below is the side view of what we’ve done in the steps above. Keep the highlight/contour/blush at an angled to create an illusion of high cheekbones.
Below is the After photo with both sides of the face completed.