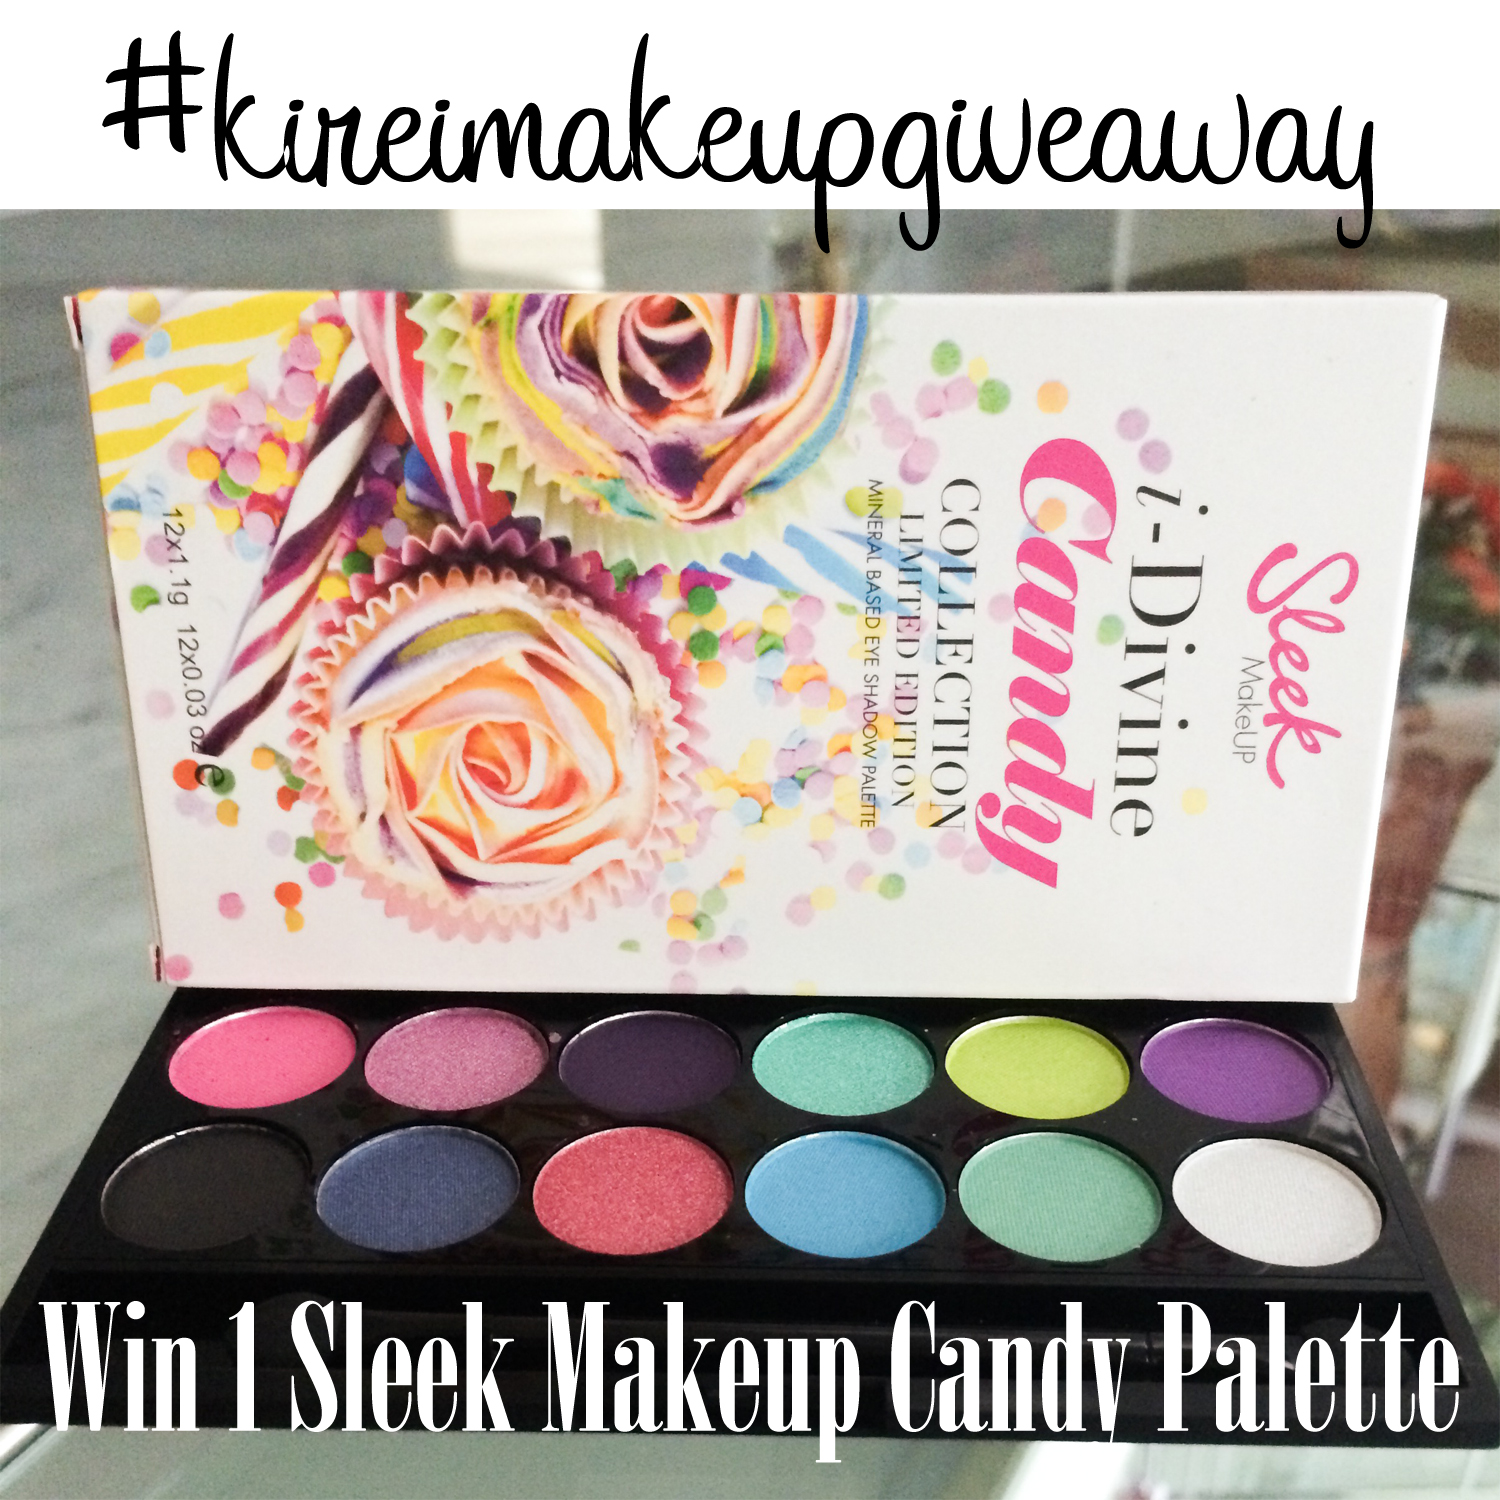
My Sleek Makeup Candy Palette is back in my hands again! I accidentally left it back in Jakarta last year, and my brother brought it back to Canada for me! Woohooo!!! So happy to have this Sleek Makeup Candy palette back to create many colorful looks.
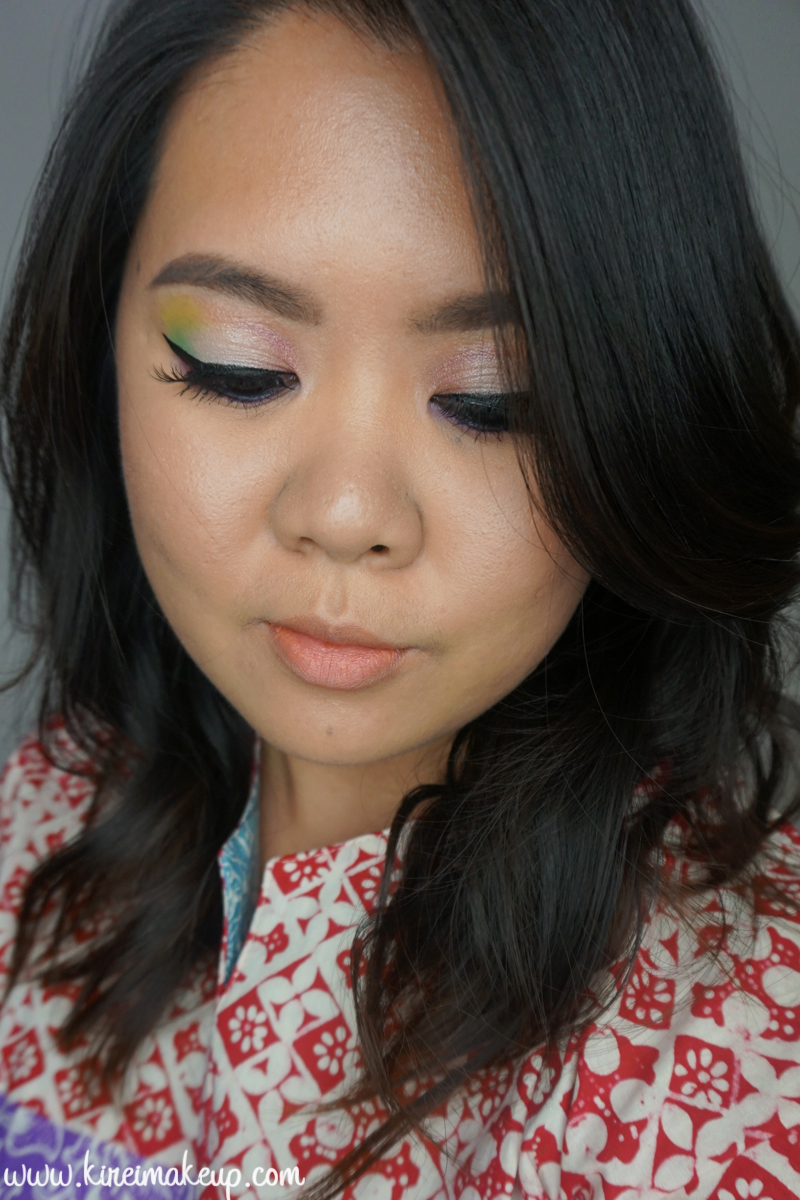
So the inspiration behind this colorful look is actually a “Batik” top (worn in pictures below) I received yesterday from Sofia via my brother. My friend, Sofia from @Sophie_Tobelly, is an amazing fashion designer, and she actually created this top and sold it in her store. A big THANK YOU and shout out to Sofia!!! You guys should really check her out on Instagram (IG)! She also sent down a clutch she created, I posted it on my IG account so please do check it out and follow me on IG!
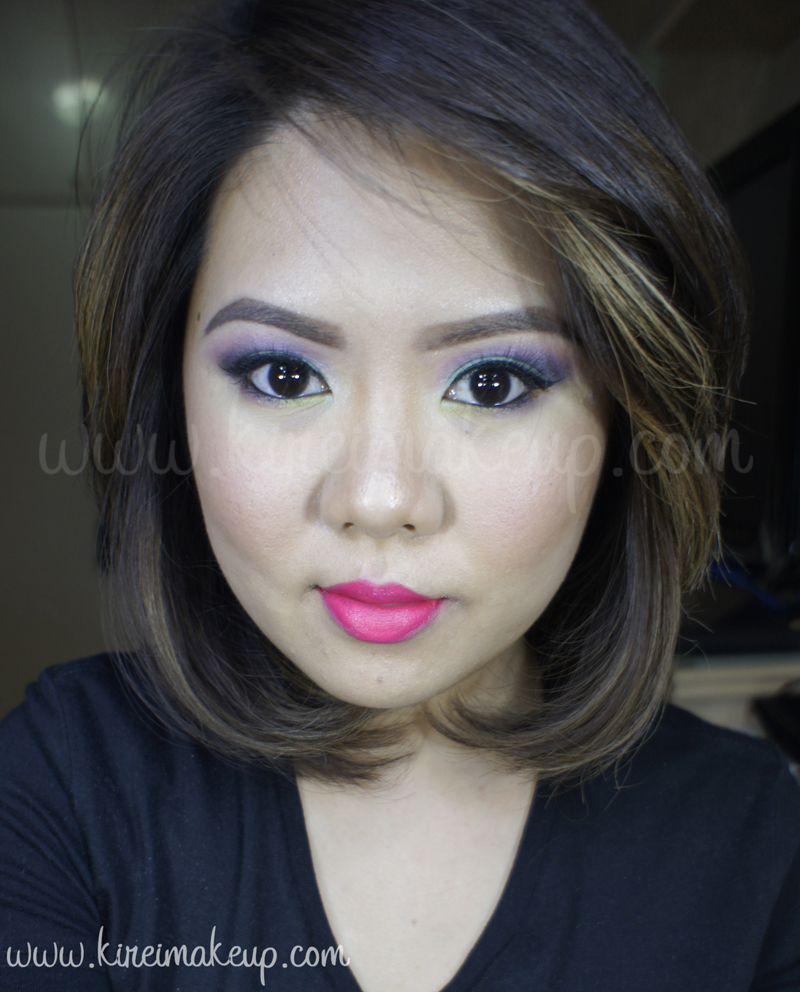
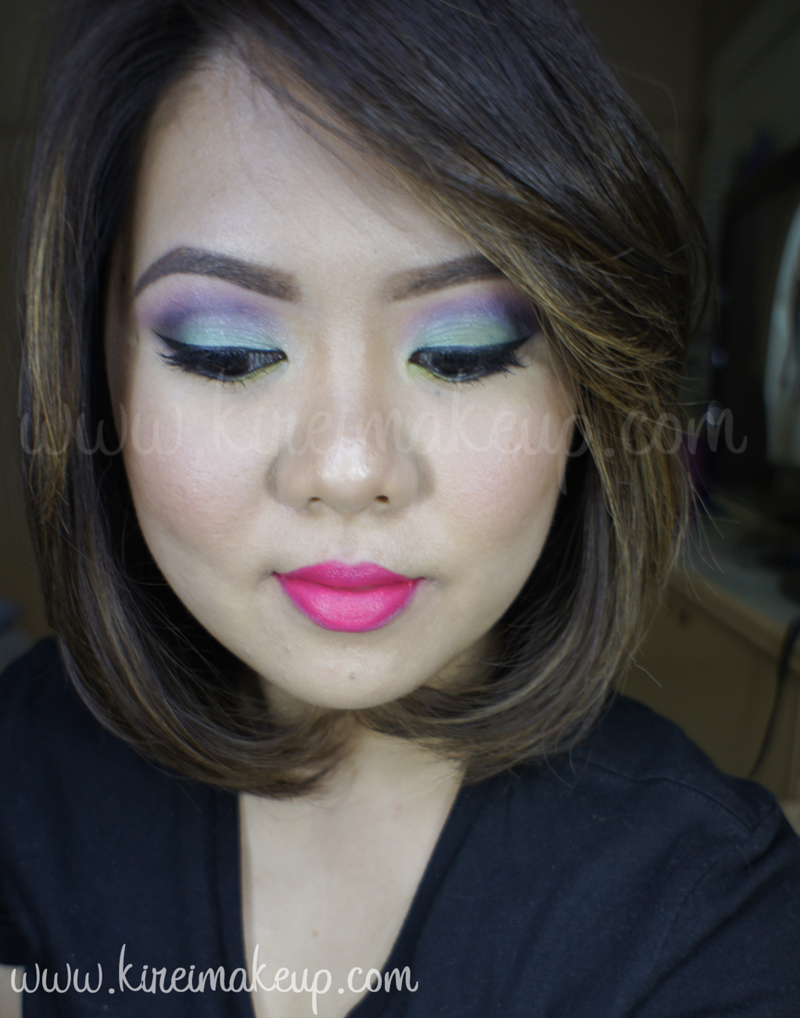
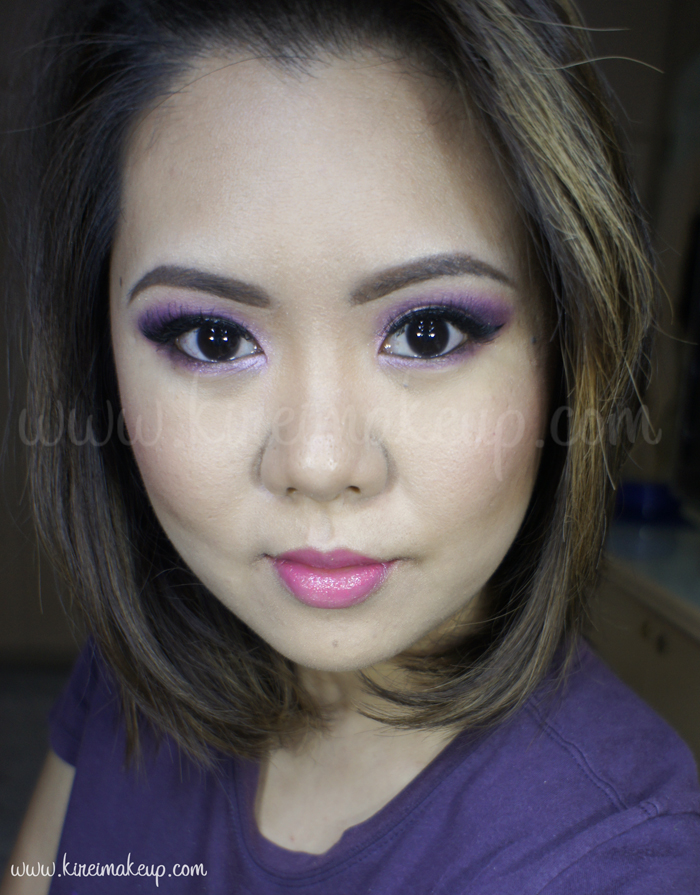
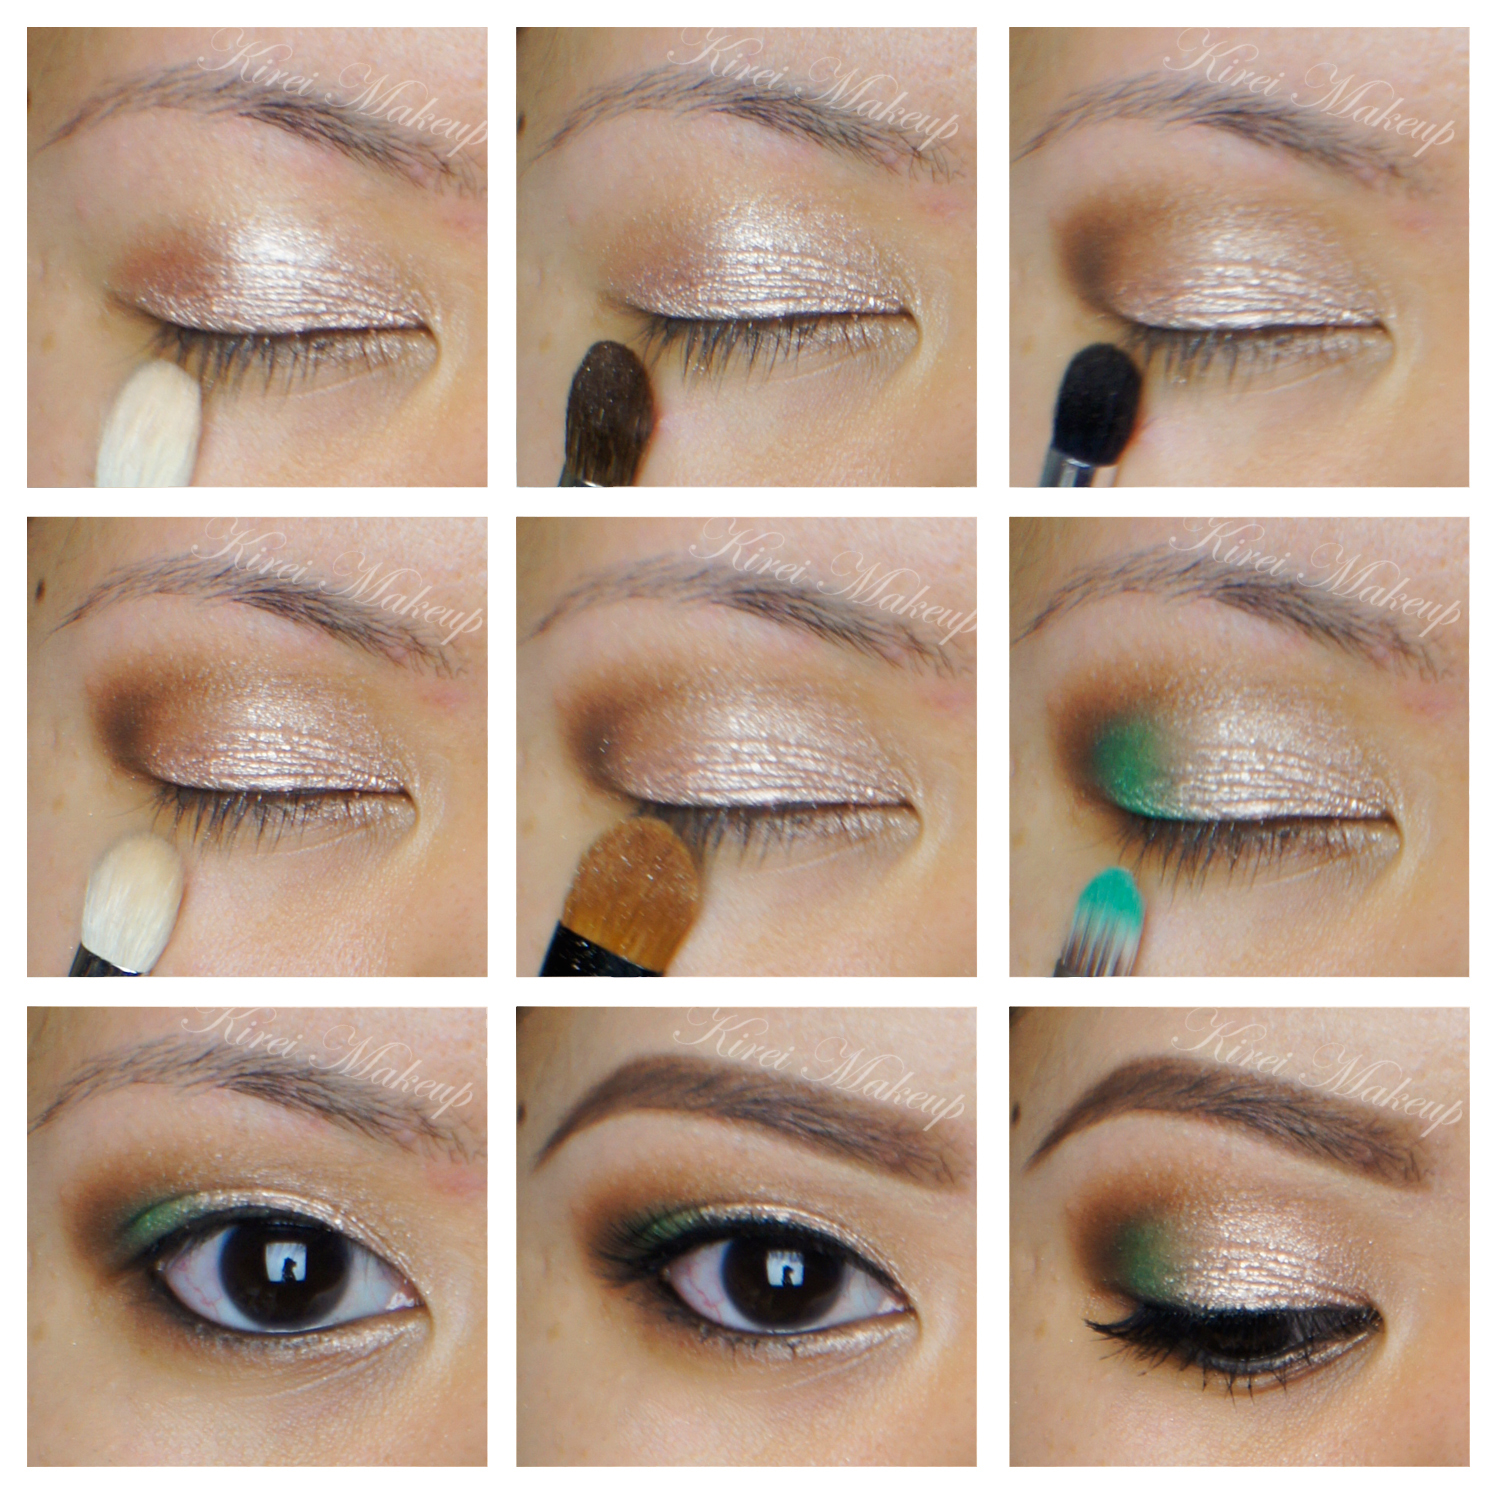
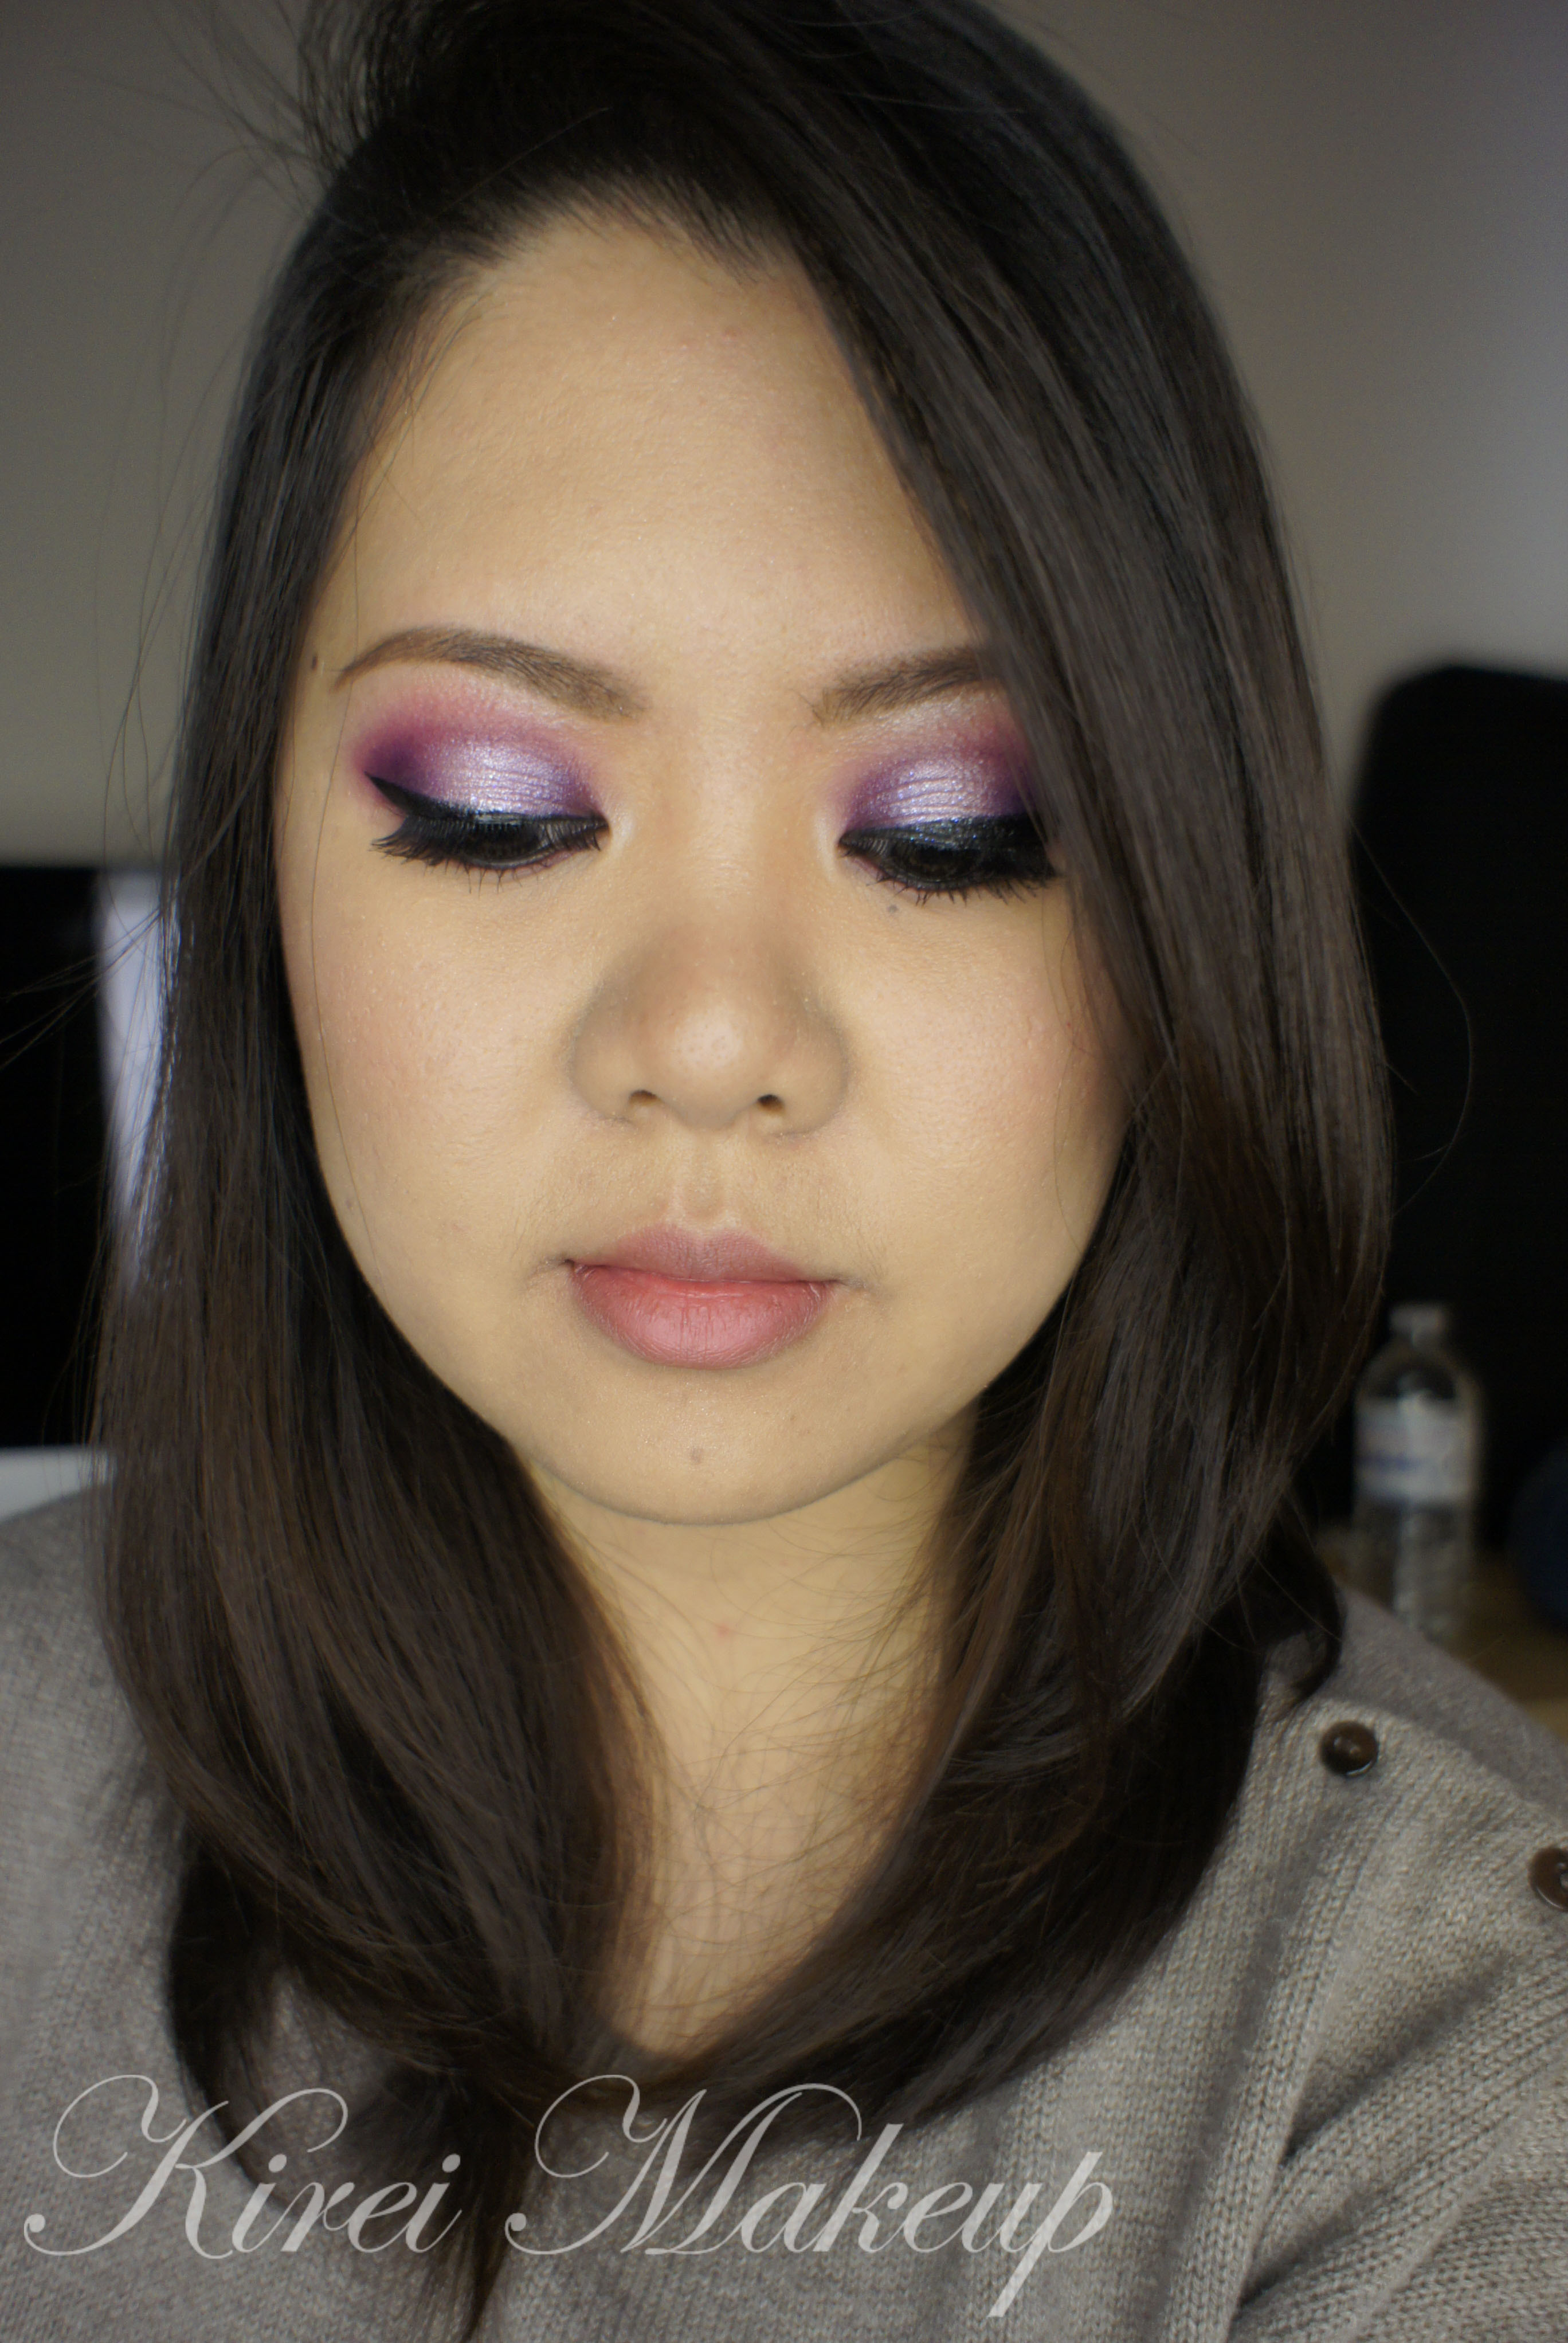
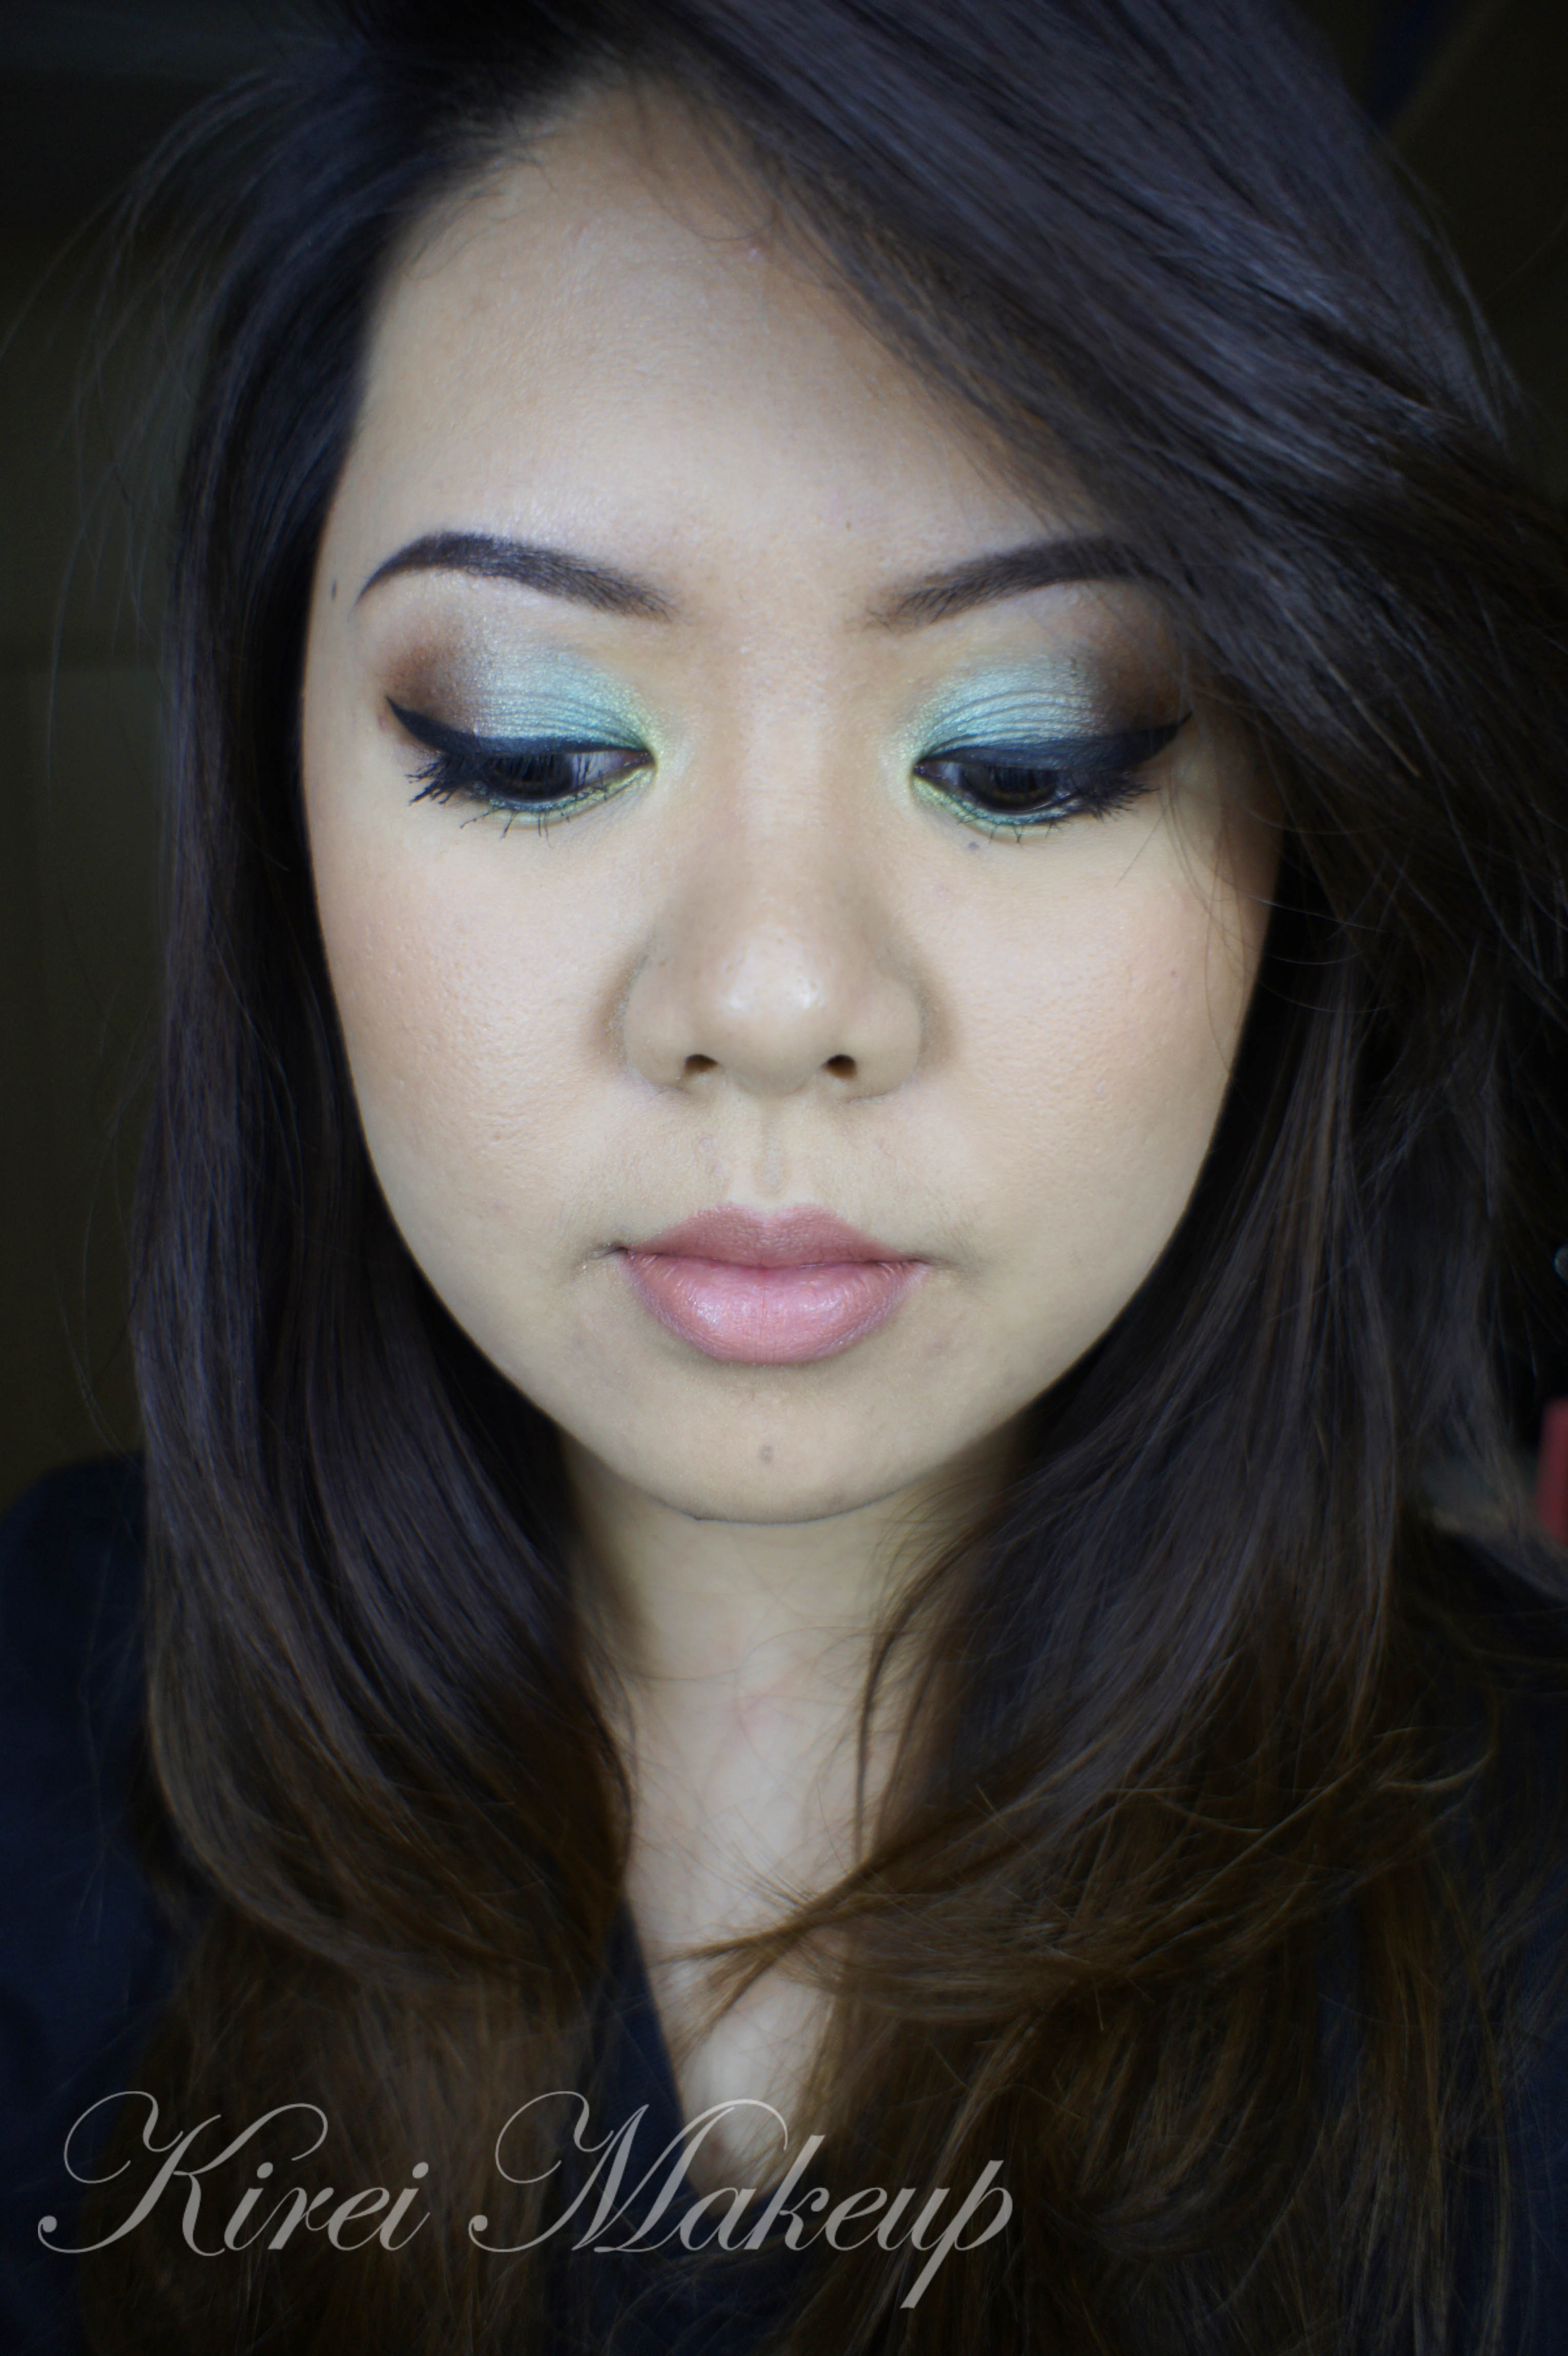
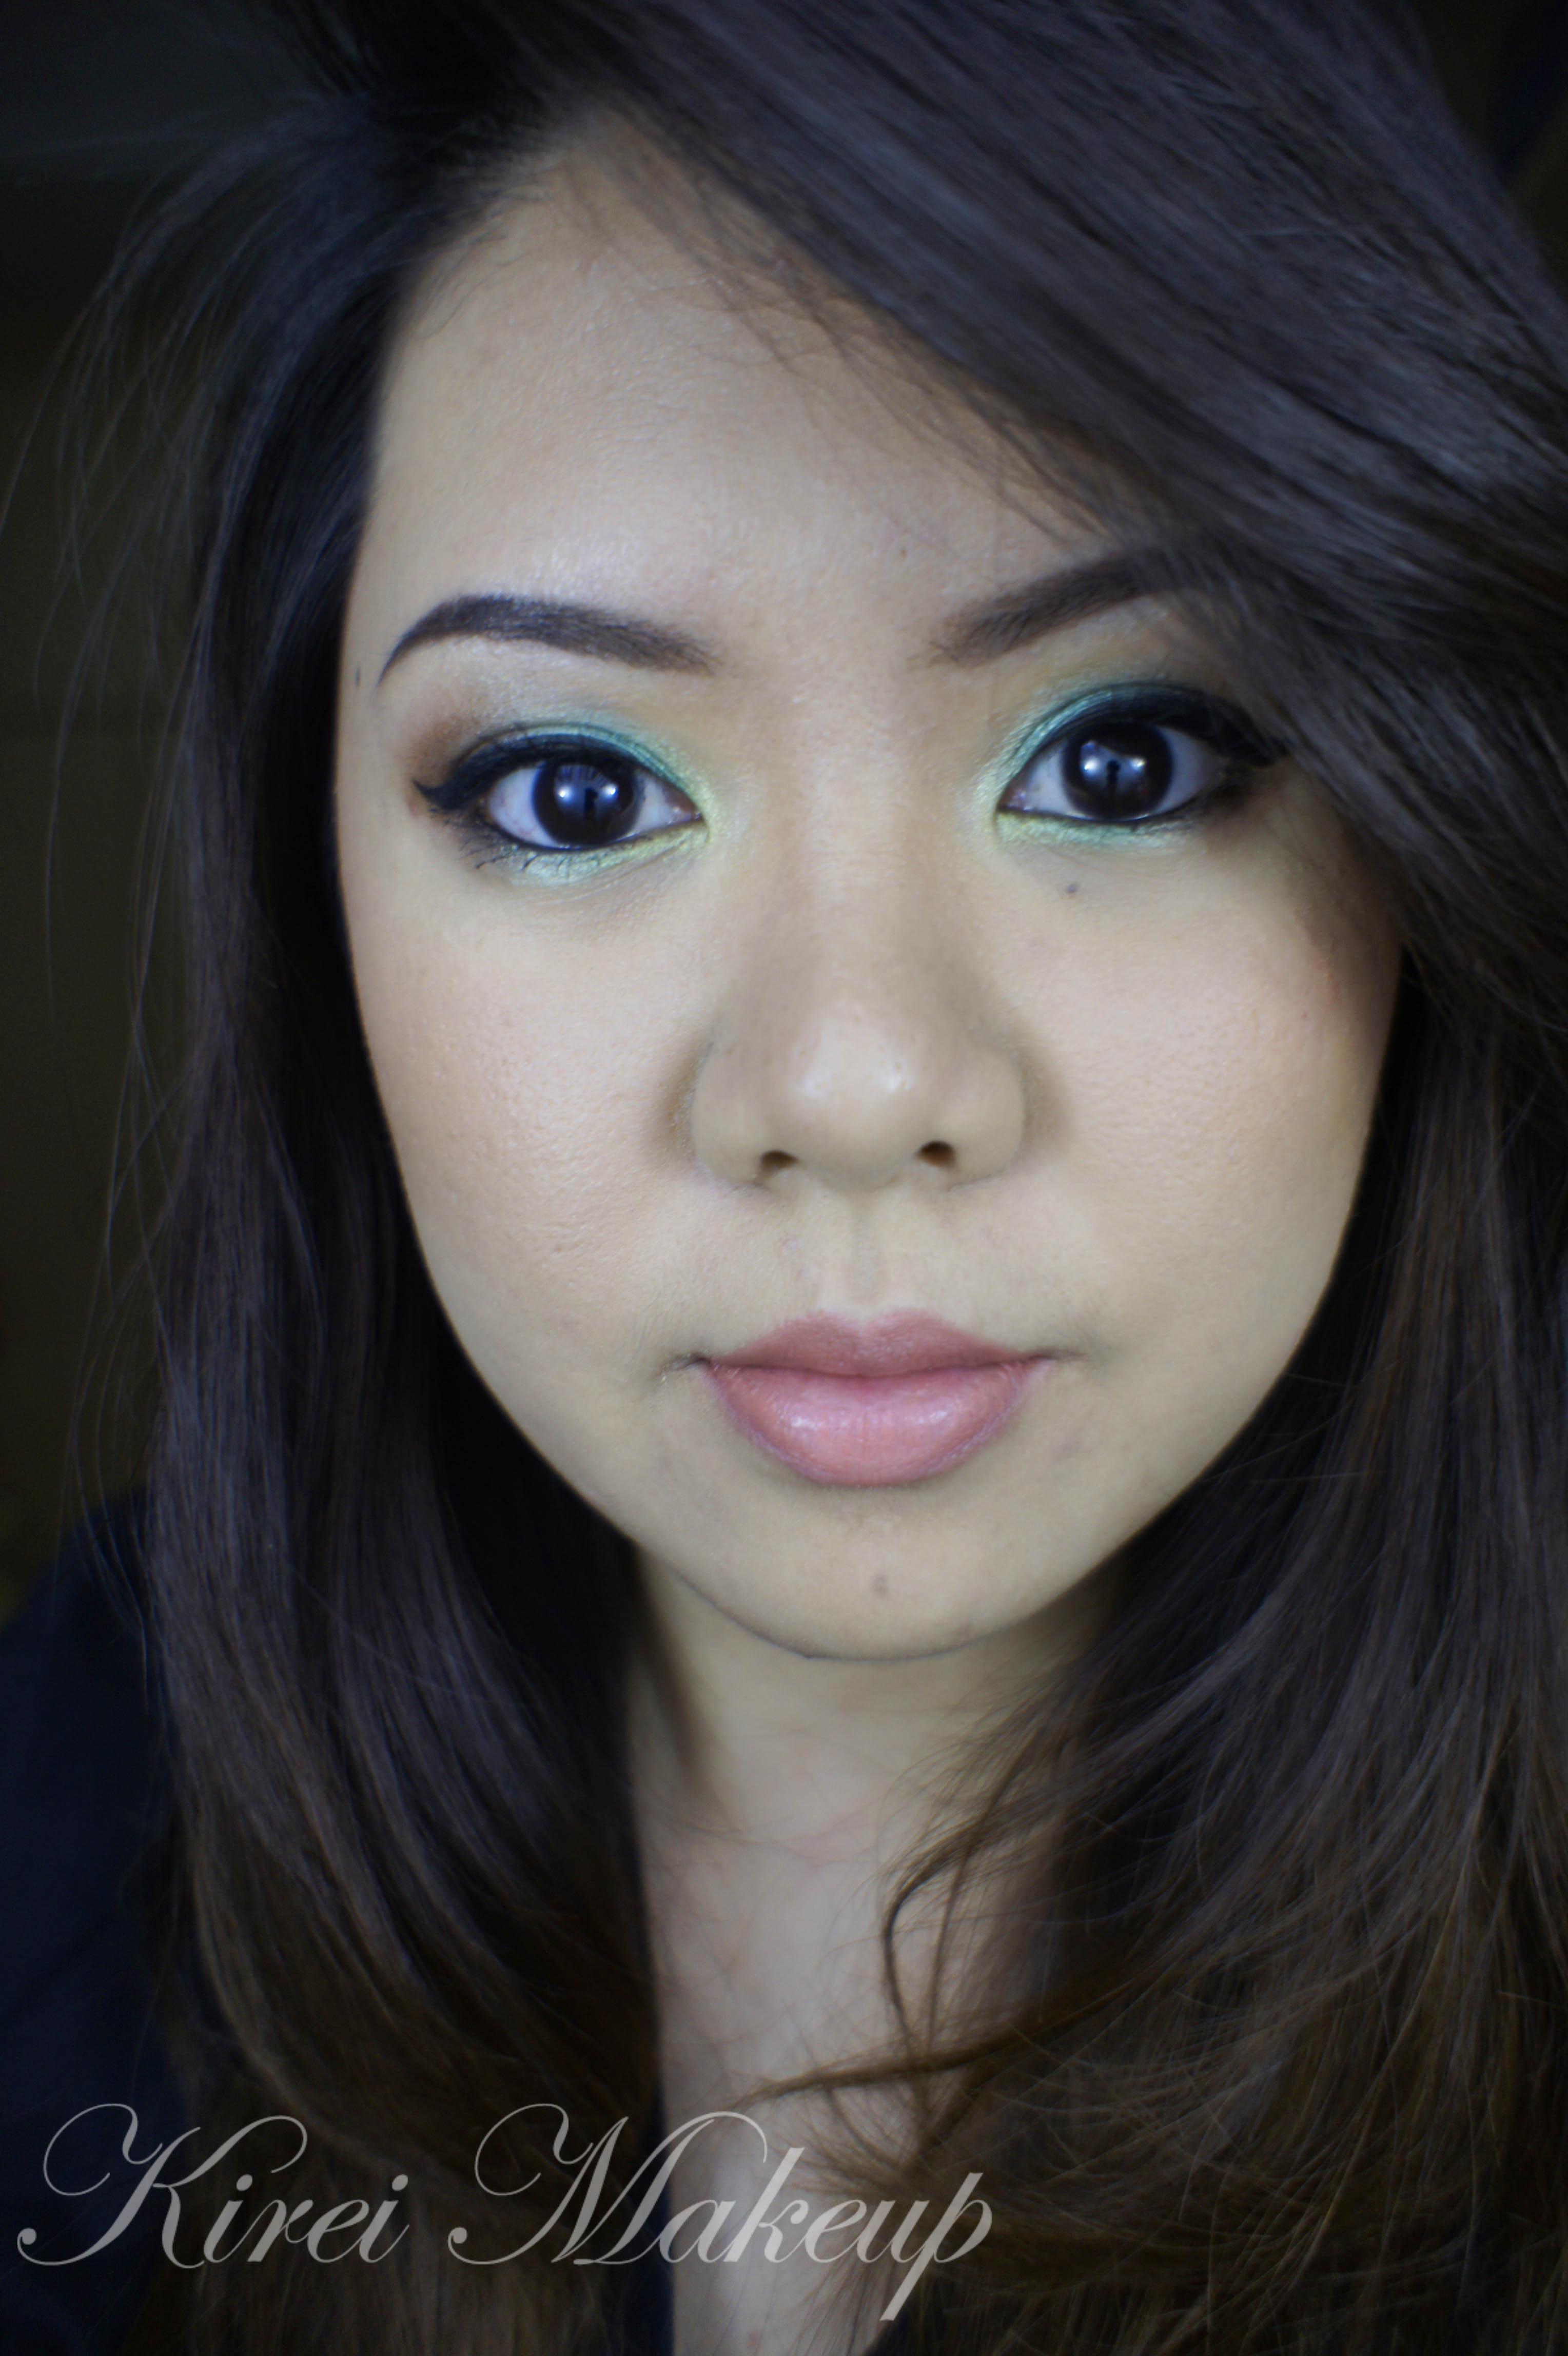
The top has several different colors like red, purple, white, and blue. I was going to use the blue from the palette, but it ended up being too chalky, so I changed it to green instead. I do love the end result, it almost has a watercolor feel to it. Should you decide to replicate this look, please do tag me on IG or add #kireimakeup.
*For other Sleek Makeup Candy Palette tutorials, please check out Psychedelic and Very Purple*

Products used
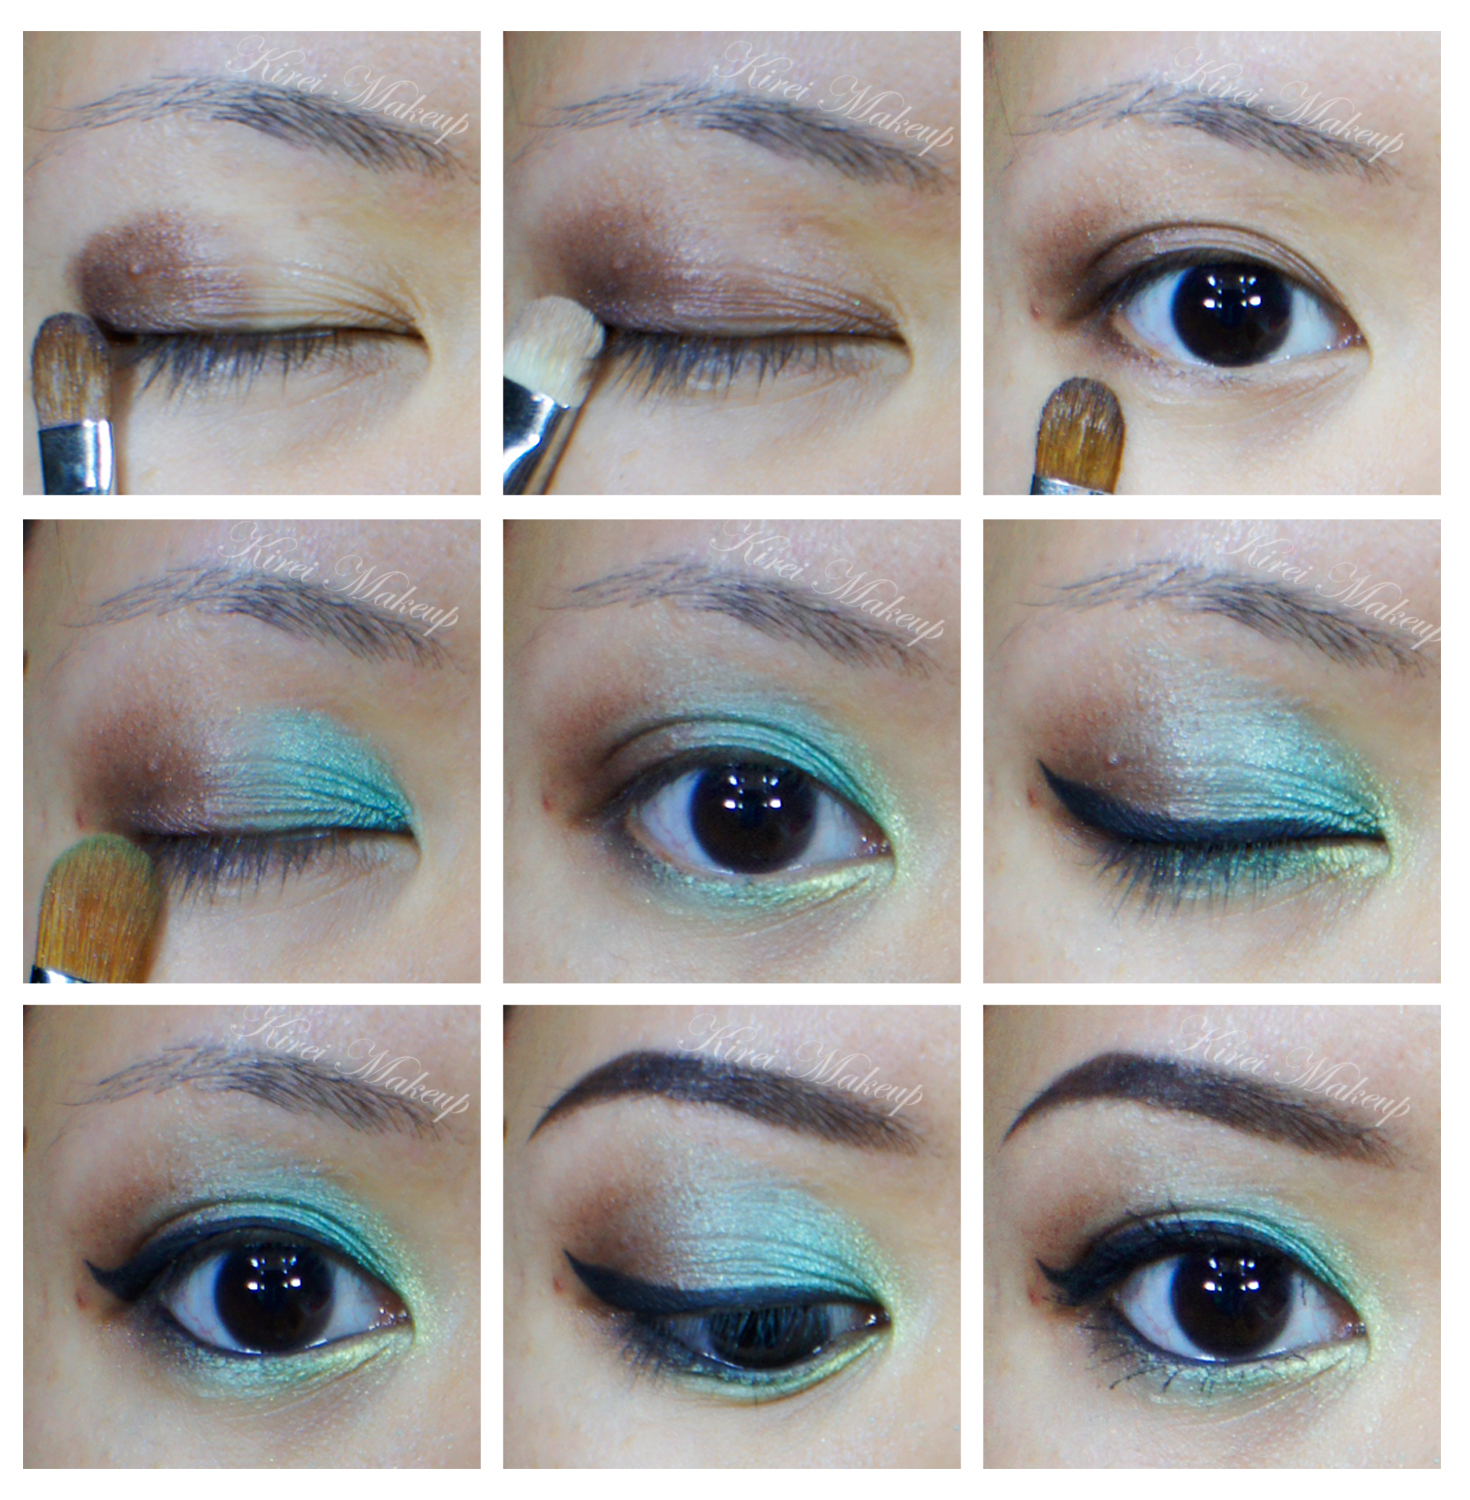
Eyes
- Primer – Urban Decay Primer Potion “Original”
- Base – MAC Mineralized Skinfinish “Medium Plus”
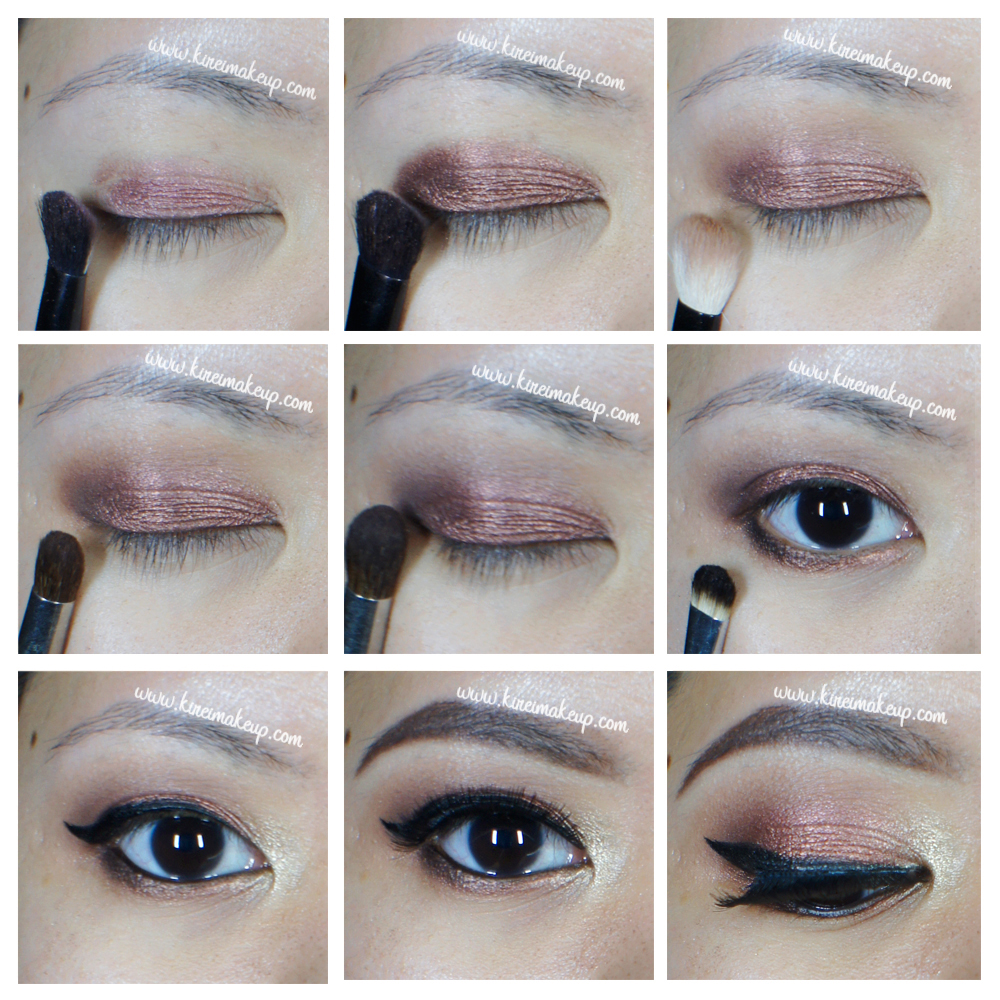
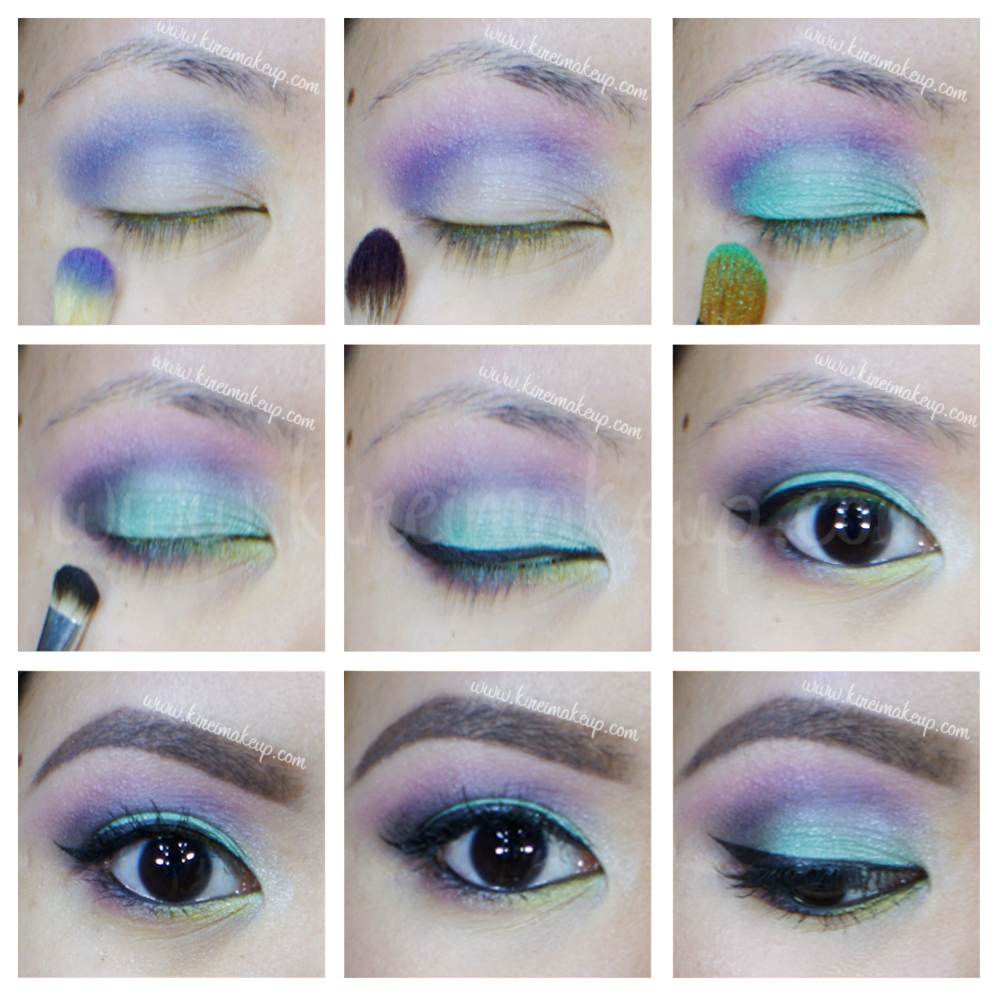
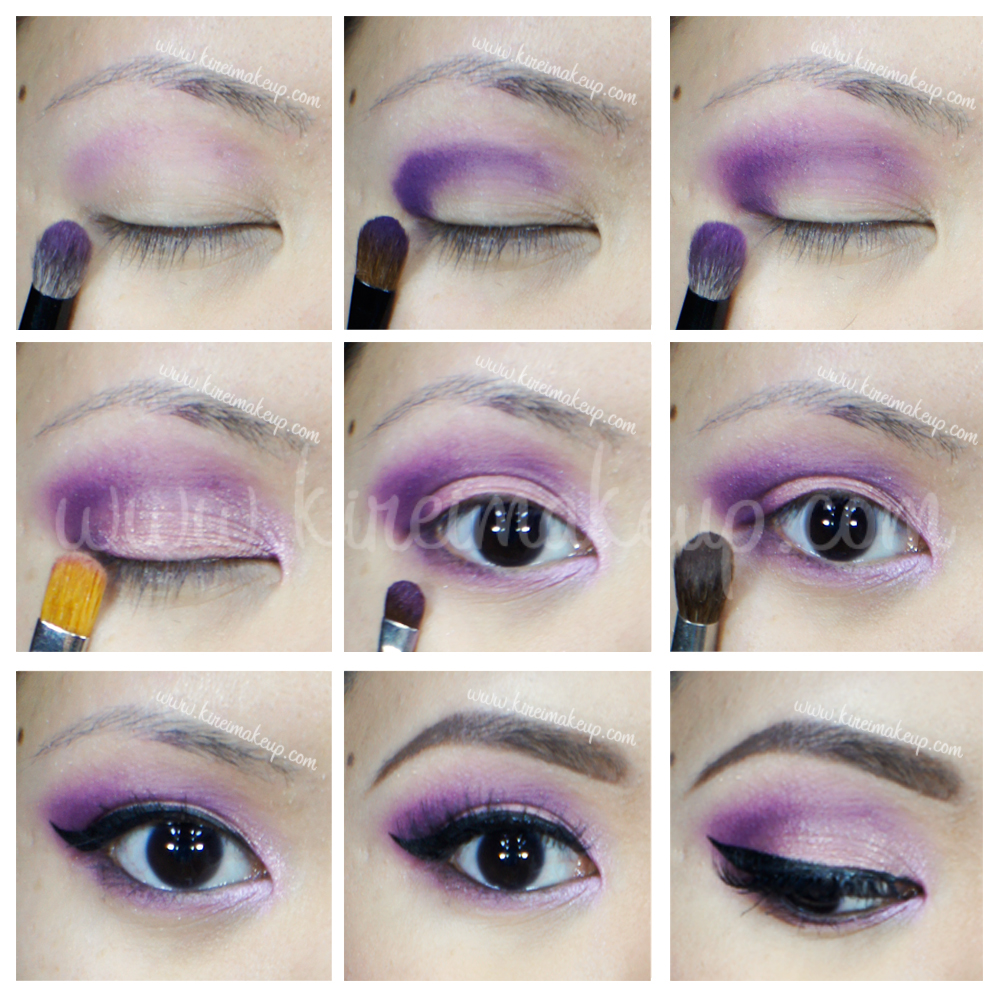
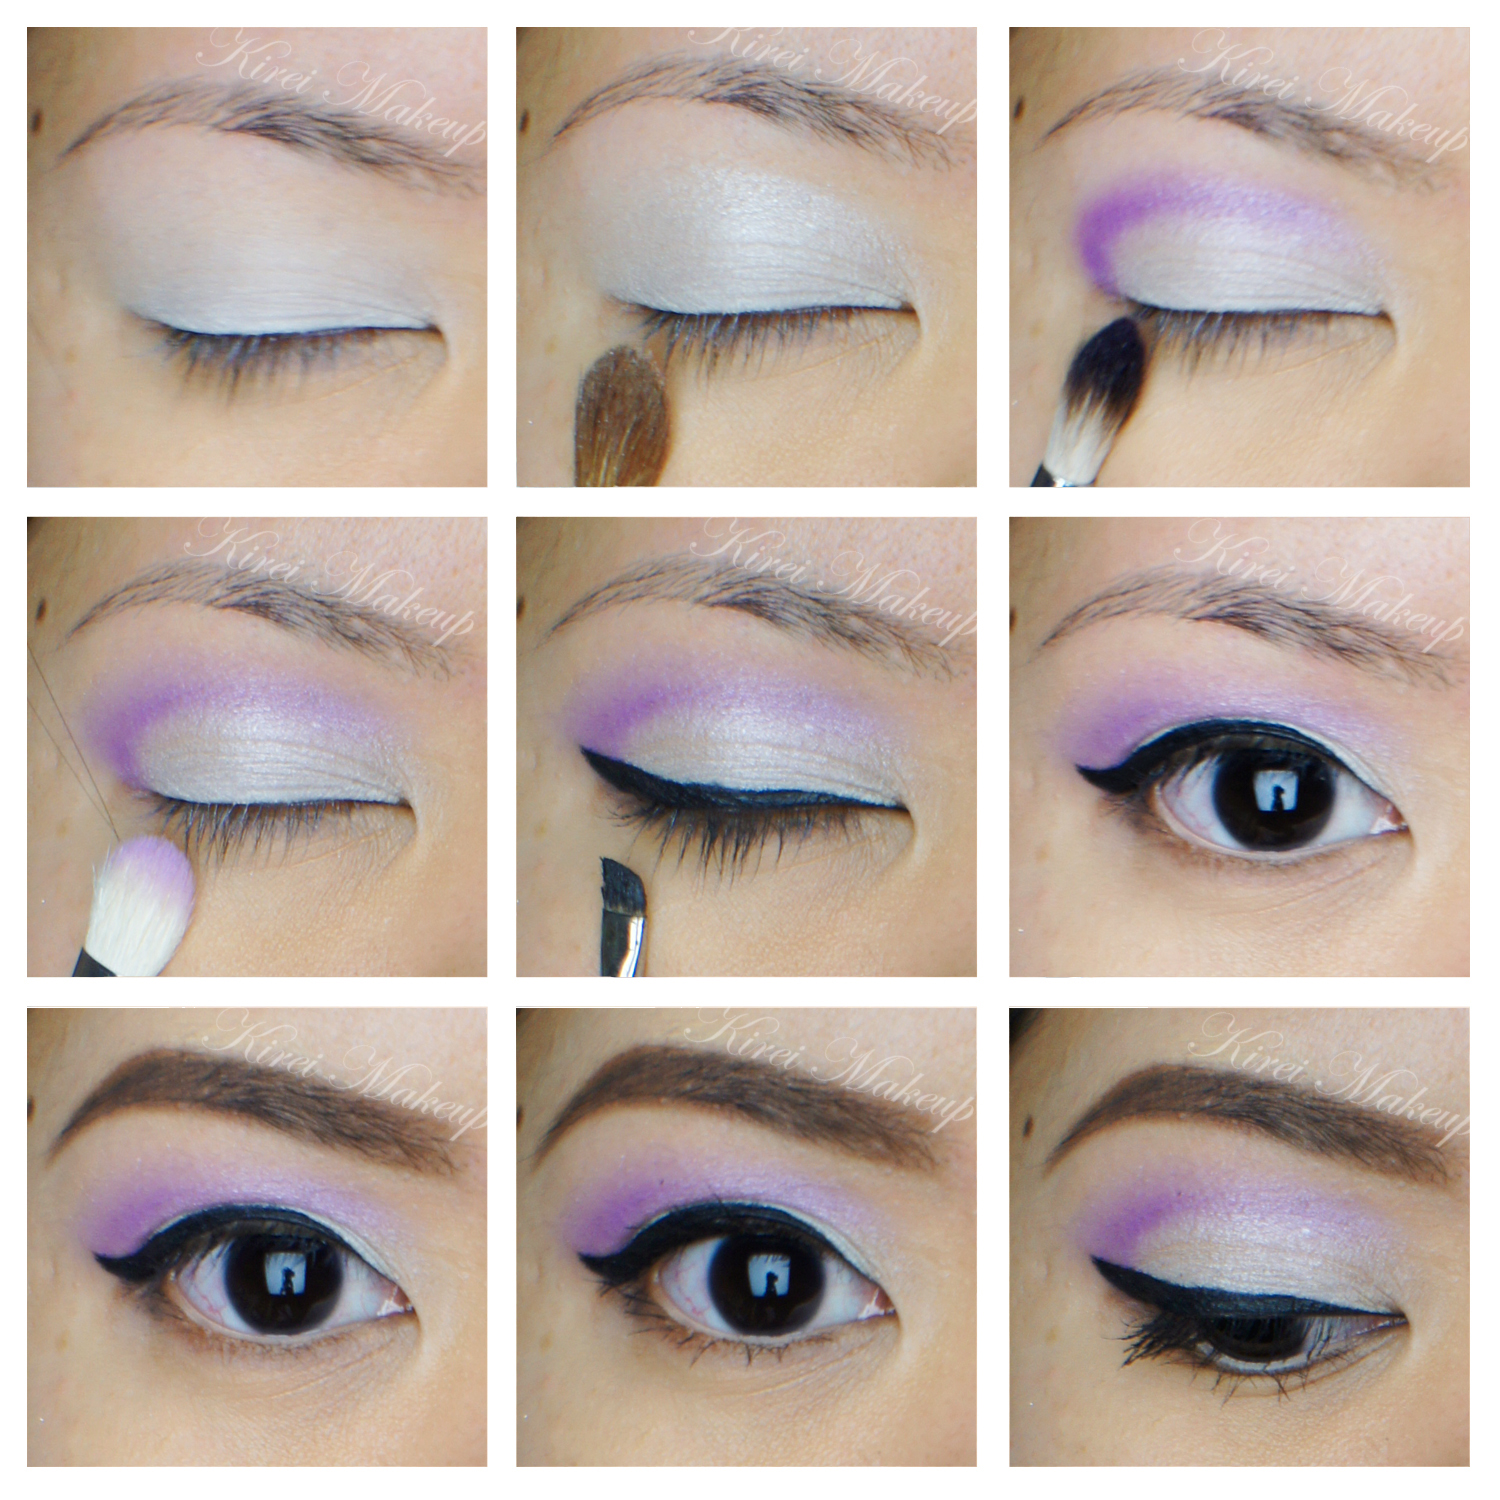
- Transition – Sleek Makeup Candy Palette “Pear Drop”
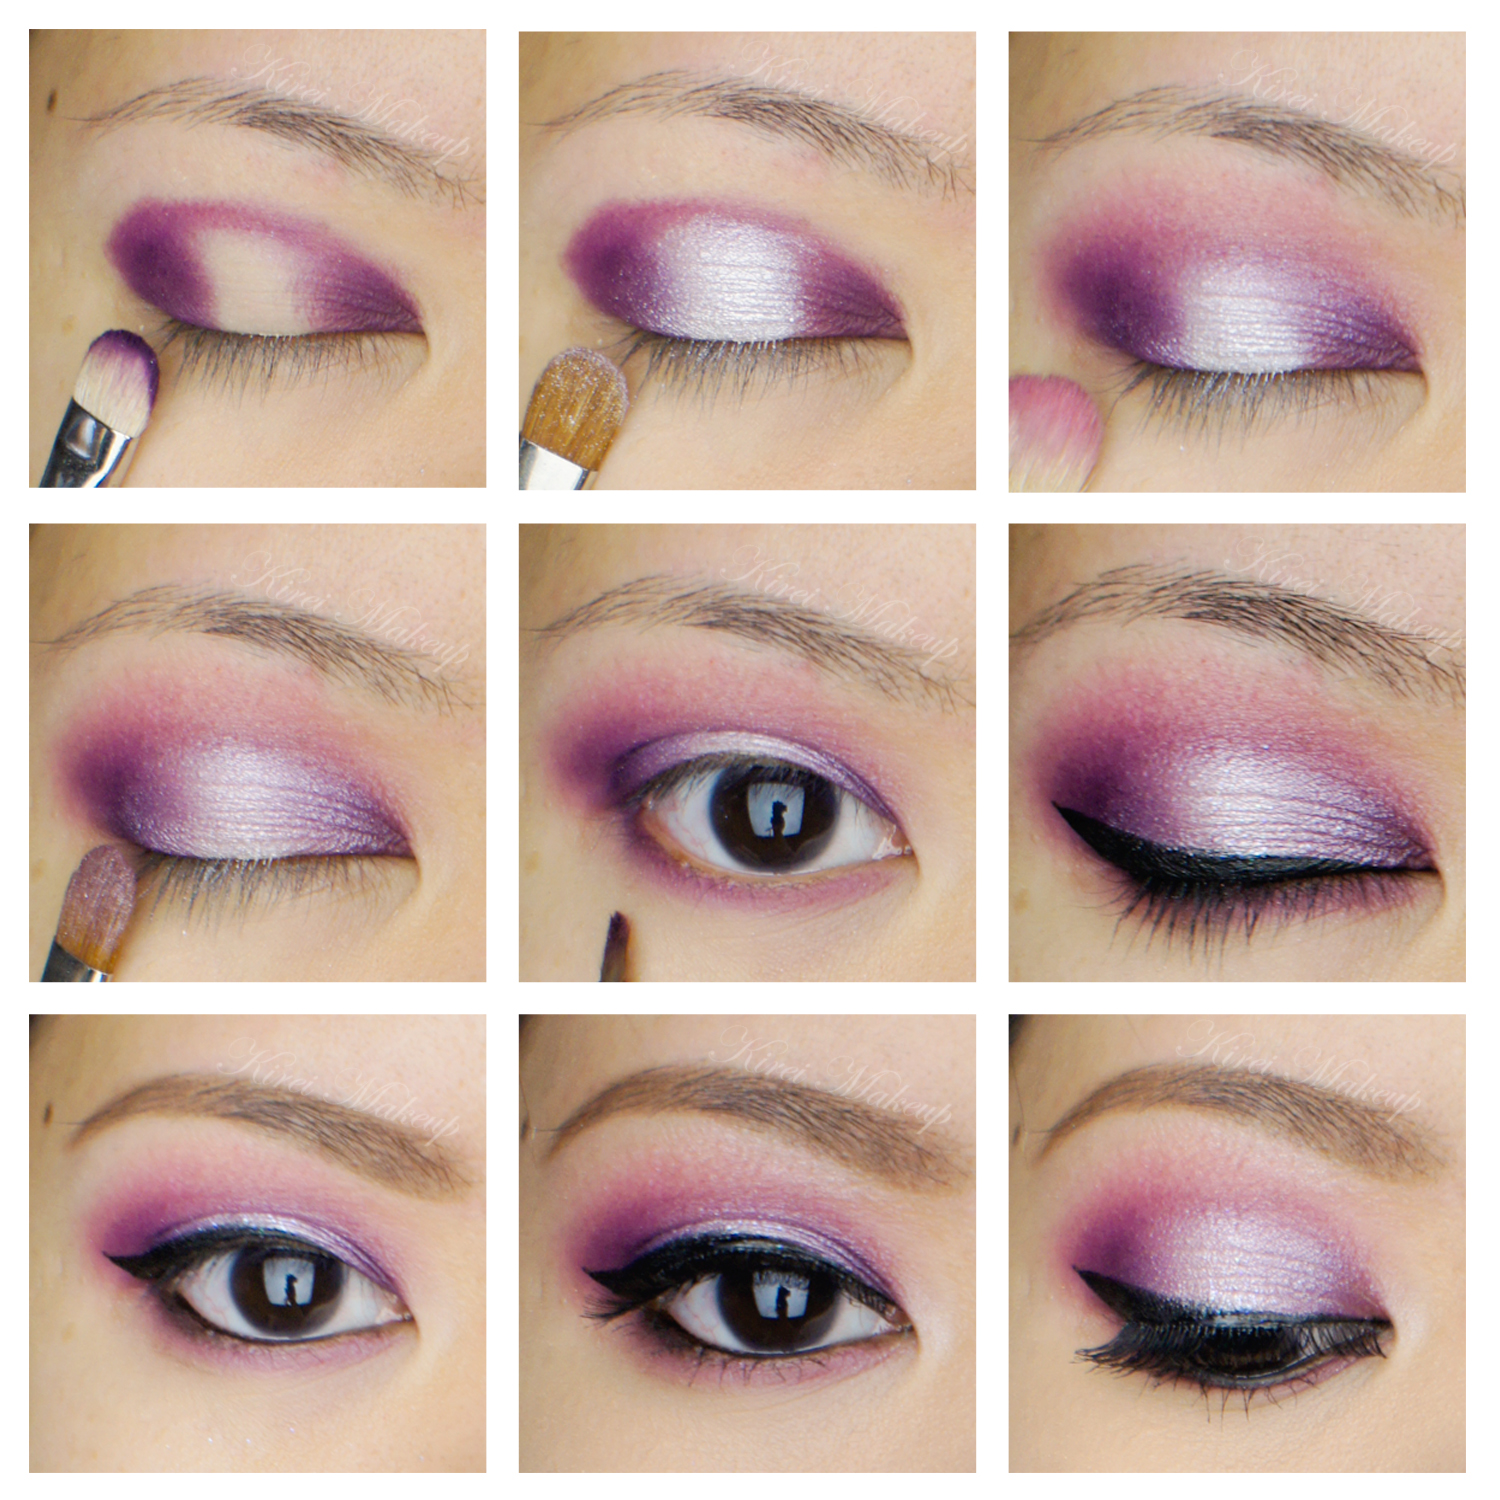
- Outer V – Sleek Makeup Candy Palette “Mint Cream”
- Inner V – Sleek Makeup Candy Palette “Bon Bon”
- Center lid – Sleek Makeup Candy Palette “Cream Soda”
- Lower lid – Sleek Makeup Candy Palette “Parma Violet”
- Waterline – MAC “Smolder” kohl pencil
- Winged liner – Kanebo “Kate Super Sharp Eyeliner”
- Brows – Anastasia Beverly Hills Brow Pomade “Taupe” + “Medium Brown”
- Mascara – Lancome “Hypnose”
- Lashes – Ardell falsies “120s”

Face
- Primer – Bobbi Brown “Vitamin Enriched Face Base”
- Foundation – Diorskin Star Foundation “031”
- Concealer – Diorskin Star Concealer “03”
- Setting powder – Diorskin Nude Air Healthy Glow Invisible Loose Powder “#30″
Cheeks
- Blush – Benefit “Hervana”
Lips
- Lipstick – Revlon ColorStay Ultimate Suede Lipstick “Flashing Lights”