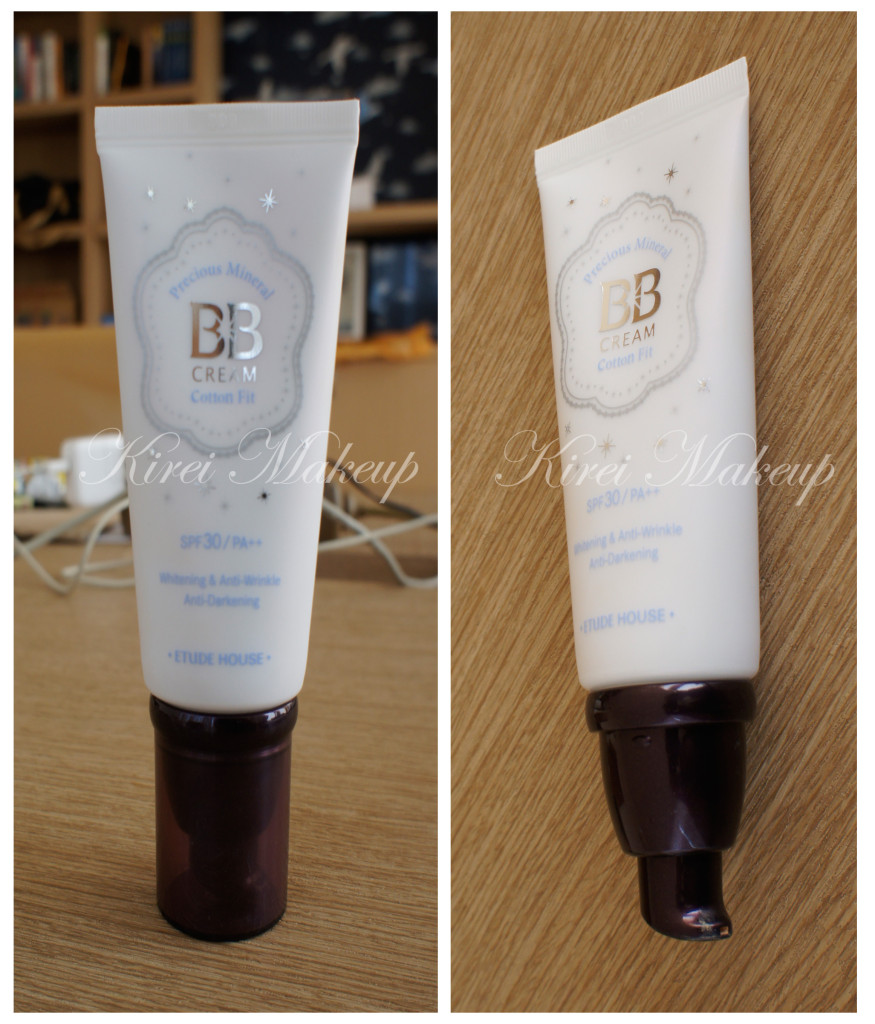
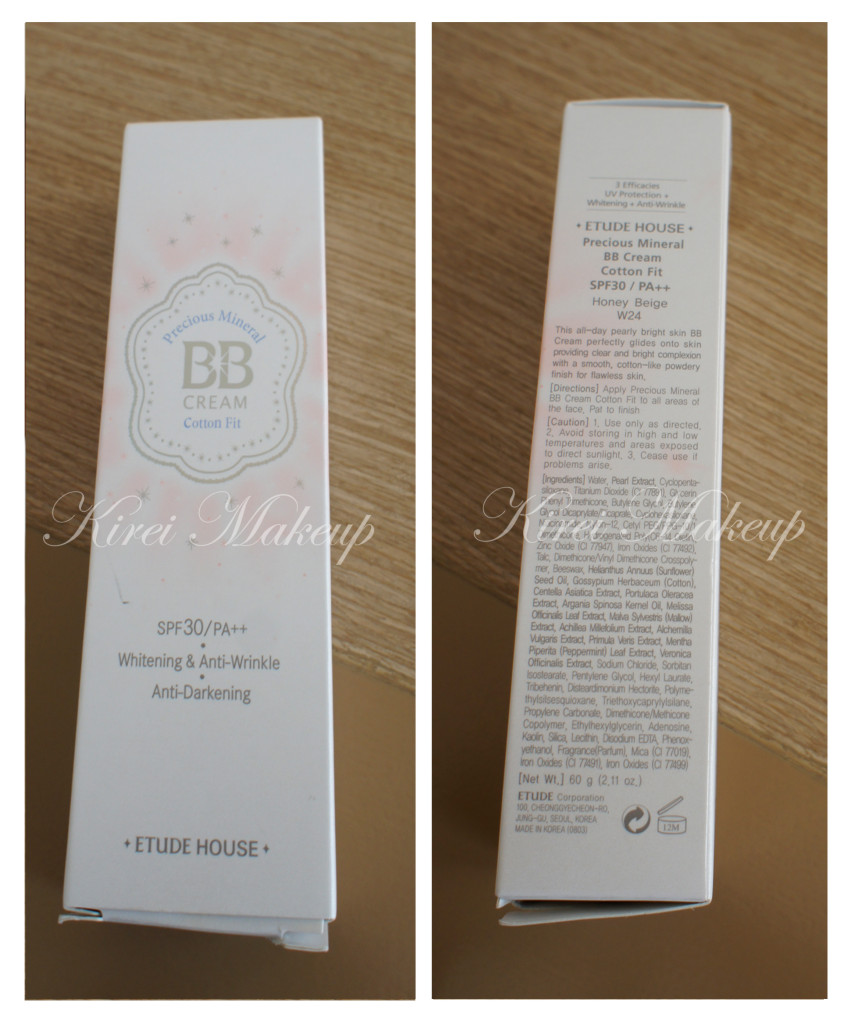
Etude House Precious Mineral BB Cream Cotton Fit

I’ve done a review on the Etude House Precious Mineral BB Cream Cotton Fit before, and if you remembered I disliked the product. However, you know how sometimes one product just doesn’t work and then you picked it up couple months (or a year) later, and for some reason you change your mind?

The Etude House Indonesia Precious Mineral BB Cream Cotton Fit is one of those products for me. I didn’t like it last year, but this year it was different. I was so ready to not like it, but for some reason, I do end up liking it.

I think the reason why I might have ended up liking it because I applied it with my new Real Technique foundation brush. Also might be because my skin is slightly in a more “normal” condition nowadays (thanks GlamGlow!). In addition, I am not as tanned as last year since I haven’t been going to the beach as much, so I’m slightly lighter this time around, which makes the shade somewhat workable this time. I don’t look as ghastly as last year when I applied it.

Korean BB Cream

So, let’s get on the review!

What is Etude House BB Cream Cotton Fit?

This all-day pearly bright skin BB Cream perfectly glides onto skin providing clear and bright complexion with a smooth, cotton-like powdery finish for flawless skin.

Nihon Mart, 2014

Packaging

It comes in a very nice tube with a pump, which I think is great! The tube is flexible, so you don’t have to worry about it breaking when you travel (unlike glass containers), and the pump helps to dispense the product. Pump lightly, otherwise you might get too much product on your hand.

Shade

I’m not sure how many shades it comes with. From the website, there’s 2 – n02 and w13. However, mine is W24 which is also called Honey Beige, so I guess there’s 3 shades? Not sure, don’t quote me on this.

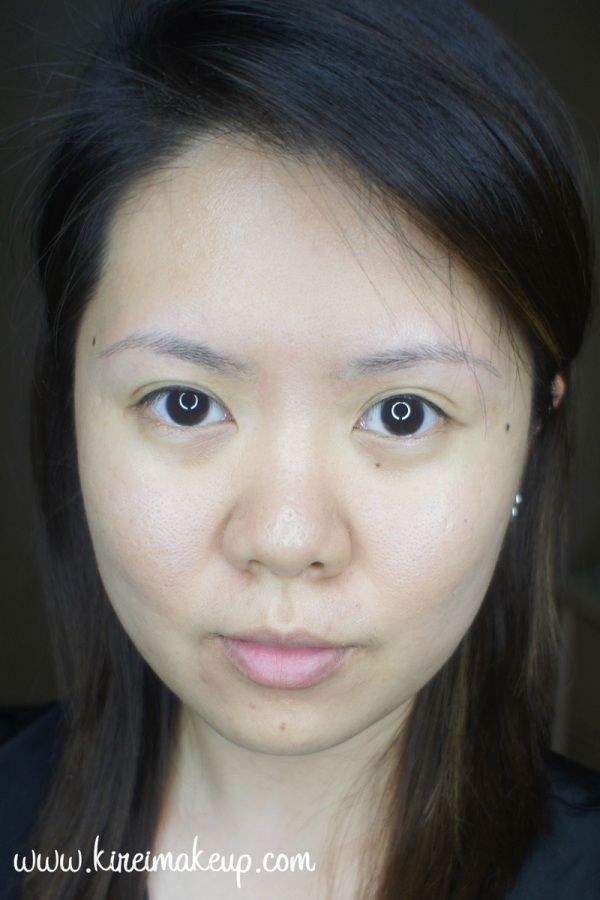
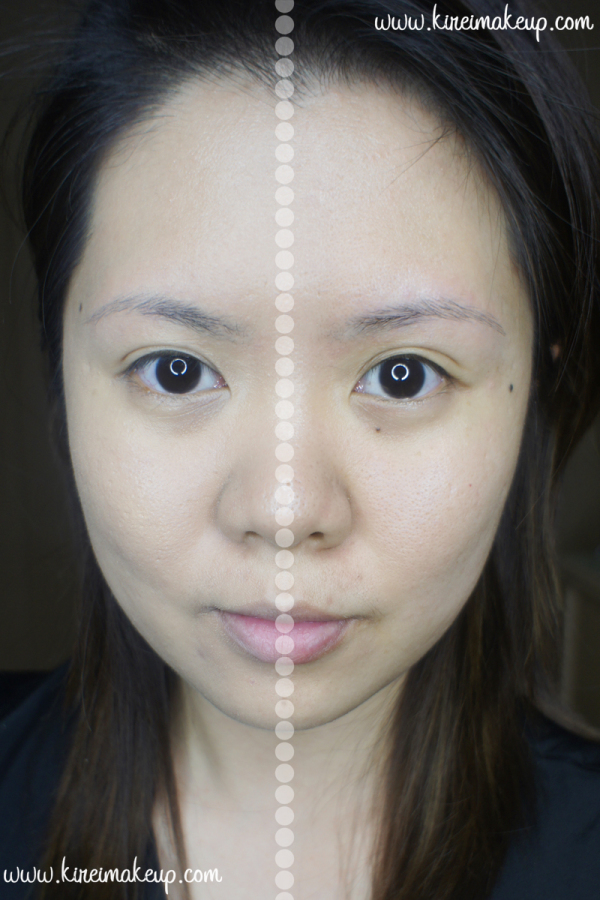
The range of the shade is very limited, it’s of no surprise. Korean brands generally only comes in 1 shade, so for this BB cream to come in 3 shades is already an achievement in itself. This shade W24 is not a perfect match. It’s a good match, but slightly too beige for my skin tone. I buffed it pretty well into my skin though, and if I apply my MAC powder on top it looks fine.

If you’re darker than NC27, this brand of BB cream won’t match you. It’ll be too light and might end up ashy on your skin.

Etude House BB Cream

Finish

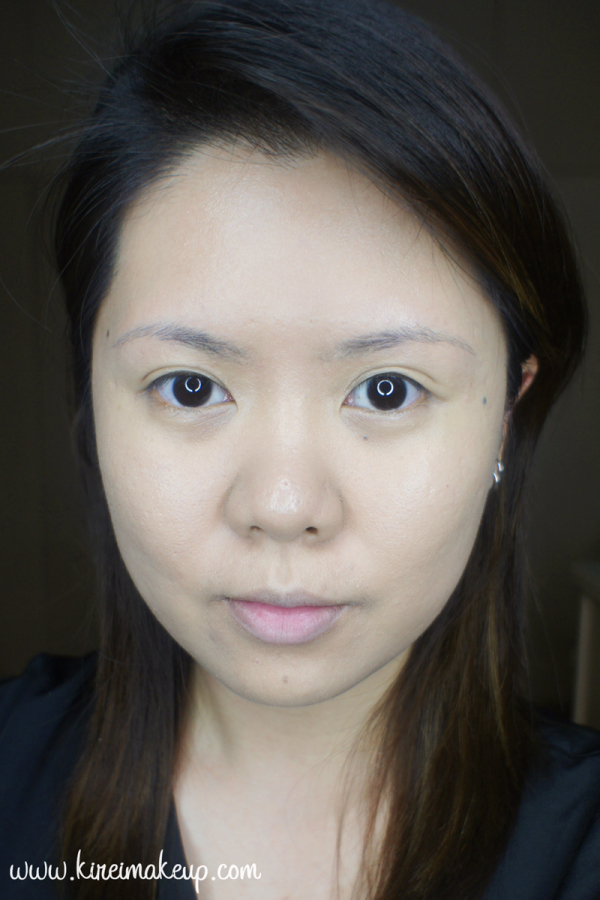
They claim that it has a pearly bright skin finish. I somewhat agree to this claim. It does have a very nice sheen to it. My skin looks pretty good, no? I’m not sure if it is “pearly”, but it has a semi-dewy finish. It’s not too dewy, but it’s not matte either. It’s not a natural finish though, in real life it looks slightly shinier than in picture.

Apparently this is a BB cream for oily skin, however, if you have super oily skin, you might want to powder this really well since it’s “pearly” finish might make you look slightly oilier. Dry skin people might want to stay away from this BB cream. It will cling to your skin and dry patches. I think this BB Cream is pretty good for those with combination skin.

Coverage

Medium coverage. If you want a light coverage, please do go light handed on it. Use very little product since it is quite pigmented.

Etude House BB cream cotton fit

Pros

  • It contains SPF 30

  • Great packaging

  • Nice pearly finish

  • Has a nice scent (similar to baby powder)

  • Doesn’t feel heavy if applied properly

  • Medium coverage

Etude House BB cream cotton fit


Cons

  • Limited range of shades and undertone – one might end up too pale and/or too ashy

  • Needs to be set with powder, if not it tends to move around
Etude House BB cream cotton fit


Halloween #2 Jack-O-Lantern Makeup

Are you ready for Halloween?! I sure am! So, for the second installment of my Halloween series, I decided to do a Jack-O-Lantern makeup tutorial. WHY you ask? Well, that’s because Jack-O-Lantern aka pumpkin carving is very popular in Canada during Halloween month. My sister and I actually love carving pumpkins! We love the scary face ones!

JUST FYI – I am accepting Halloween makeup jobs! If you need a makeup artist to do your scary makeup, I’m available! Contact me through email jilly@kireimakeup.com, or line – KireiMakeup!

Anyways, for this tutorial, you need:

1. Orange face paint (water or cream) – I mixed red and yellow cream face paint to create the orange base. I used a local Indonesian brand called PAC.

2. Black water based face paint – you can use cream too if you prefer cream product, or even an eyeliner.  I used Snazaroo.

3. Eyeshadow – matte black, matte orange, matte yellow for highlight and contour.

4. Brushes – I used mostly synthetic artist brushes.

  • For large area, I used an angled brush (similar to MAC 263 but slightly bigger).
  • For details like the lines and contouring, I used the Rigger type (similar to MAC 209, but with longer bristles)
  • For highlight I used a blending brush, like MAC 217

5. Contacts (optional) – you don’t have to use contacts, or you can use a brighter one than mine. I could only find this honey colored ones from Fresh Kon, since it’s pretty hard to find specialty contact lenses here in Jakarta.

halloween tutorial

How-to:

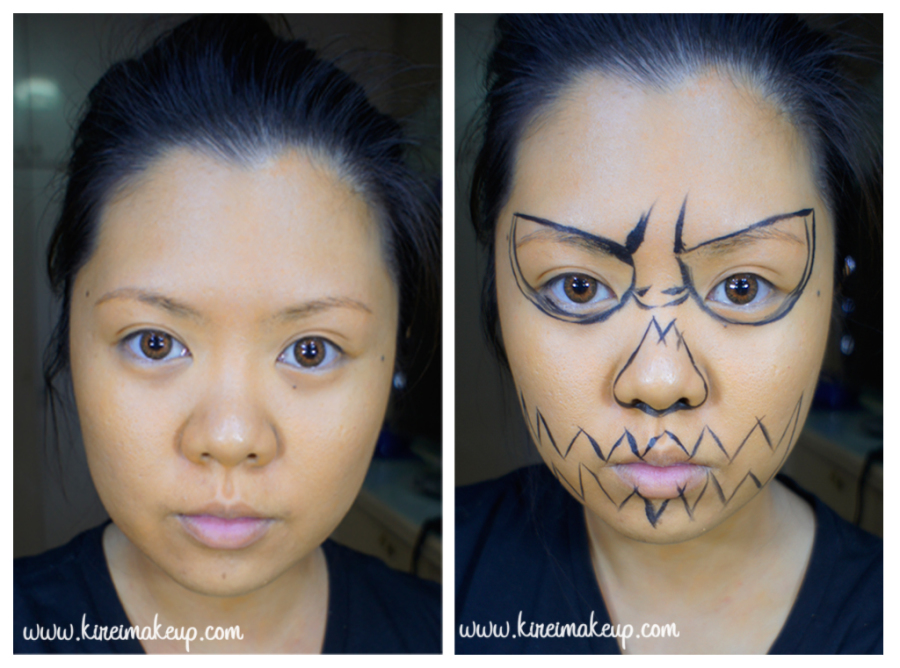
1. I applied an orange cream-based face paint all over my face using a wedged sponge. Lightly stippled it all over my face, neck, and ears for an even coverage.

2. I outlined where I want the mouth, nose, eyes, wrinkles to be using black water-based face paint.

halloween makeup tutorial

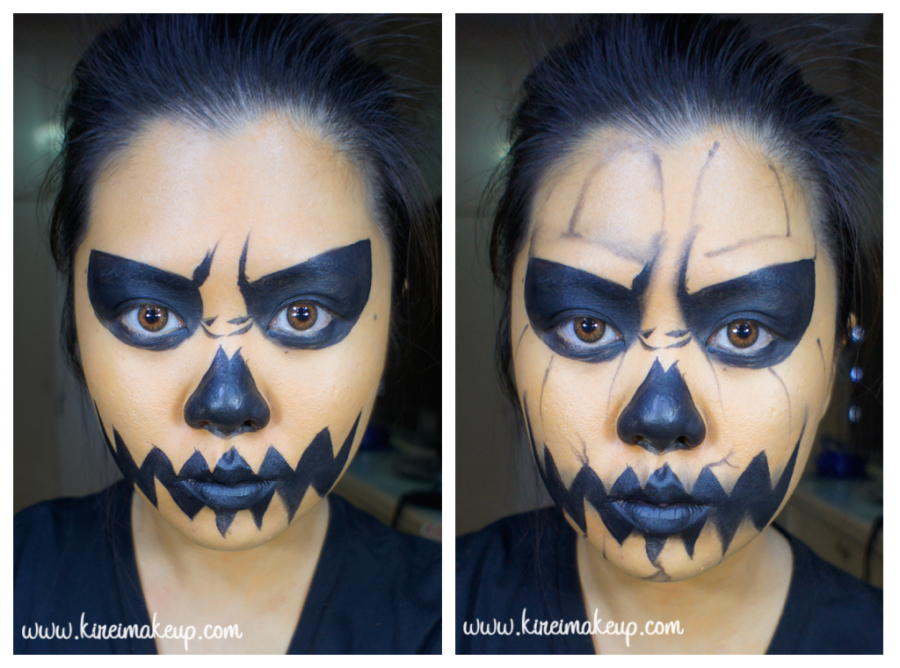
3. I filled in the areas on step no. 2 with black face paint.

4. Then, using an eyeliner brush and a matte black eyeshadow, I lightly create lines all over the face to create the crease of the pumpkin. I also created some cracks near the mouth area.

pumpkin king makeup tutorial

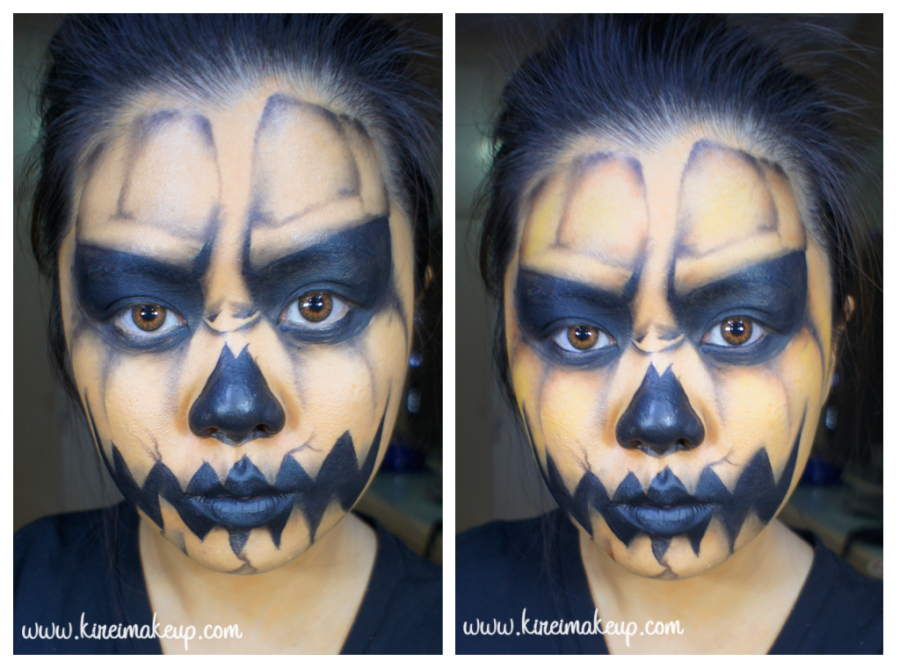
5. Using a small blending brush, I blend out the edges of the lines. I also carefully added some shading on the areas where I want it to look like it’s receding.

6. On top of those black shadows, I applied a matte Orange eyeshadow (I used the orange from Sleek Makeup Ultra Mattes V1 palette).

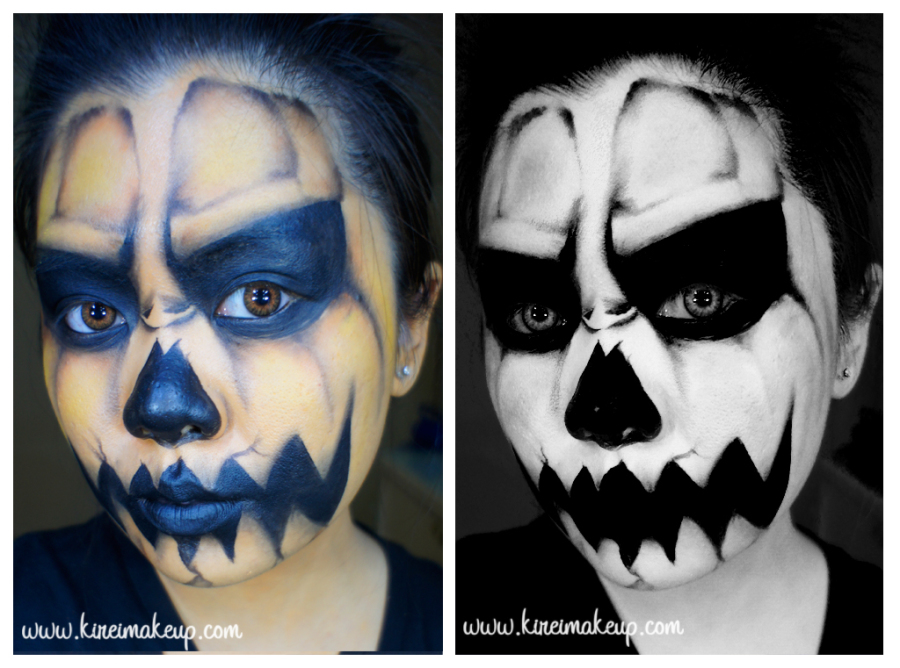
7. In the area where I want it to pop out a bit more (to mimick the shape of pumpkin), I applied a matte Yellow eyeshadow (from Sleek makeup Ultra Mattes v1 palette) with a blending brush. I put it in the middle of the “squares” on my forehead, above the eyebrows, on my cheeks area. I really want to make these areas to poof out a bit more.

creepy jack-o-lantern face paint

Voila! You are done! Looks pretty cool in black and white, but looking more like a scary clown. I love how the orange/yellow contour/highlight really helps with the whole pumpkin look!


Grand Opening of Kiehl’s Indonesia

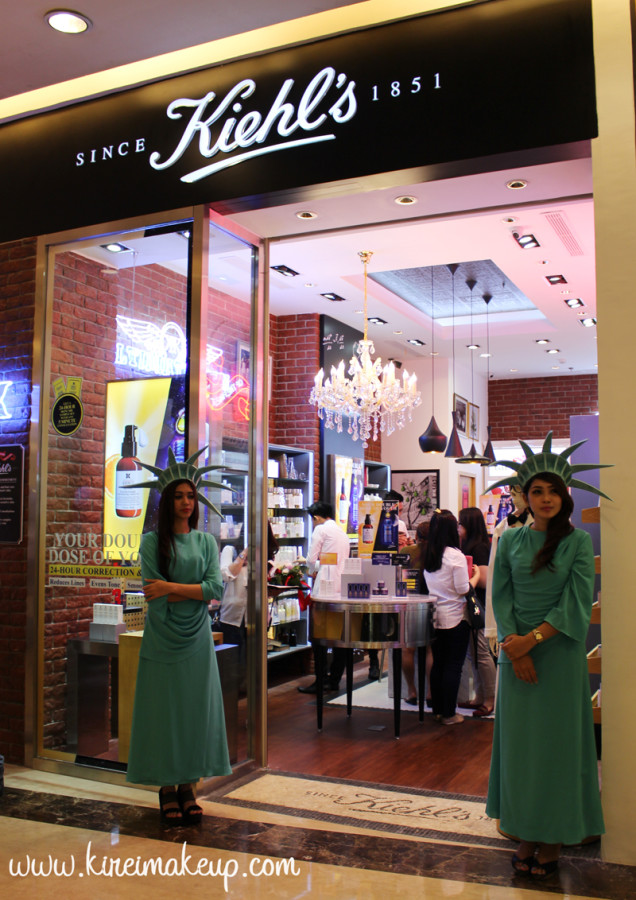
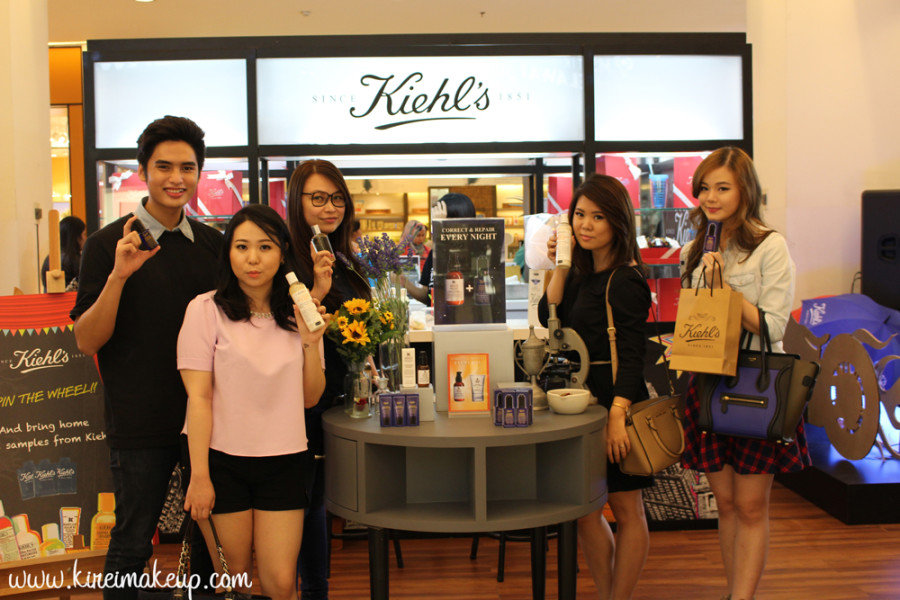
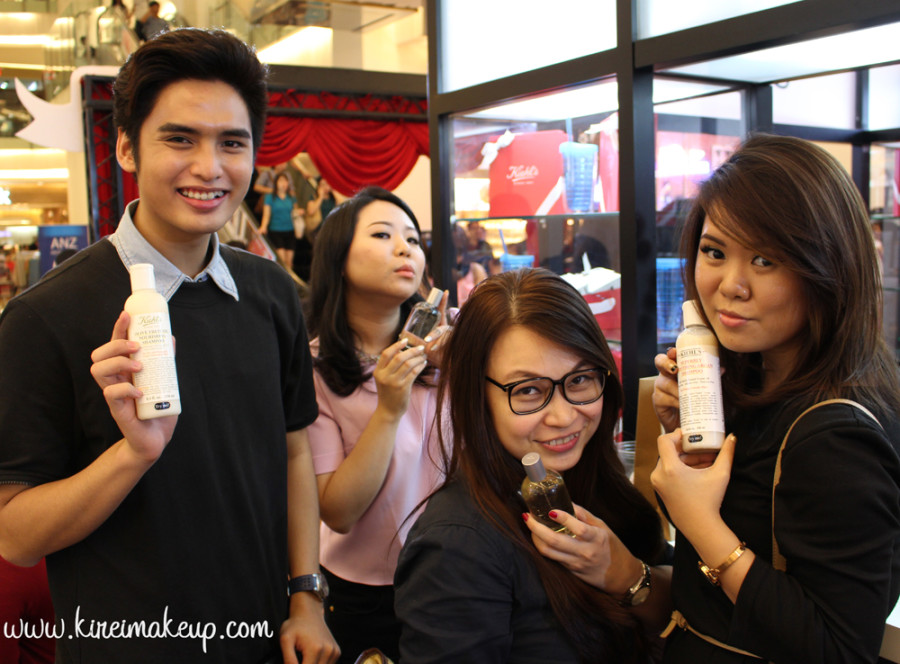
I had the pleasure of attending Kiehl’s Indonesia third store grand opening in Emporium Pluit, Jakarta, on Saturday! I’m sure most of you already know and heard about Kiehl’s before, right? Kiehl’s is a natural skincare company from the States, started out as a pharmacy, and now it has hundreds of stores worldwide!

Anyways, like I said, I was invited to Kiehl’s grand opening and I enjoyed the event a lot! It was a lot of fun, and I’d like to say a big thank-you to Kiehl’s Indonesia for inviting me!

WARNING: LOTS OF PHOTOS!

Kiehl's Indonesia

Kiehl's Emporium Pluit

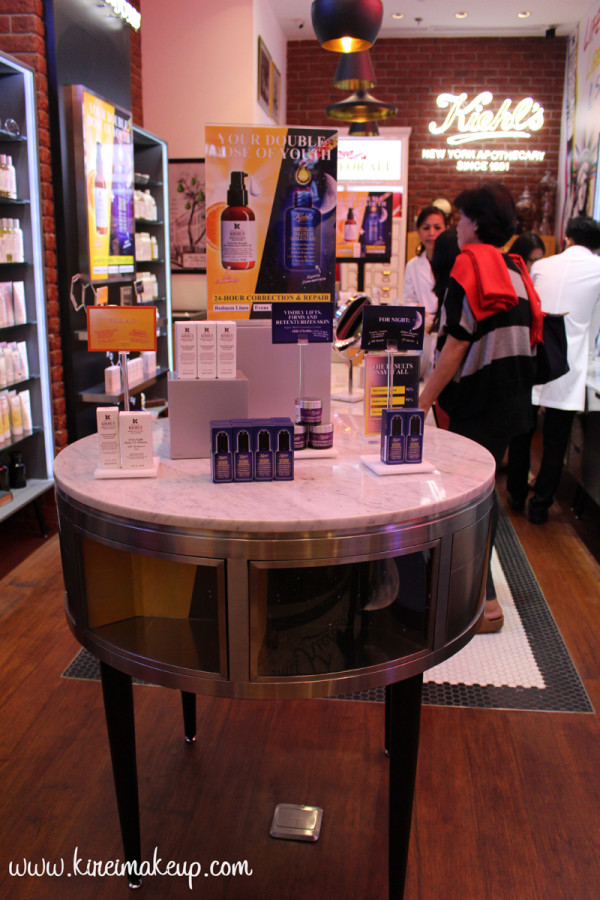
Kiehl’s Emporium is located on the Ground Floor at Emporium Pluit Mall. It is situated nearby Jco, Bodyshop, & L’occitane, if you want to find it.The store is like the other Kiehl’s store, staying true to its old vintage pharmacy look. Actually the store has been opened for a few months, but their grand opening was just yesterday.

Below is Ms. Regina (Kiehl’s Brand Manager) and Mrs. Dian (Kiehl’s Retail Manager) having the ribbon-cutting ceremony to officially open their store! The atmosphere was amazing, there were dancers showing off their moves during the event.

Kiehl's Jakarta

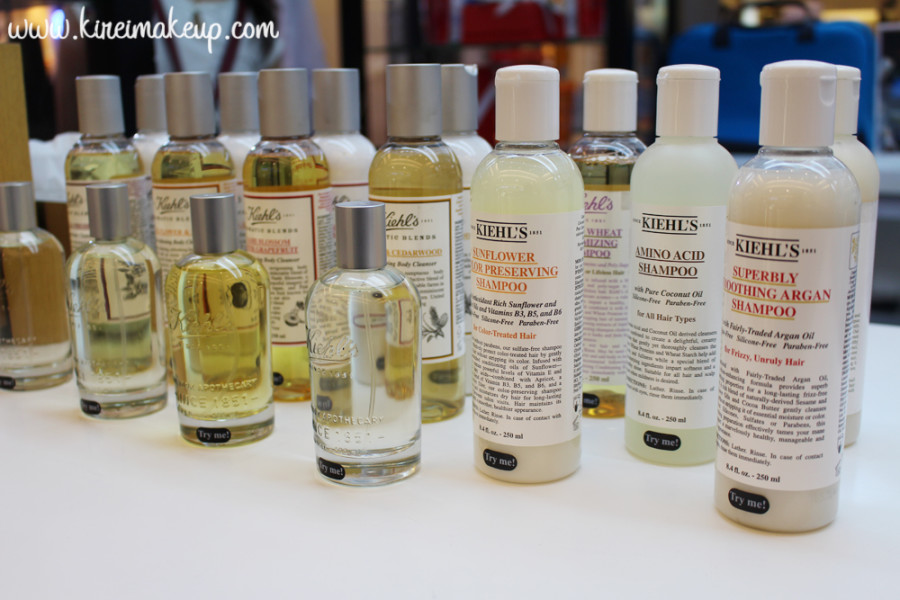
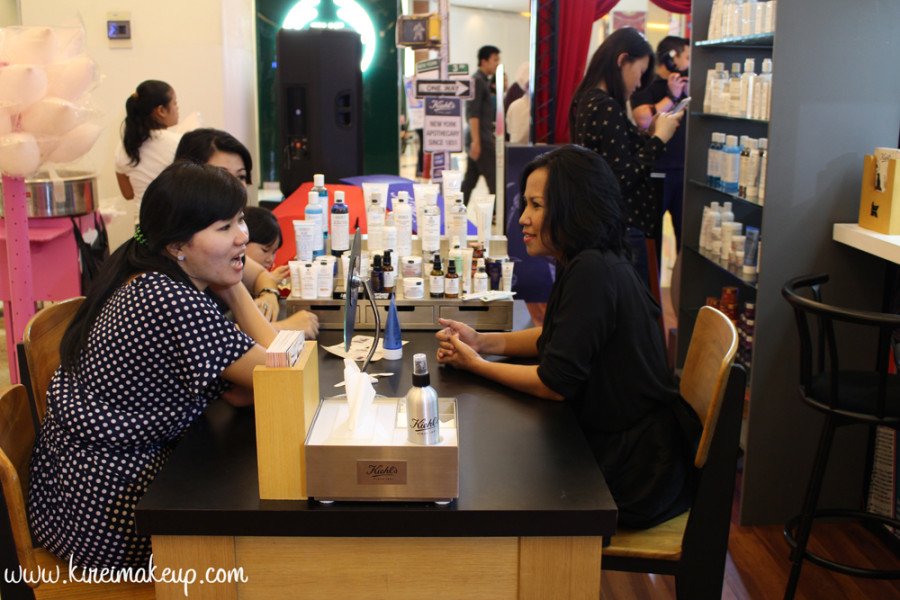
Anyhow, if you feel intimidated by all the products, and too confused to figure out which one is for you, do ask for help since they give out free consultation. The Kiehl’s staff would be able to suggest and recommend products that are best for your skin/hair condition. I actually am having some issues with my scalp, and I was recommended to use the Amino Acid shampoo. I might go back there tomorrow to grab some shampoo, as well as perfumes.

Their perfumes smell so amazing, not to mention in such cute glass bottles! Love iiiit! I love the packaging, it has that old apothecary feel to it! It’s simple and gorgeous. I’m such a sucker for packaging!

Kiehl's Indonesia

Kiehl's Emporium Pluit

I’m not sure if you guys remember, but a few years a go Kiehl’s Indonesia sent me samples of their products. Back before then, I was actually introduced to Kiehl’s by one of my makeup instructors. She taught me to use the Kiehl’s Ultra Facial Moisturizer to prep my clients and models’ faces since it contains no perfume, and great to be used on both women and men!

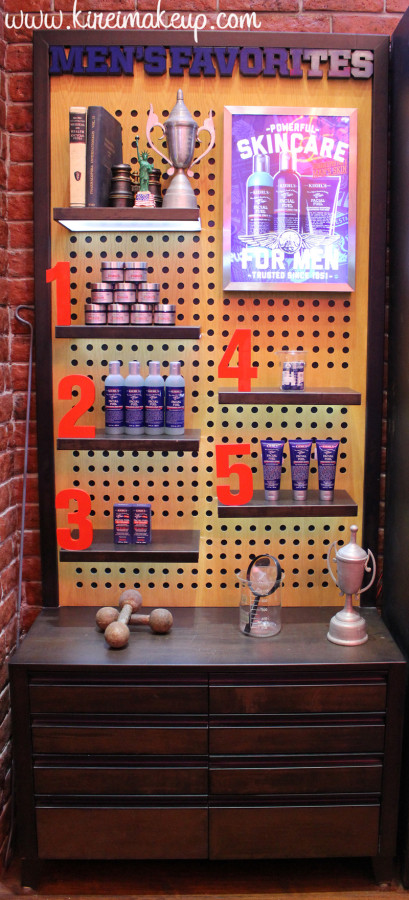
You know how the men in your life (father, husband, son, fiancee, bf etc) might need some new skincare products, but they either can’t be bothered with it or unsure which products to use? I’d suggest for you to bring it to Kiehl’s right away since they are one of the few brands that actually carry a LARGE selection of skincare FOR MEN!

Kiehl's Indonesia

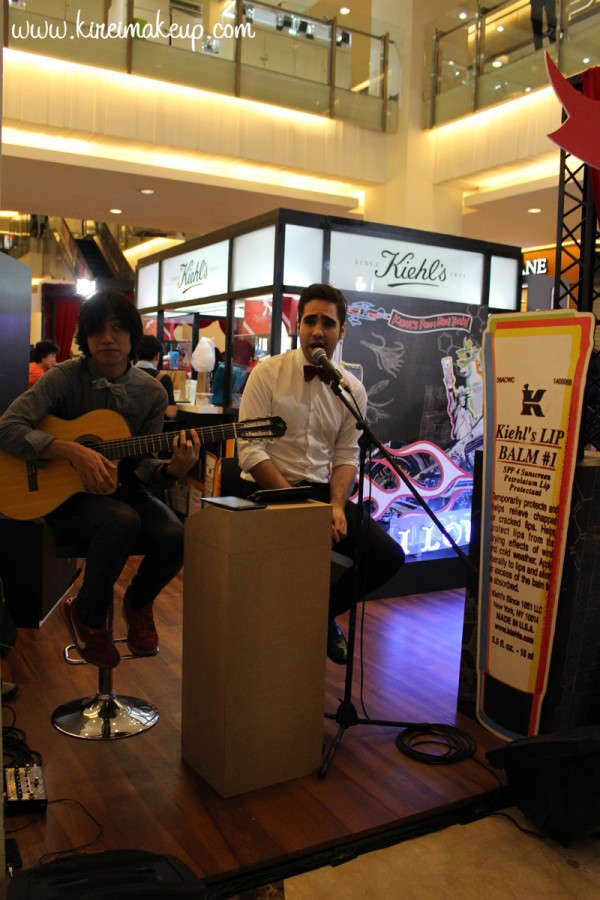
Like I’ve said above, the event was really fun and enjoyable. There were cotton candy machine, popcorn, drinks, snacks, cupcakes, dancers and singer! What a performance! Kiehl’s Indonesia sure know how to rock it! I couldn’t resist those cotton candies! So fluffy and pretty!

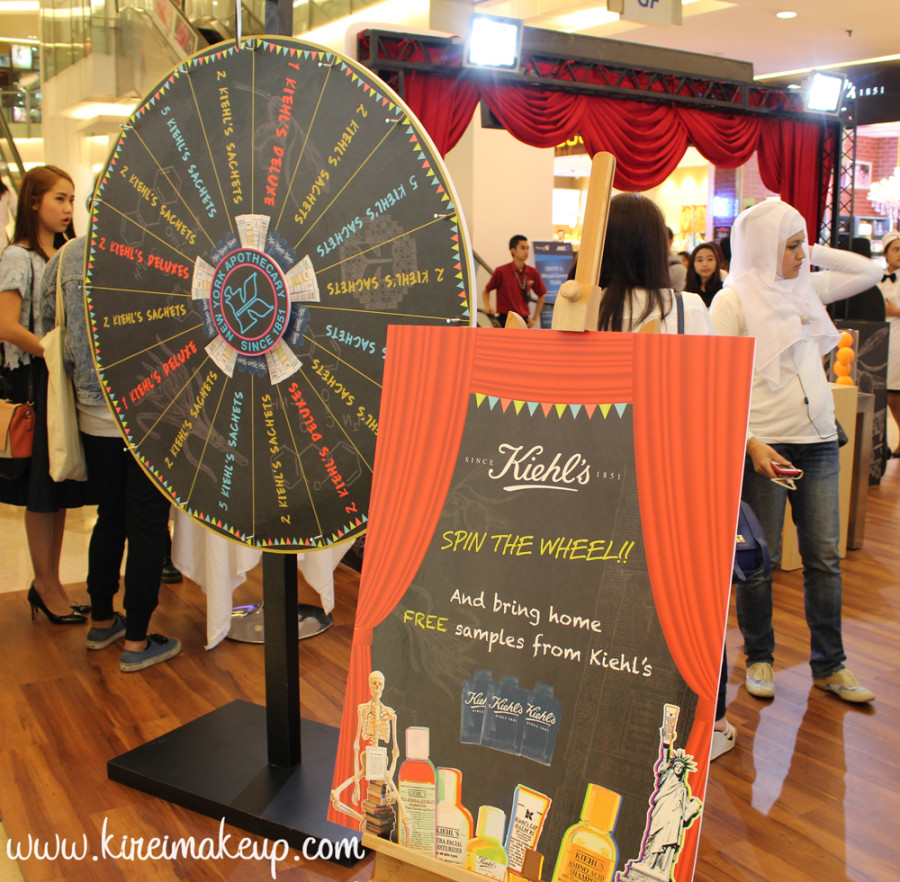
Besides all the performances, there were also a selfie contest, as well as spin the wheel. I actually didn’t partake in any of  the competition because I was distracted by my fellow bloggers! I haven’t seen some of them in the longest time and we had a lot to catch up. It was really awesome to see all the bloggers. Not to mention, I get to meet the new ones too! So glad I get to meet and make new friends!

Kiehl's IndonesiaCotton Candy & Popcorn booths

Kiehl's JakartaSpin the Wheel

Kiehl's JakartaMr. Guitarist and Mr. Beautiful Voice

Of course, I have to take a picture with the always so lovely Ms. Regina Widjaja (Brand Manager for Shu Uemura and Kiehl’s). Might have seen her in my other event posts for Shu Uemura.

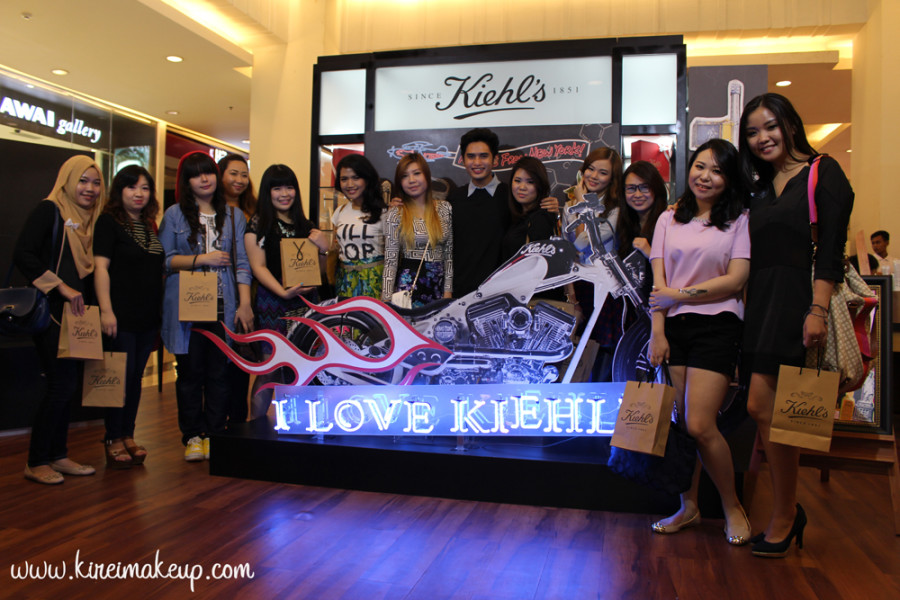
Lots of photos below with fellow bloggers turned into friends! They are pretty awesome,  you guys! Please go to my Instagram to find out more about them!

Kiehl's IndonesiaRegina and I


Kiehl's IndonesiaL-R: Franky, Fweegy, Mei, myself, Jean

Indonesian Beauty Bloggers

L-R: Franky Wu, Fweegy Theresia, Meilani Chow, and myself

Kiehl's Indonesia

Indonesian Beauty Bloggers


[Updated] Brow Tutorial Video

I actually wanted to post this Brow Tutorial video tomorrow, since I do have another post lining up to be published. However, I got excited since this is my first video ever using my own face. It took me a lot of years to actually pluck the courage to do a video. Anyways, the quality might not be as good as other great youtube gurus, but please take it easy with me. I’ll try to improve slowly, and I look forward to read comments from you. I did not talk or do a voice-over since I’m not comfortable doing that just yet. However, again, in the future when I get more comfortable in front of a camera, I’ll start talking or doing voice-over.

So, I asked on Instagram, what kind of tutorials would you guys like to see me do. The majority of the comments said to do a brow tutorial. I have done a brow pictorial before on my How-to Fill in Brows post, but I guess seeing picture and seeing me doing it is quite different. Just keep in mind that this is how I DO my brows.

I cannot emphasize enough how each person has different shape and this might not work for you. However, what you can take from this tutorial is how I draw each hair individually. This is the most important part of filling in your brows. Light feathery stroke is the key! Try not to press too hard on your eyebrows to avoid making it look too thick.

For this tutorial, I assumed you already know or have gotten your brows shaped (waxed/tweezed/threaded). If you have not gotten your eyebrows shaped before, take a look at my Brows 101 post. If you are not allowed to shape your eyebrows, the best thing I can suggest is to trim your eyebrows using a clean spooly and a cuticle scissors. This way, you can see the brows’ shape, and fill it in lightly using brow powder, emphasize on LIGHTLY.

For a day makeup, I usually do something similar to my Shu Uemura Brow Pencil post.

Enjoy the video, and comments are welcome!


Psychedelic w/ Sleek Makeup Candy Palette

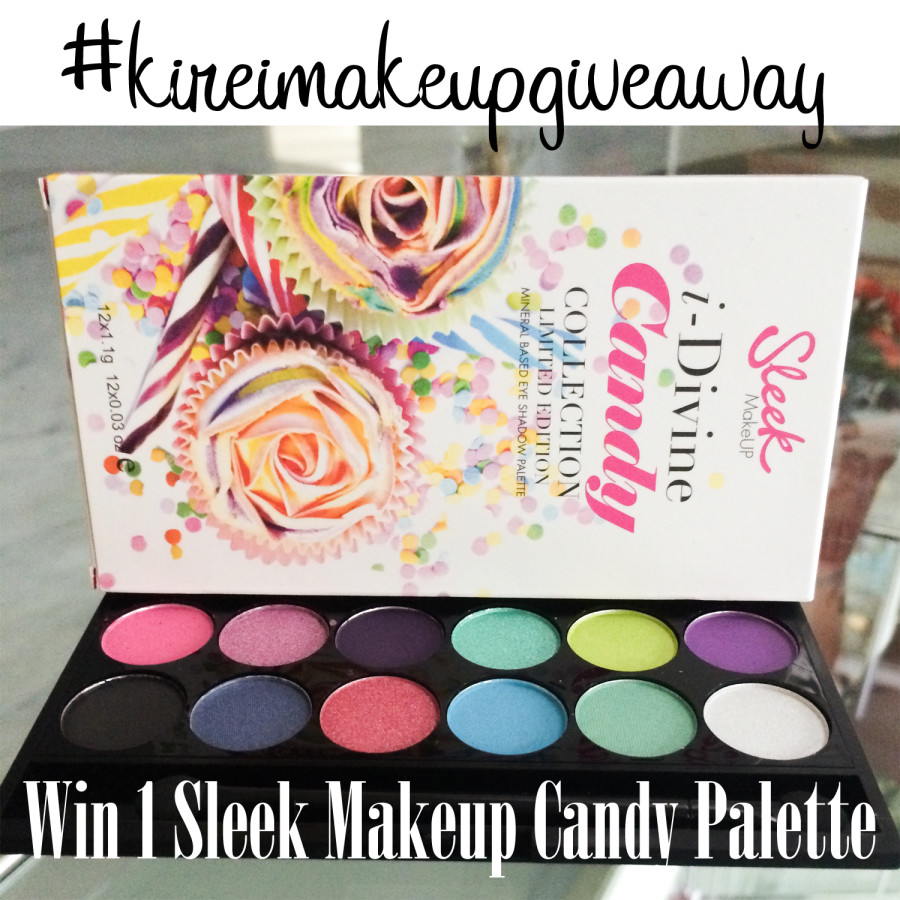
Another tutorial using the Sleek Makeup Candy Palette (for the first tutorial check it out here), and if you don’t already know, I have a GIVEAWAY going on! Check out my Sleek Makeup Candy Palette Giveaway page to find out how you can win this beautiful gorgeous palette!

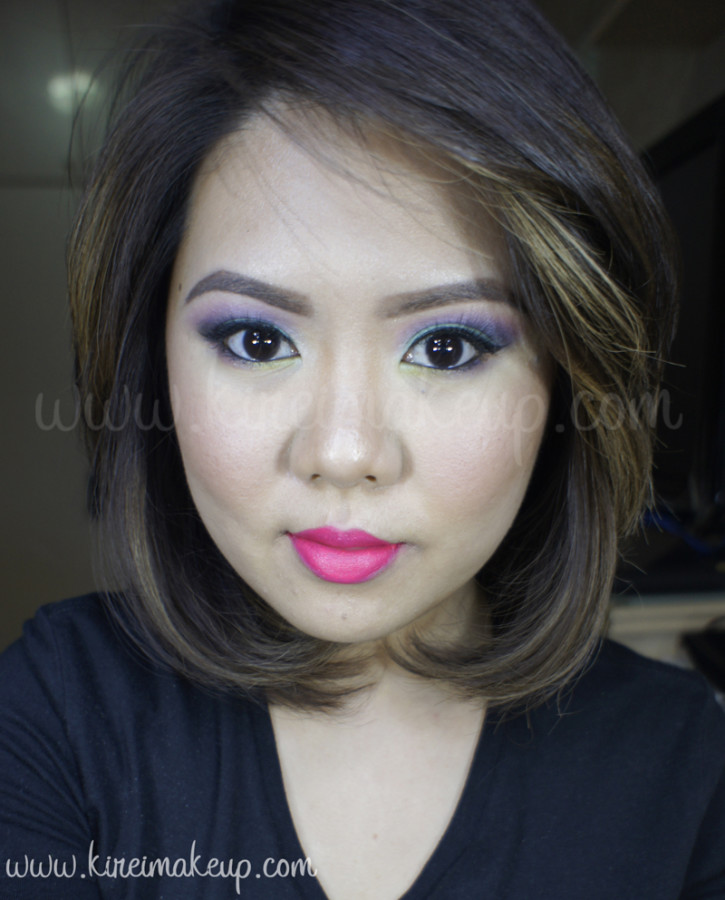
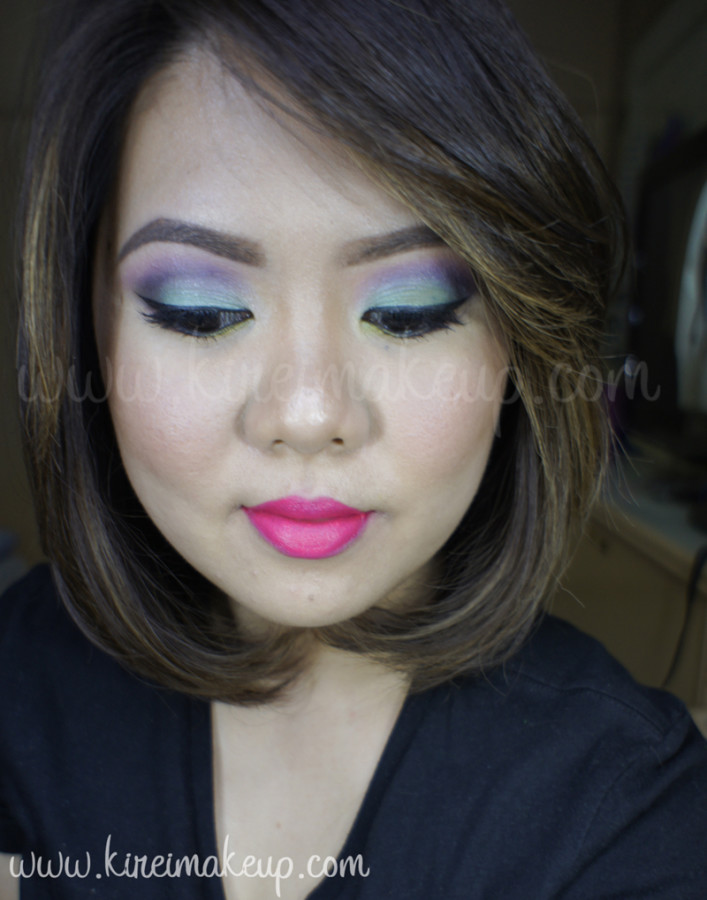
For today’s tutorial, I named in Psychedelic because of the amount of colors and how bold this look is. I, also, wanted to make full use of the palette’s beautiful color selections and this is the result that I came up with. I’ve done a lot of bold, bright colors tutorials, but I’ve never combined them together before. Well, today shall be the day where I combined both looks – colorful eyes and bright lips.

sleek makeup candy palette tutorial

Eyelids were prepped using Urban Decay Primer Potion in Eden. All eyeshadows are from Sleek Makeup iDivine Candy palette.

How-to:

1. I applied Blue Fizzle on my crease using a blending brush.

2. Using a tapered blending brush, I applied Strawberry Sherbet just slightly above Blue Fizzle, and blending it with Blue Fizzle, creating a beautiful hue of purple.

3. Using a flat eyeshadow brush, I applied Apple Sour all over my eyelid.

4. I applied Liquorice  on the outer V.

5. I created a winged eyeliner using L’oreal Super Liner Ultra Sharp Tip along the upper lash line. I lined my waterline using L’oreal Voluminous Smoldering eyeliner.

6. On the lower lash line, I applied Pear Drop on the inner half, and Parma Violet on the outer half. I also applied Cream Soda very lightly on the inner tear duct.

7. I curled my lashes and applied 4 coats of MUFE Smoky Extravagant mascara on the upper lashes, and a coat on the bottom lashes.

8. I applied Ardell 110 falsies.

9. Filled my brows using Anastasia Brow Wiz in Medium Ash and Brunette.

revlon matte balm unapologetic

10. For my face, I applied Cover FX cream foundation as base, highlight and contour (g40, g20, & n110)

11. On my cheeks, I applied NARS Mata Hari blush.

12. On my lips, I applied Revlon Colorburst Matte Balm in Unapologetic.

revlon matte balm unapologetic

Products used

Eyes – Sleek Makeup Candy Palette (lid: Apple Sour, crease: Blue Fizzle, above crease: Strawberry Sherbet, lower lid: Pear Drop/Parma Violet, outer V: liquorice, tear duct: Cream Soda); L’oreal Super Liner Ultra Sharp Tip; L’oreal Voluminous Smoldering Eyeliner; MUFE Smoky Extravagant mascara; Ardell false eyelashes 110; Anastasia Brow Wiz (Medium Ash/Brunette).

Face – Cover FX Cream foundation (base: G40, highlight: G20, Contour: N110)

Cheeks – NARS Mata Hari

Lips – Revlon Colorburst Matte Balm Unapologetic


Sleek Makeup Candy Palette Giveaway!

Hello makeup junkies in Indonesia! Today I want to share a GIVEAWAY for my INDONESIAN FOLLOWERS! I will be posting a tutorial using this LIMITED EDITION Sleek Makeup Candy palette on my next post!

Currently, I have 1 FREE SLEEK MAKEUP IDIVINE CANDY PALETTE up for grab! This contest is open for anybody who are currently living in Indonesia. This limited edition palette is so beautiful, full of colors, and very pigmented! Check out my next tutorial if you want to see how gorgeous this palette is!

Interested in joining my Sleek Makeup iDivine Candy Palette Giveaway? Keep reading!

Rules & Regulations:

1. Subscribe to my blog – enter your email address on the “Subscribe To Us” box on the left sidebar.

2. Comment below when you’ve done subscribing – only comments posted on THIS giveaway page is valid.

3. Follow me on Instagram (handle name: @KireiMakeup), REPOST my giveaway picture (pic below) with #kireimakeupgiveaway.

4. Open only to those living in Indonesia currently.

5. I will pick a winner at random next Thursday (June 12, 2014) by 11.59pm.ONE winner will be announced on Friday (June 13, 2014) via Instagram and on my blog!

6. Only 1 entry per person.

7. Another winner will be picked at random if the first person I picked does not reply me within 24hr.sleek makeup candy palette


Disclaimer:

This giveaway is not sponsored by Sleek Makeup nor Luxola. I personally purchased this palette.

Summer Lips with NARS Schiap

I posted a picture of this look on Instagram, and asked if anyone would like to see it since I don’t actually love how it turned out. However, lots of my followers on Instagram commented to post this tutorial, to my surprise. I think my mistake with this look is with the eyes. May be for future look using NARS Schiap lipstick, I wouldn’t be using the NAKED 3 on my eyes.

Since my Instagram followers love the result, I want to post this up for them! I’d suggest skipping the eyeshadow entirely and just use the winged liner on the eyes to complement the lips. If you want to figure out how to apply winged eyeliner, please check my how-to winged liner post!

I’m just going to skip the step-by-step on the eyes, and instead will list all the products used below.

urban decay naked 3 tutorial

Products used

Eyes – Urban Decay Naked 3 palette (Lid: Buzz, Above crease: Factory, Crease/lower lid: Nooner); L’oreal Super Liner Ultra Sharp Tip; Anastasia Brow Wiz in Medium Ash; Ardell false eyelashes in 110.

Face – Cover FX cream foundation in G40 as base; Cover FX N110 as contour.

Blush – NARS Matahari.

Lips – NARS Schiap.nars schiap

Lavender Grey using NARSissist Palette

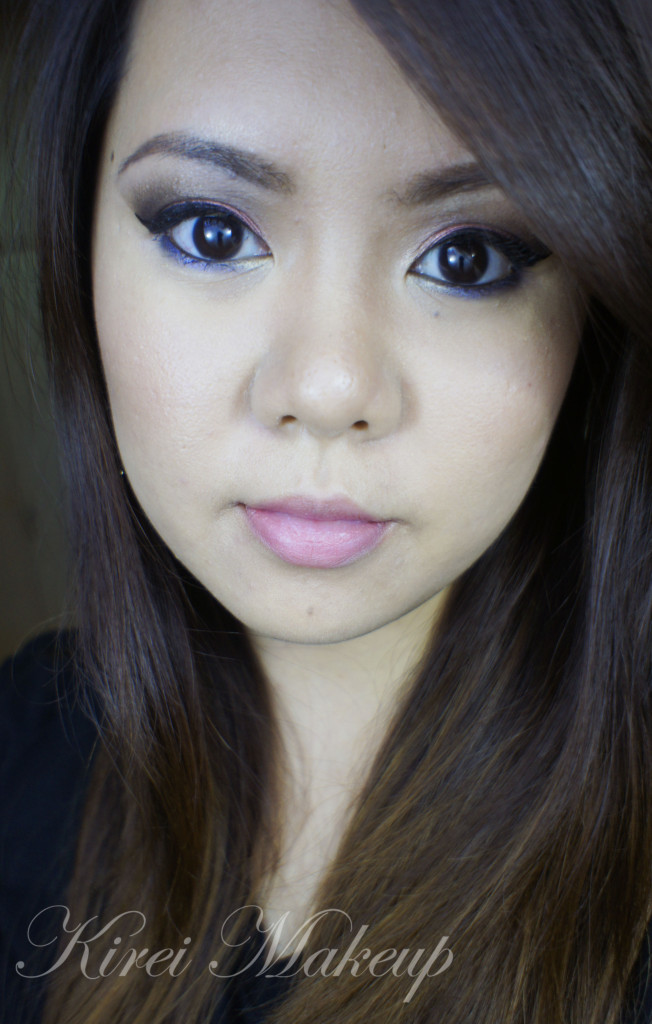
For this week’s tutorial, I decided to use my NARSissist Palette again! I fell in love with this palette all over again. I feel like it’s such a great palette with a more mature color option. For today’s tutorial, I picked out my favorite shades which were in the range of grey, lavender, and violet. I know the picture doesn’t show much of the lavender/violet on the lid, but I assure you it’s such a pretty grey with very subtle hint of lavender/violet in it. If you’re one not to wear color, and prefer a much neutral option, this would be a great addition to your makeup wardrobe.

Oh, just to let you guys know, I have been trying to update my Instagram daily. I’m going to try to do a weekly “Monday Makeup Inspiration”, and regram/repost-ing every look that YOU guys do if you FOLLOW me (@kireimakeup) and add #kireimakeup to your Instagram pictures! I’d love to see your makeup and/or your re-creation of any of my looks!

narsissist smoky eyes

How-to:

1. I’ve prepped my eyelid using Urban Decay Primer Potion in original. Using a blending brush (from UD Naked 3 palette), I applied NARS Brousse II on my crease.

2. Using a small shader brush, I applied NARS Pandora II on the outer V of my eyelid.

3. I blended my crease by applying NARS Madrague I using a clean blending brush. I used this shade as a transition color.

4. I applied NARS Ashes to Ashes on my entire eyelid using a flat eyeshadow brush. I also added a little bit of NARS Lhasa on top of it.

5. I created a winged liner along my upper lash line using L’oreal Infallible Gel Lacquer 24hr in Blackest Black and an angled eyeliner brush. Using whatever was left on the brush, I ran it along the lower lash line, and waterline.

6. I also used a small shader brush and applied NARS Ashes to Ashes along my lower lid.

7. I filled my brows using Anastasia Brow Wiz in Ash Blonde and Brunette. I cleaned up the edges of my brows using Cover FX G20 cream foundation. If you want to know how I fill my brows, please check my brow tutorial.

8. I curled my lashes and applied Cover Girl Lash Blast mascara. I also applied falsies (Korean’s falsies, not sure what it’s called since the brand is not in English).

NARSissist Lavender Grey smoky eyes

9. On my face, I applied Cover FX Cream Foundation in G40 using MAC Masterclass Brush Oval 6.

10. I lightly applied highlight and contour using CoverFX cream foundations in G20 & N110. Check out my BACON post to find out how I used CoverFX to do my highlight and contour.

11. On my cheeks, I applied Revlon cream blush in Pinched.

12. On my lips, I applied Revlon Mauve it Over matte lipstick.

Simple Makeup using Smashbox Full Exposure Palette

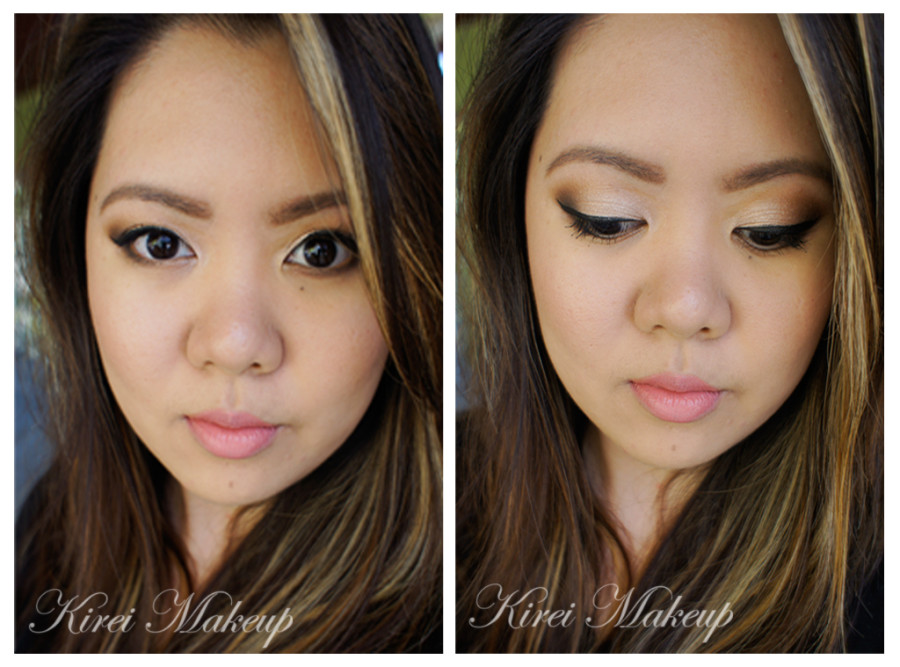
Today I wanted to share this oh-so simple makeup look. This is the look that I wore last night for a friend’s birthday dinner (check my instagram), and seemed to be wearing it almost quite often lately. The makeup itself is very easy, perfect for beginners if you want to do something different with your look. I think the only tricky part of this look is the eyeliner, but you can skip the winged eyeliner if you prefer. This is a very basic eyeshadow application technique, and you can obviously change the colors of the eyeshadow to whatever you like.

I’ve done something very similar to this look in my other Smashbox Full Exposure tutorial, but that one is more dramatic (with falsies and more liner, and slightly more smoky). If you prefer a smokier look, I’ve done 2 tutorials using this palette right here and here. I’ve also done swatches and a Smashbox Full Exposure palette review.

Scroll all the way down for complete product list.

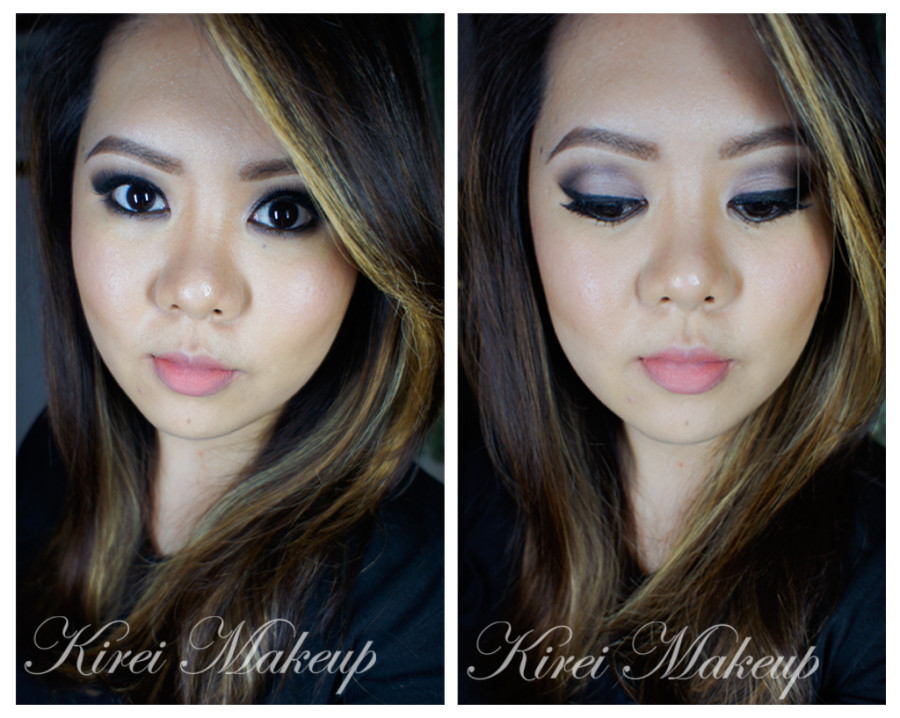
natural eyes for asian

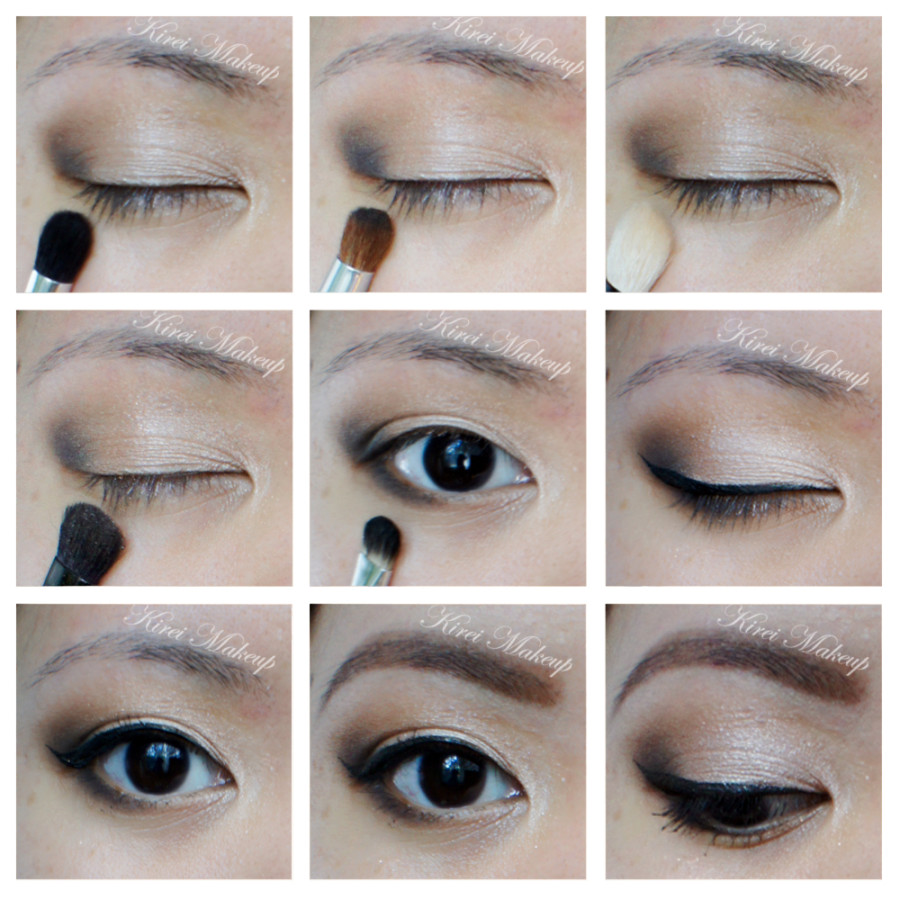
How-to:

1. I prepped my lid using Urban Decay Primer Potion in Sin.

2. Using a Sephora bullet crease brush, I applied M1 on the outer V of my eyelid, blending the color to my crease.

3. Using a clean bullet crease brush, I applied M7 on just the outer part of the eye.

4. Using a clean Smashbox fluffy blending brush (from the palette itself), I applied a mixture of M2 and M3 on the crease (the picture doesn’t seem to catch those colors since it’s very close to my skin color).

5. Using the flat-end of the Smashbox brush, I applied S3 on my eyelid.

6. Using a small shader brush, I applied M7 on the outer half of my lower lid.

7. I created a winged eyeliner using Kanebo Kate Super Sharp eyeliner.

8. I curled my lashes and applied Cover Girl Lash Blast mascara.

9. I filled my brows using Anastasia Duo Brow Powder in Brunette.makeup for brown eyes

10. For my face, I applied Urban Decay Naked Skin foundation using a damped sponge.

11. I applied Smashbox contour powder (from the contour/highlight trio kit) under my cheeks.

12. I applied MAC Dainty on my cheeks.

13. For the lips, I applied MAC Please Me lipstick and a little bit of lip balm.

Product used

Eyes – Urban Decay Primer Potion Sin; Smashbox Full Exposure palette; Kanebo Kate Super Sharp eyeliner; Cover Girl lash blast mascara; Anastasia Duo Brow Powder

Face – Urban Decay Naked Skin foundation; Smashbox trio contour kit; MAC Dainty blush

Lips – MAC Please Me lipstick; L’occitane lip balm

Metallic Storm

A new tutorial using my brand new Sleek Makeup iDivine Storm Palette. I actually been wanting to buy the palette for a while, and I couldn’t made up my mind because I had a bad experience with Indonesian custom not releasing my palettes. So, I was extremely happy when Luxola finally has an office in Jakarta. That makes online shopping in Luxola so much easier. My palette arrived in 2 days after I purchased it. So fast and quick! If you do click on my Luxola banner or links, you’ll get a 15% off. I am affiliated with Luxola and do earn commission in store credit form. However, I have to buy my palettes out of my own pocket.

Anyways, In the Storm palette, there’s a lot of metallic colors, and I’m sure you all know that Metallics are in again this Fall 2013. There is no individual shades name from the palette (which is super weird), but I hope you get the idea.

I prepped my eyes using MAC Paint Pot in Soft Ochre.

How-to:

1. I applied a cranberry eyeshadow (darkest pink from the palette) all over my lid using a flat eyeshadow brush.

2. Using a fluffy blending brush, I blended the edge out. (Optional step)

3. Using a small fluffy brush, I applied a black eyeshadow from the palette on the outer corner to the crease.

4. Using a clean blending brush, I blended the edge until there’s no harsh line on the crease. (sorry for the blurry picture)

5. Using a wet wipe, I cleaned the outer edge of my eyelid to create a diagonal clean line.

6. I also applied MUFE Aqua Liner in black on the outer half of the waterline. I also applied a gold eyeshadow from Sleek iDivine Storm on the inner corner of the lid, and a blue eyeshadow on the rest of the lower lid.

7. I created winged liner/cat-eye liner/feline flick along the upper lash line using Kanebo Kate Super Sharp eyeliner.

8. I applied MAC Brule under the brow bone.

9. I curled my lashes and applied L’oreal Double Curl Extension mascara on both upper and lower lashes.

10.  I filled my brows using Shu Uemura Hard Formula 9.

11. I also applied Ardell individual short flare eyelashes on my top lashes to make them look thicker.sleek idivine storm

12. On the face, I applied MUFE HD Foundation, and under the eyes I applied MUFE HD concealer.

13. I powdered my face using Cinema Secret loose powder.

14. I applied MAC Cubic on my cheeks as blush.

15. On the lips, I applied some lipstick that I’ve melted and forgot to label it…(sorry)

Anything that can go wrong on this tutorial went wrong. I mean, I couldn’t get the lights to work like normal for some reason, may be they are dying. Then, my skin was so dry that day, and I ran out of moisturizer. So, apologies if my foundation looks slightly cakey (or a lot). On top of that, my palette fell from the table because I accidentally tripped – when I was trying to break the fall by holding onto the table, my hand hit the palette. Ah, what a day 🙂 hahahaha…

 Sleek iDivine Storm