Product of the Week: Estee Lauder Double Wear Light Foundation

Couple weeks a go, I bought Estee Lauder Double Wear Light foundation in Seibu at Grand Indonesia. At first, I wanted to grab the Double Wear foundation, but I changed my mind and grabbed the Double Wear Light instead. The reason as to why I changed my mind was because I do travel a lot and I’d rather bring the Double Wear Light which is in a squeeze tube bottle instead of the pretty glass bottle for the Double Wear.

Estee Lauder Double Wear Light Foundation

Image Courtesy of Nordstorm

Anyhow! I’ve heard raves about the Double Wear so I might grab those to stock up my kit once my foundation supply is gone. For now, the Double Wear Light is pretty amaazing! Let’s talk about the Double Wear Light now, shall we?

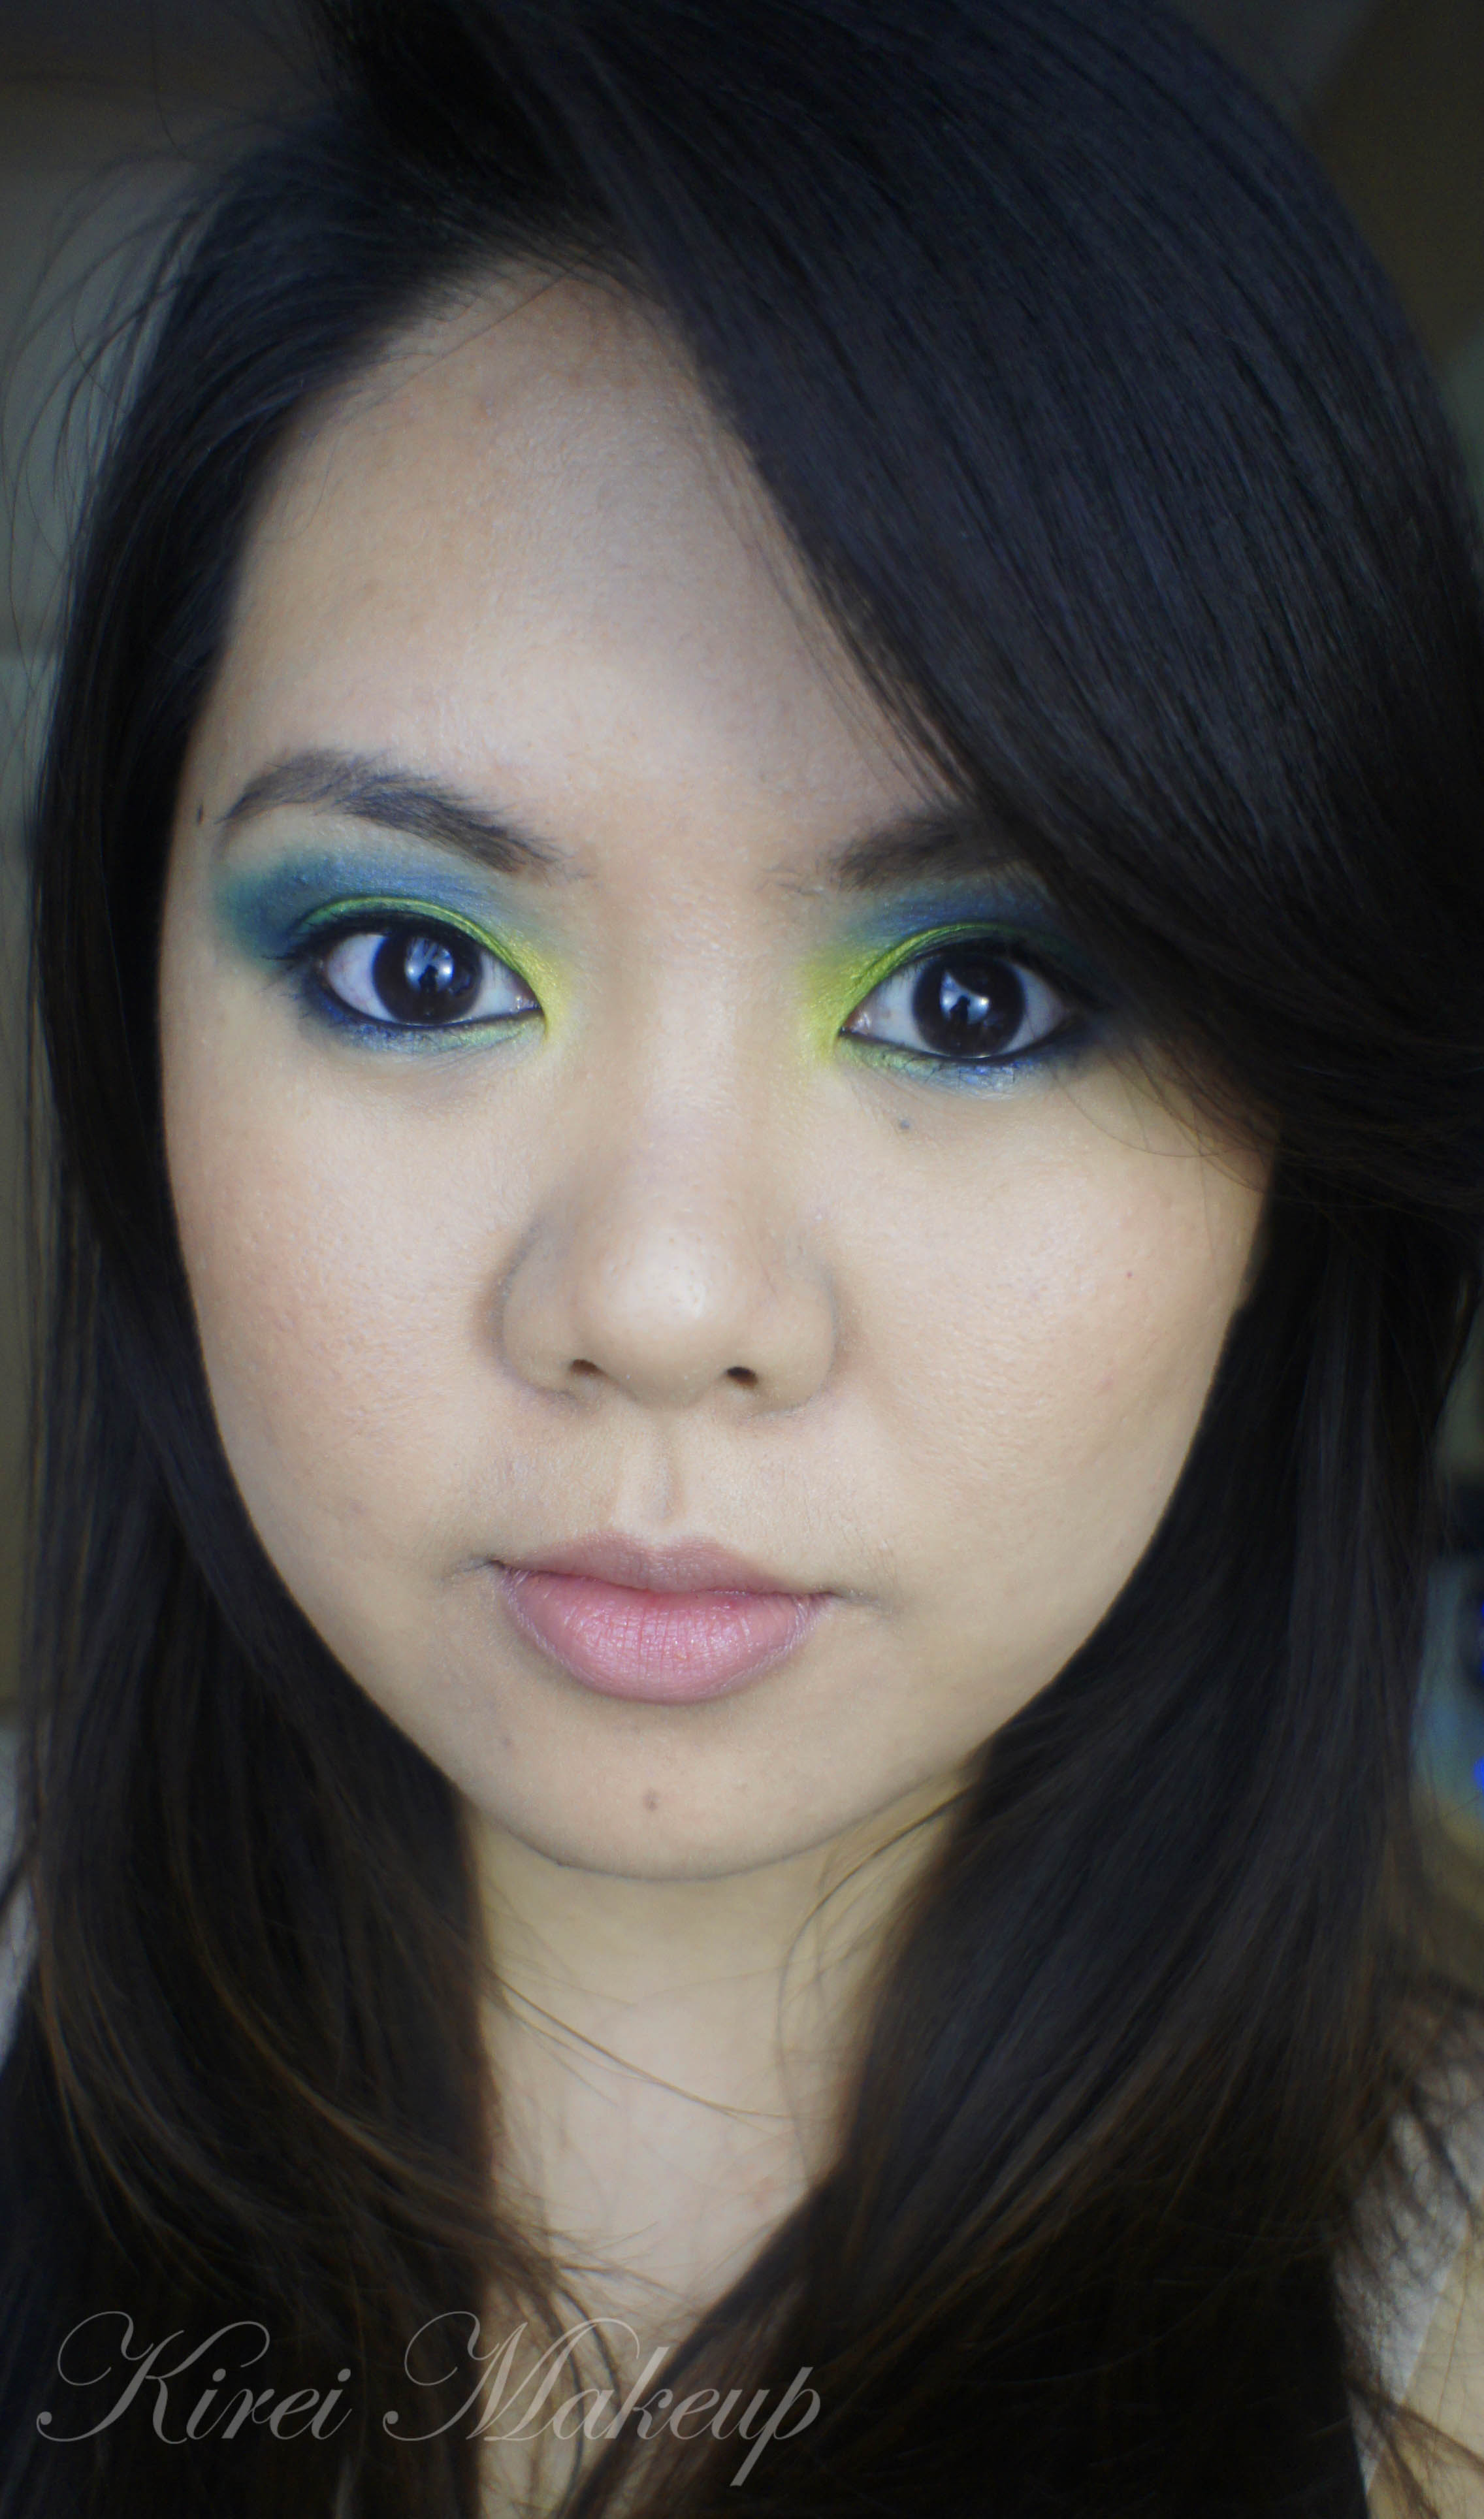
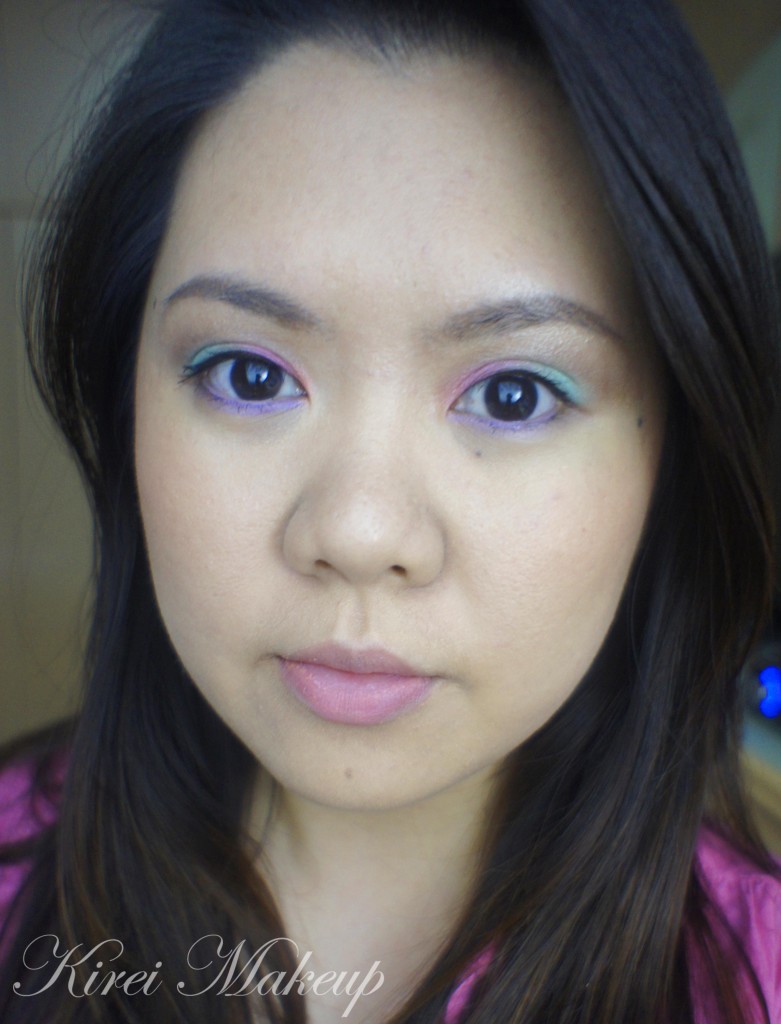
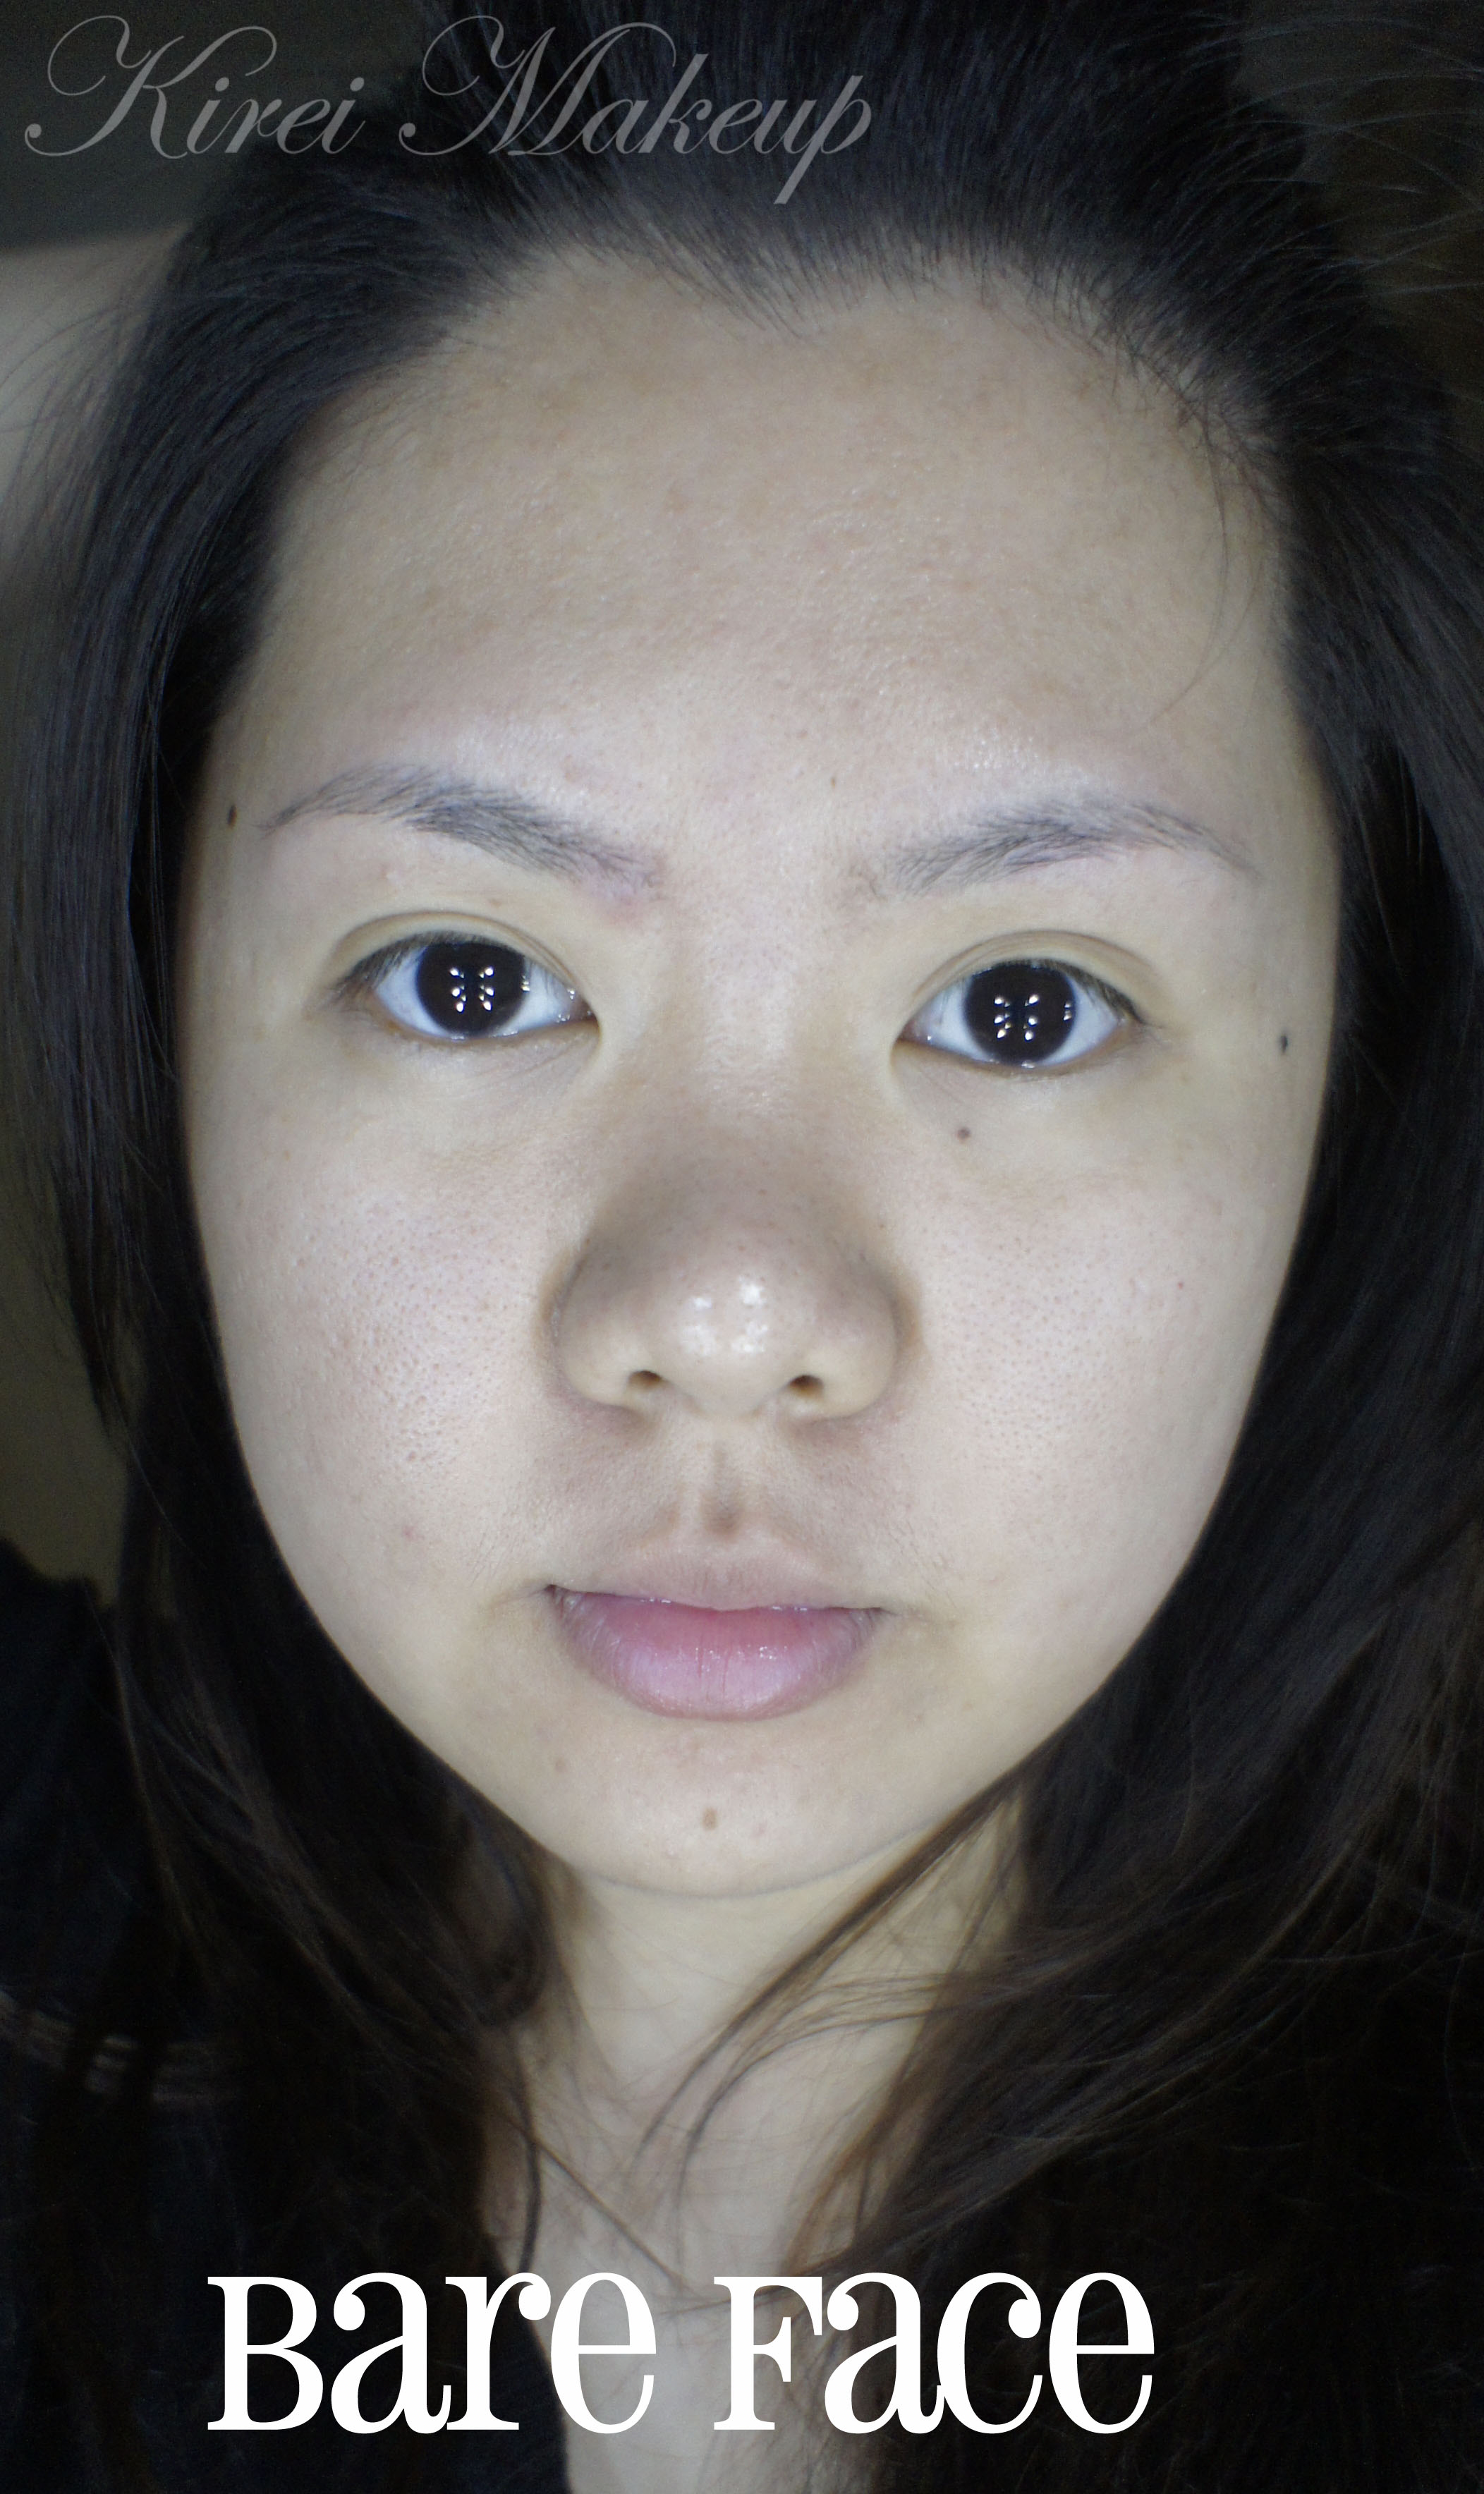
I applied this foundation using my fingers. Since I wanted to test the foundation itself, I did not powder my face. Other makeup on my face includes – cream blush, mascara, eyeshadow, brows and lip balm. Foundation was on at 1pm until 11pm. Below is my bare face photo – just moisturizer.

ย Estee Lauder Double Wear Light review

Coverage

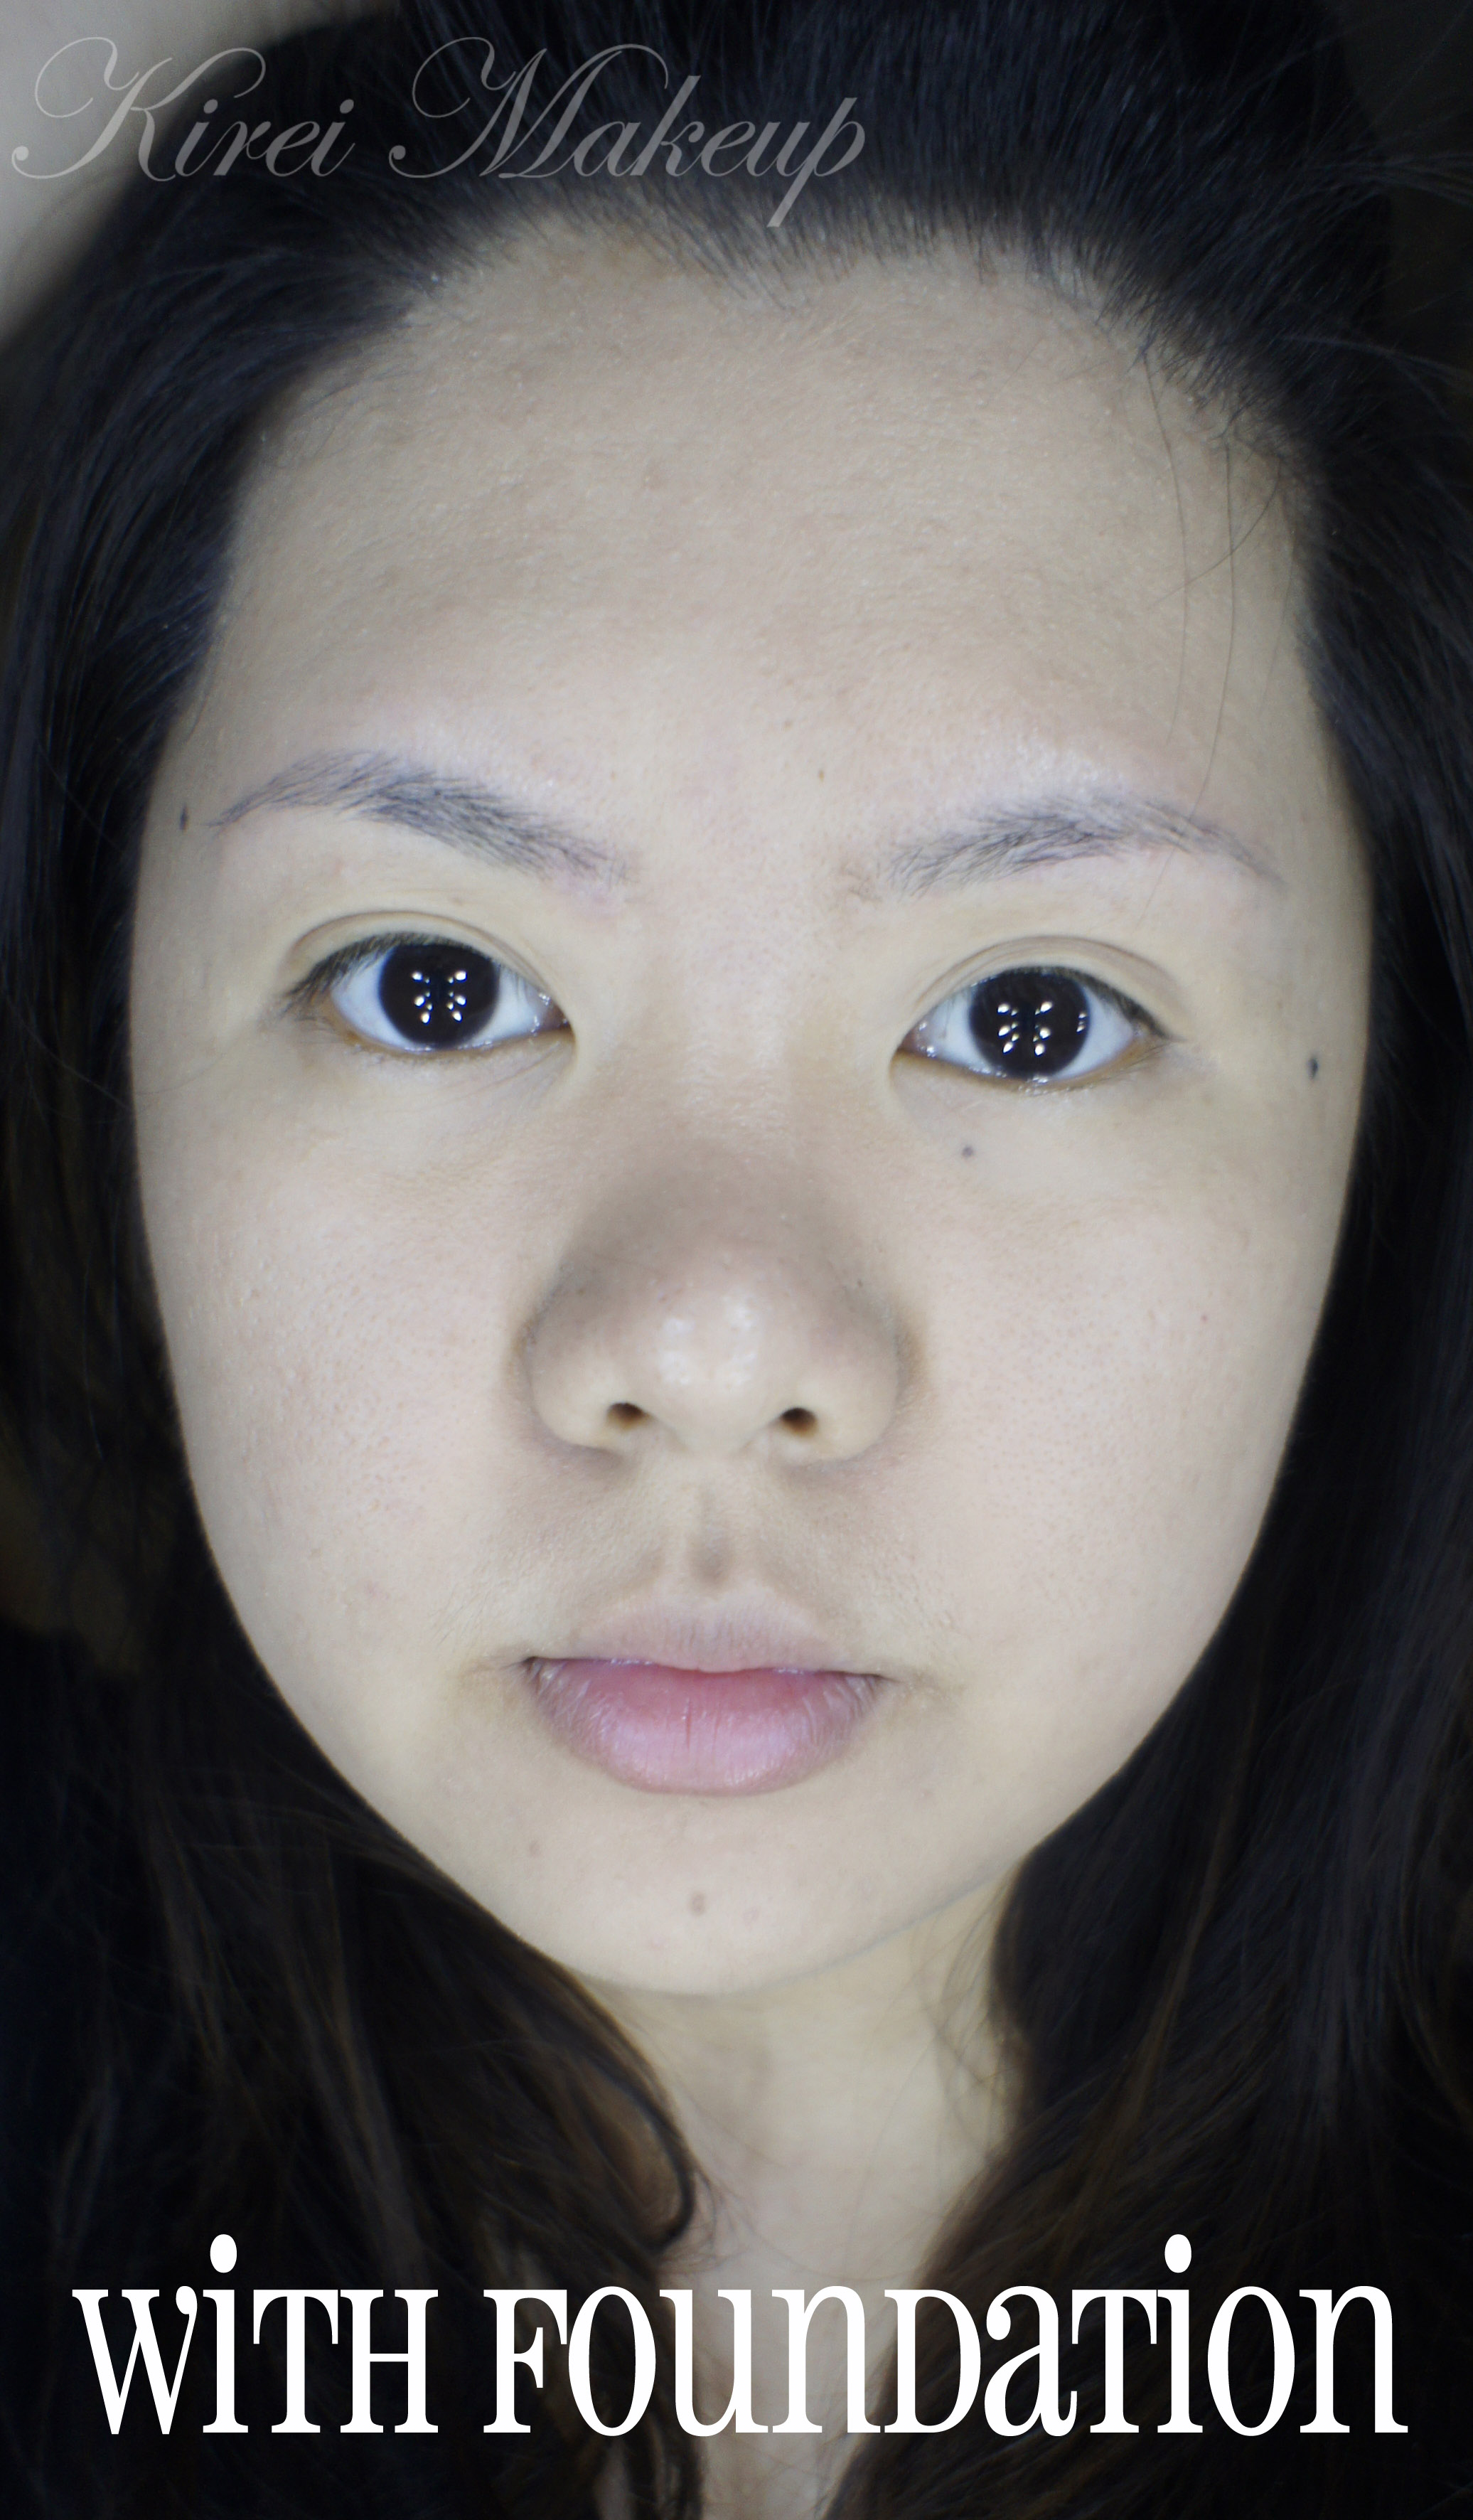
The Double Wear Light is mentioned on the Estee Lauder website as Sheer to Medium. I have to agree with them. I do find this foundation to be on the Sheer side when applying with your fingers or damped sponge. You can apply it with a foundation brush or a buffing brush to make this foundation a medium coverage. It is also buildable, so you can definitely layer this foundation to your desired coverage.

Finish

The finish is said to be Natural on their website. Again, I do have to agree with this. I really love how it does not feel like as though you are wearing anything. It blends to the skin seamlessly. The finish is natural, it’s not dewy or satiny or luminous, it’s very skin-like. I think a lot of the new generation foundation, like the Chanel Aqua Vitaelumiere has this type of skin-like finish.

Estee Lauder Double Wear Light review

Longevity

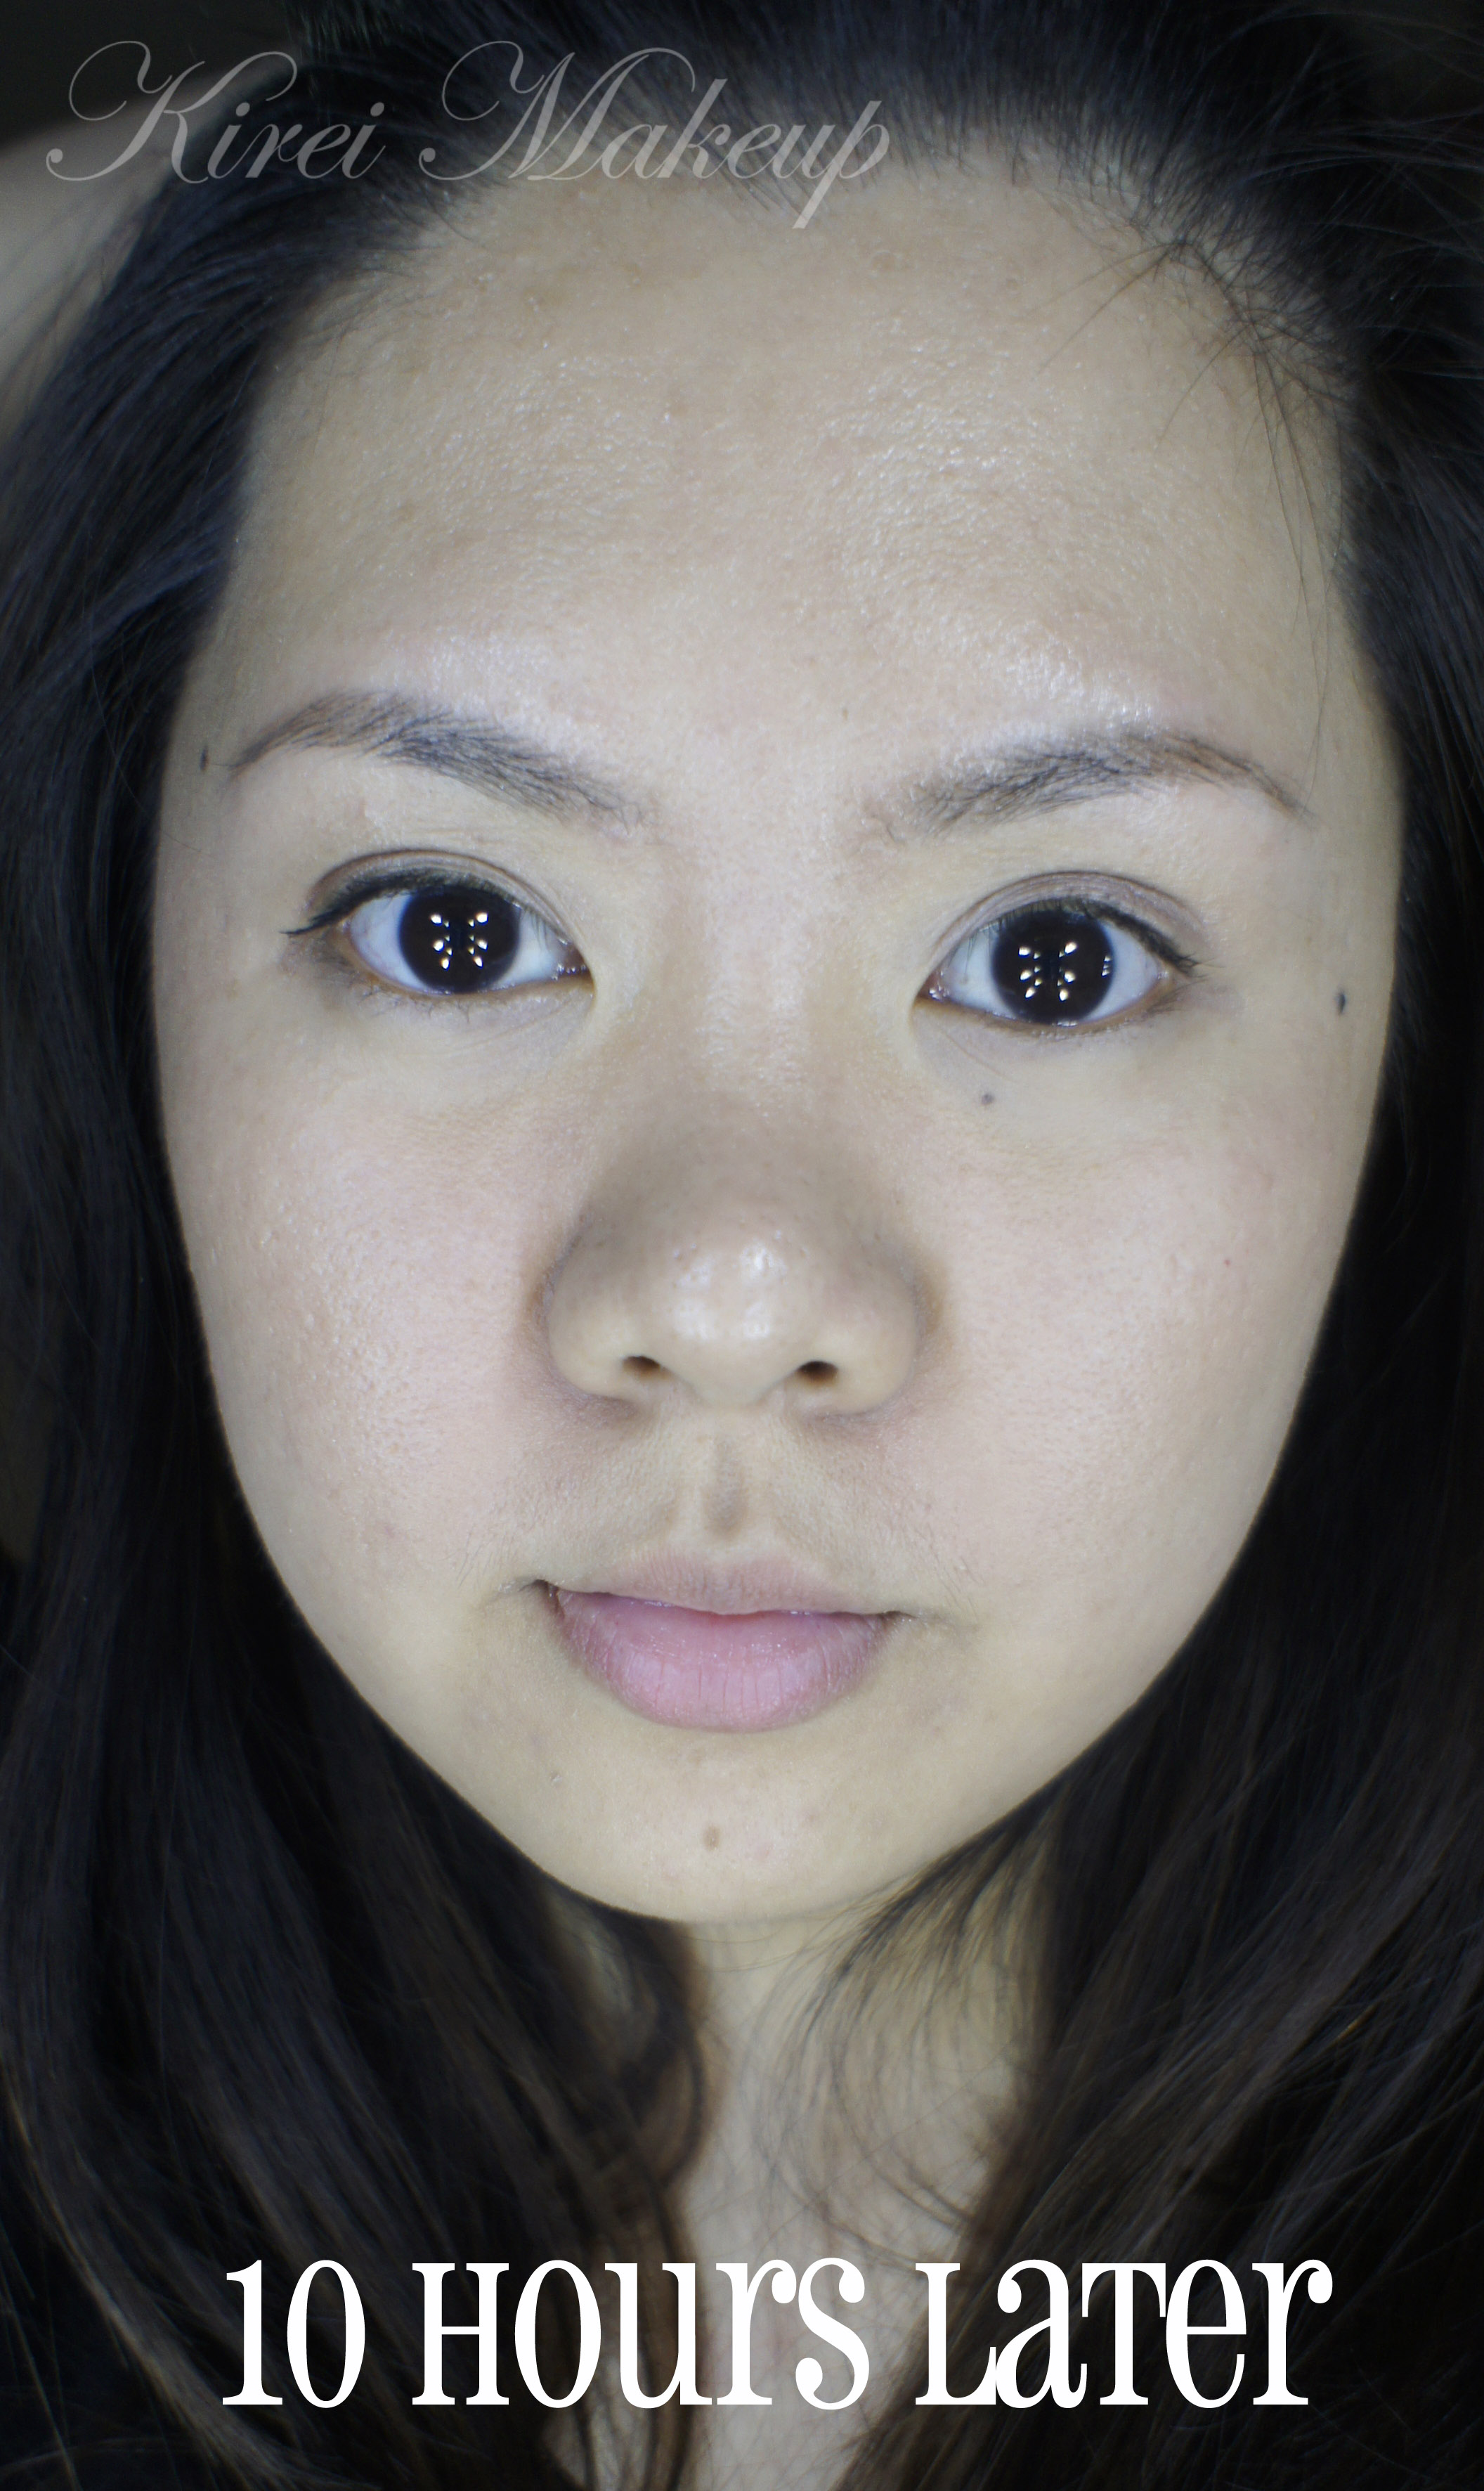
On the website, it says that the product “resists smudging and won’t melt off through heat and humidity”. It also says that it lasts for 15-hour. First of all, I have to say that this is probably the only foundation that does not smudge as much as my other foundation. What I mean by smudging is when I blot my sweaty, oily face (bahahahaha) very little product comes off.

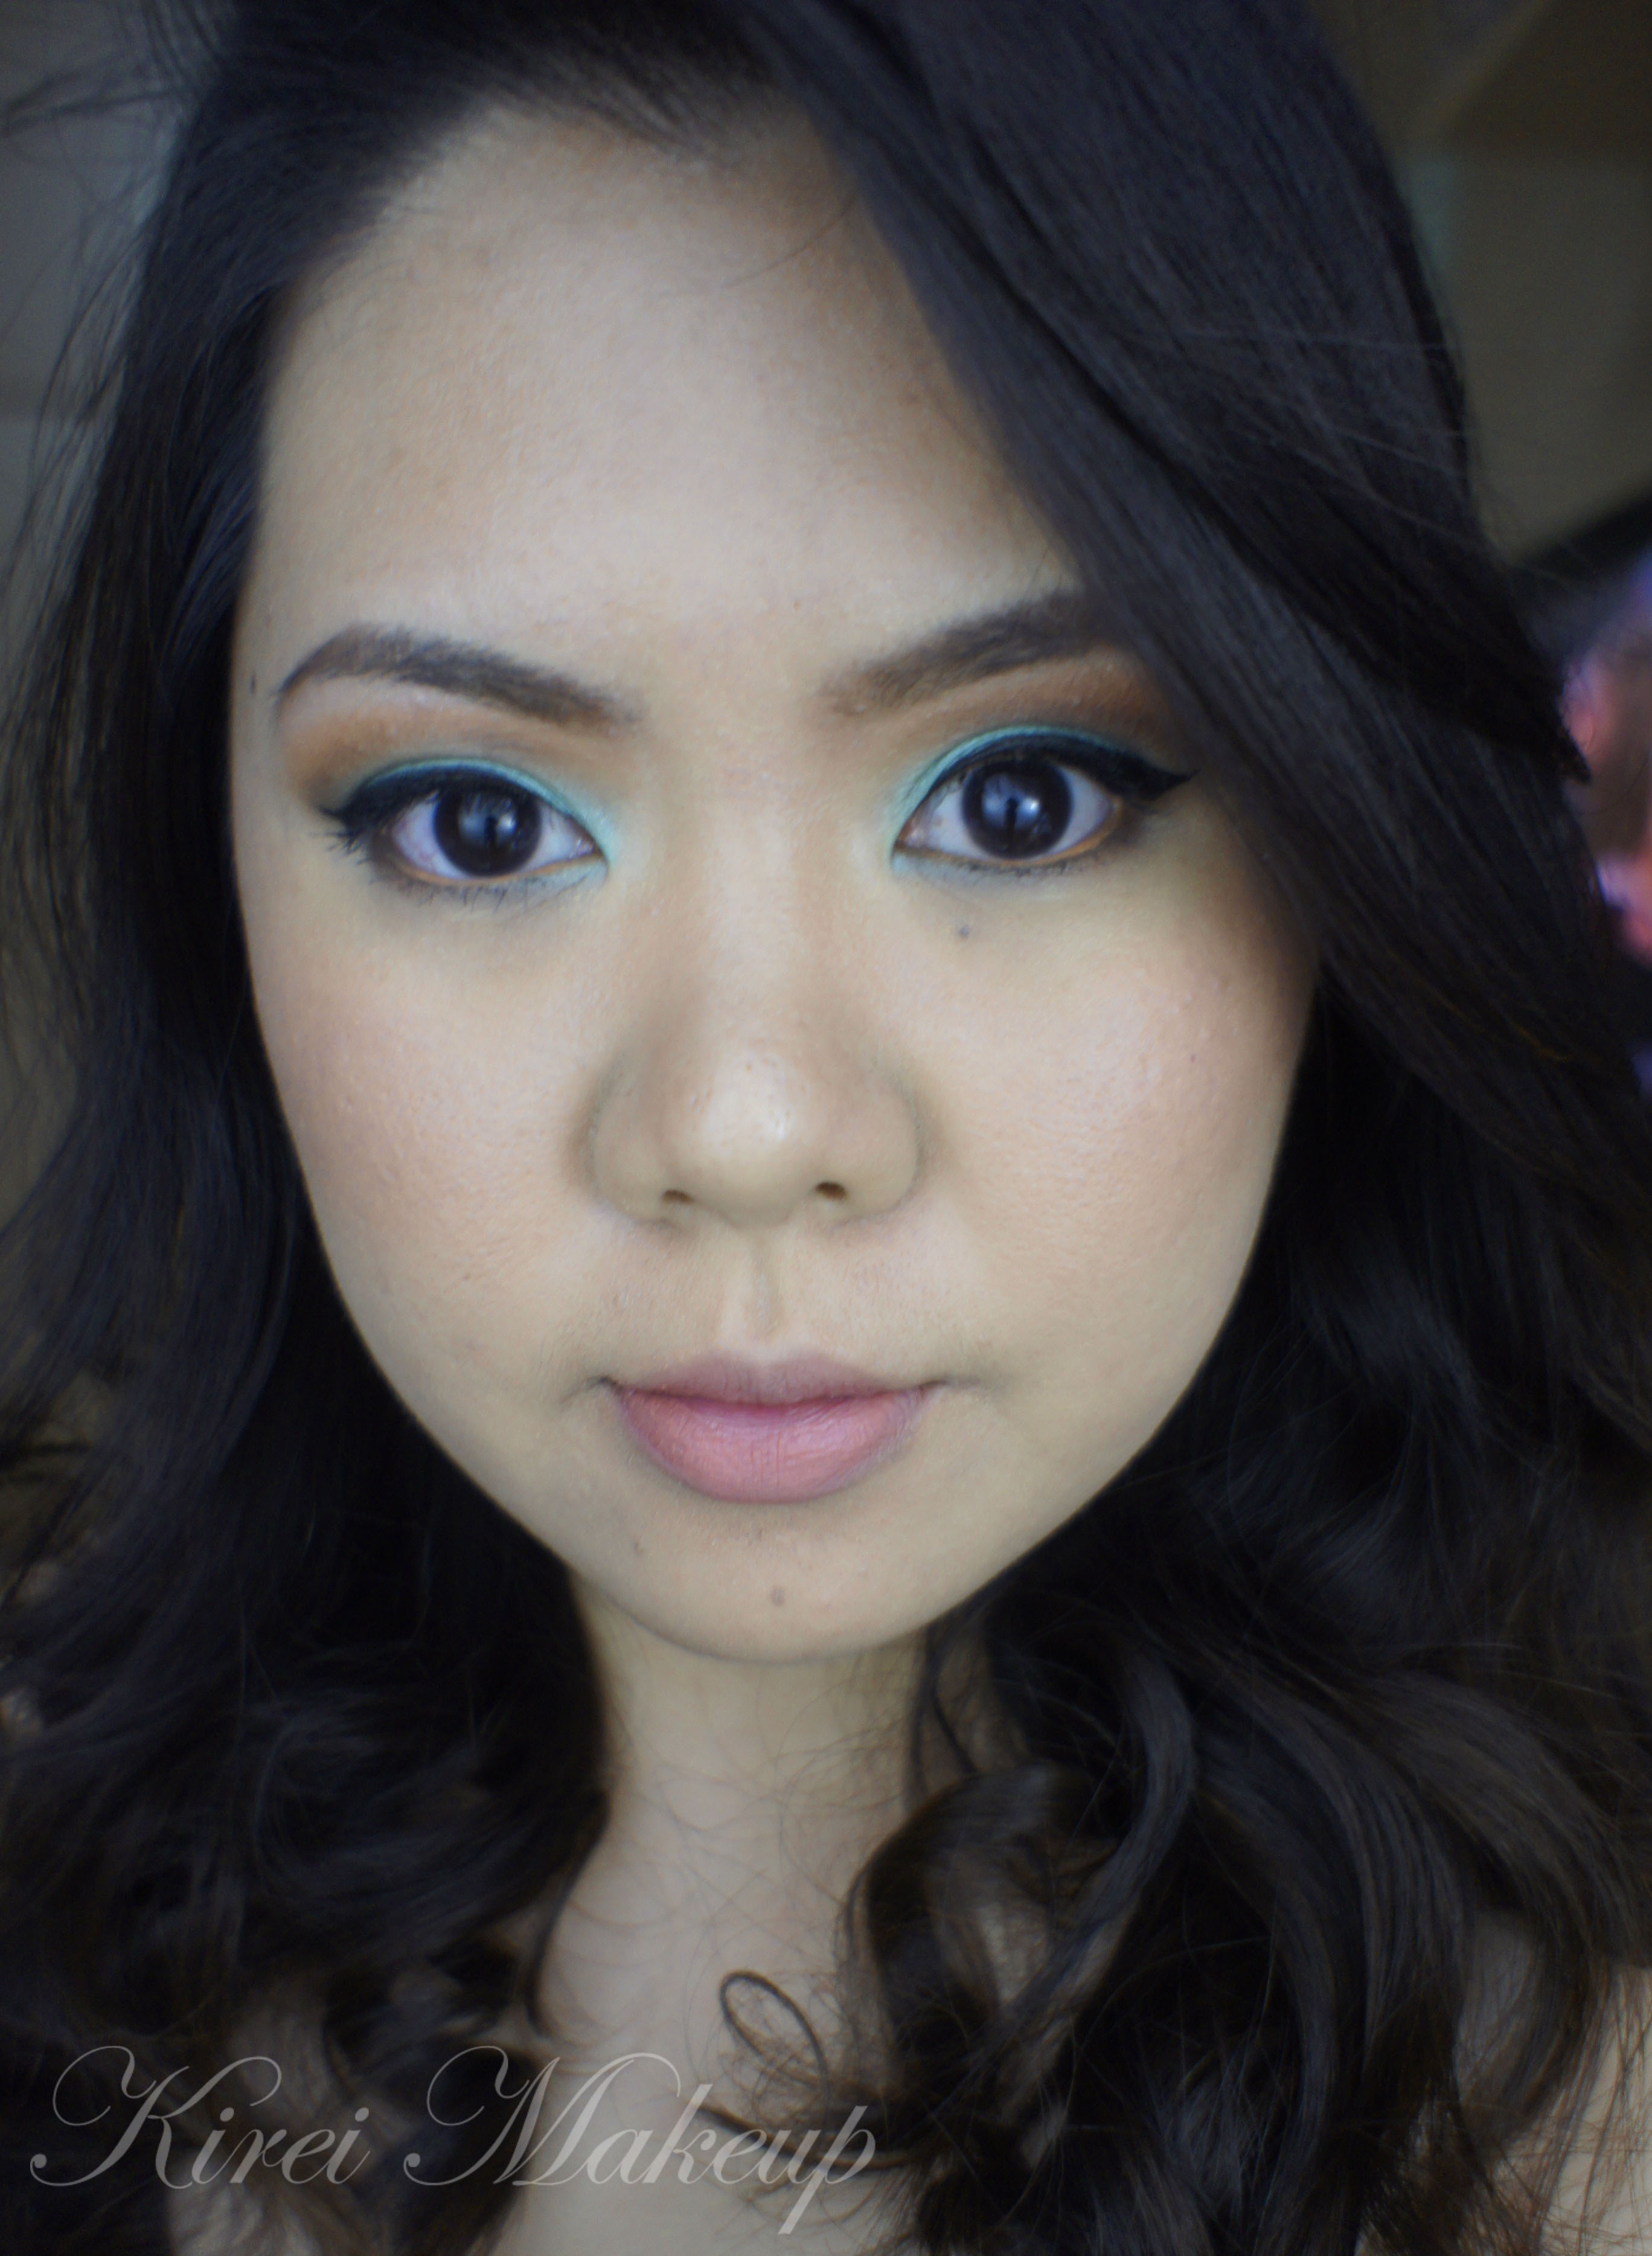
This foundation lasted for a good 10-hour. As you can see from the photo below , some of my redness did show through after the 10-hour (cheeks and side of the nose). Keep in mind that I did not powder my face, nor do any touch-up through out the day.

Price

I don’t remember how much this foundation was, and I lost the receipt. I think it’s around Rp. 500,000 (USD$50), and it’s Rp. 469,800 at some local online shop. In the U.S.A, this foundation costs USD$36, and in Canada CAD$42.50. It is quite a pricy foundation.

Estee Lauder Double Wear Light review

Verdict: 4.5 happy faces out of 5! The only cons that I have about this product is the fact that it’s prettty steep on the price! Other than that, I definitely am loving it more than my Chanel Aqua Vitaelumiere!

Under the Sea

The start of this week has been quite upsetting! Anyways, to cheer myself up I decided to do a tutorial with uber bright colors! Since I’ve been using lots of purple lately, I’ve decided to use blue and greens. The eyeshadow on the inner corner showed up as yellow for some reason, even though it’s actually a chartreuse colored eyeshadow.

Anyhow, I don’t really quite enjoyed how this turned up, may be because I think I winged the blue way too far than usual. Nevertheless, I still love how the colors turned out! Bright and pretty, just the way I like it.

How-to:


1. I applied Sariayu K. Karimunjawa green eyeshadow on the inner half of the eyelid and Ben Nye Cosmic Blue eyeshadow on the outer half of the eyelid.

2. Using a blending brush, I blended the eyeshadow.

3. Using a small shader brush, I applied MAC Rated R on the inner corner of the eyes.

4. Using a small shader brush, I also applied Celestial Blue from Ben Nye on the crease.

5. Using a small blending brush, I blended the color on the crease.

6. I applied Ben Nye Cosmic Blue, Sariayu K. Karimunjawa green eyeshadow on the lower lid using a pencil brush.

7. I lined my waterline and tightline using MAC Smolder eyeliner pencil.

8. I curled my lashes and applied Dior Overcurl mascara on both top and bottom lashes.

9. I filled in my brows using a mixture of MAC Brun and Omega.

MAC R-rated

10. For the face, I applied Estee Lauder Double Wear Light foundation all over my face.

11. I applied MAC Peaches blush on the cheeks.

12. For the lips, I applied Revlon Mauve It Over and a tiny dab of vaseline.

green smoky eyes

Tropics

I was just thinking about doing a bright makeup look and I remembered about my MAC Shimmermoss eyeshadow, which was shattered due to the long flight from Canada to Jakarta. I managed to salvage it and pressed it back together by pouring alcohol to the shattered eyeshadow, mixed it around to make it into a paste and pressed it down, then letting it dry. The eyeshadow is as good as brand new and no change in texture nor color. I was one happy gal! ๐Ÿ˜€

Anyways, I thought I’d throw in an orange and brown to make the look wearable, but not boring. I think this look is very summery and have a tropic vibe to it. Kinda remind you of the beaches, no?

How-t0:

1. I primed my eyes by applying MAC Bare Study paint pot all over my eyelid using my finger.

2. Using a flat eyeshadow brush, I applied MAC Shimmermoss eyeshadow on the eyelid.

3. Using a small shader brush, I applied the darkest brown on the 88 coastal scents prism palette on the outer V and on the crease.

4. I blended an orange eyeshadow (the lightest orange from the 88 coastal scents prism palette) on the crease using a clean blending brush.

5. On the waterline, I applied MAC Chromagraphic eyeliner in NC30.

6. Using an angled eyeliner brush, I applied the same orange eyeshadow as step 4 on top of the beige (nude) eyeliner on the waterline. You can skip this step by leaving the eyeliner beige/nude or apply a black liner to intensify the look.

7. Using a pencil brush, I applied the darkest brown from the 88 prism palette on the outer lower lash line and MAC shimmermoss on the inner lower lash line.

8. I created a winged liner using Kat Von D Trooper eyeliner.

9. I filled in my brows using Anastasia Brow Express Kit powder in Brunette.

10. I curled my lashes and applied Dior Overcurl mascara on both top and bottom lashes.

MAC Shimmermoss

11. For the face, I applied Urban Decay Naked Foundation using a foundation brush.

12. I contoured the sides of my nose and under my cheeks using MAC Shadowy and a face fan brush.

13. For the cheeks, I applied MAC Peaches.

14. Top it all off with Revlon Mauve It Over on the lips.

MAC Shimmermoss

Nails of the Day – Essie Navigate Her

Product of the Week for this week is Essie Navigate Her nail polish! I absolutely adore this color. It’s bright, it’s light, it’s pastel and it’s very Spring! I bought this at Trade Secret in Canada last year for about CAD$ 8.99. This color was from the Spring Collection 2012. I’d say that this nail polish is light green with a yellow undertone.

I applied two coats of the nail polish to achieve an opaque finish. The first layer might get streaky, so definitely apply 2-3 coats for a beautiful opaque finish. The consistency of the nail polish is quite runny compared to OPI. I find that most of Essie nail polishes are quite runny, anyways.

Regarding the longevity of the nail polish really depends on where you are and how much work do you do with your hands. When I was in Canada and it’s cold, and I’ve to apply a lot of hand lotions, do the dishes, showered with really hot water etc, the nail polishes usually lasted for about 3-4 days. In Indonesia, since it’s warm, showered with cold water, not much lotion etc, the nail polishes lasted longer usually for about a week with minimal chipping.

Essie Navigate Her

Olive Twist

I always have this soft spot for olive colored eyeshadows cause they are just so lovely and pretty. This MAC Duo Mineralized eyeshadow in Bright Side/Gallery Gal is one of my favorite. You can apply the eyeshadows wet or dry, and you can do smoky, neutral, color anything you like! A simple duo eyeshadow can be used in so many ways!

The tutorial showed how to use the eyeshadows together in a very simple way, and you can wear this as a day look, or a night out. If you’re feeling brave, pair this up with a red lip, if you’re going to a party, apply false eyelashes. Make it your own! This classic liner look is getting a little twist from the olive-colored eyeshadow!

How-to:

1. I applied Shiseido primer all over my face.

2. Using a flat eyeshadow brush, I applied MAC Gallery Gal (the olive side) on the outer half of the lid.

3. Using another flat eyeshadow brush, I applied MAC Bright Side (the champagne side) on the inner half, blending it towards the olive.

4. Applied the same sequence of eyeshadow on the lower lid using a pencil brush.

5. Using an angled eyeliner brush, I applied MUFE Aqua Black gel liner and created a winged/cat-eyeliner on the upperlash line.

6. Using whatever was left on the brush, I applied MUFE Aqua Black along the waterline.

7. I curled my lashes and applied Dior Overcurl mascara on both top and bottom lashes.

8. I filled in my brows using a mixture of MAC Omega and Brun.

MAC mineralized eyeshadow

9. For the face, I applied Estee Lauder Double Wear Light foundation.

10. For contouring, I applied MAC Shadowy on the temples as well as hollows of the cheeks using a face fan brush. I also applied it on the sides of the nose using Sigma Angled Precision brush.

11. For the cheeks, I applied MAC Cubic blush.

12. On the lips, I applied Tarte Lipsurgence in Hope.

Everyday makeup - Kirei Makeup

Smoky Eyes and Red Lips

Since I’ve been doing quite a few bright colored tutorials, I wanted to do a dark look…I love smoky eyes and red lips, and even though usually I don’t wear both at the same time, I did it anyways..hahaha..Lately this combination of smoky eyes and red lips are making a comeback. What used to be a faux pas, seems to be the new trend. Smoky eyes and red lips were the look in 1920s (think Betty Bop, Flapper dancers etc). However, I obviously made it to suit my own style and liking!

I wanted to find my own red lips hue, so I’ve to mix it myself. If you like the color of the lips, continue reading for the tutorial! ๐Ÿ™‚

How-to:

1. I applied the lighter shade (silverish brown) from NARS Dogon duo eyeshadow using a flat eyeshadow brush all over my eyelid.

2. Using a blending brush, I applied the darker side (bluish charcoal) from NARS Dogon duo eyeshadow on the crease and outer V.

3. I lined my waterline and tightline using L’oreal Voluminous Smoldering eyeliner.

4. Using MAC Blacktied, I applied winged liner using an angled eyeliner brush along the upper lash line.

5. I also applied the darker shade from NARS Dogon duo eyeshadow along the lower lashline.

6. I curled my lashes and applied Dior Overcurl mascara on both top and bottom lashes.

7. I applied MAC Naked Lunch on the center of the lid and the inner corner of the eyes to brighten up my eyes.

8. I filled in my brows using a mixture of MAC Omega and MAC Brun.

asian smoky eyes

9. I applied Giorgio Armani Silk foundation all over my face using my fingers.

10. I also applied MAC Pro concealer palette in Medium (NC 30) under the eyes, side of the nose, any blemishes and lightly over the lips.

11. For the lips, I applied a thin layer of Revlon Colorstay Ultimate Suede in Backstage on the lips using a lip brush.

12. Then, I applied a layer of OCC Lip Tar in Vintage on top of the Revlon Backstage lipstick.

13. I used a piece of Klenex, put it against my lips and blot away the excess lipstick.

14. Using a clean piece of Klenex, I put it against my lips lightly and applied translucent powder on top of the Klenex using a clean blush brush.

15. For the contour, I applied MAC Shadowy on the temples, hollows of the cheeks and sides of the nose.

16. For the cheeks, I applied MAC Fleur Power to complete the look.

smoky eyes and red lips

<a href=”http://www.bloglovin.com/blog/708627/?claim=npanjk37yxk”>Follow my blog with Bloglovin</a>

Product of the Week: Sariayu K. Karimunjawa

This week in Product of the Week installment, I’m presenting another Sariayu eyeshadows! I’m loving this Indonesian makeup brand so much. It’s affordable, pigmented and widely available. Martha Tilaar’s other brand, which is P.A.C is actually designed for makeup artist, but I find that Sariayu (also by Martha Tilaar) has the same quality as P.A.C eyeshadows. I also love the fact that Sariayu products are not tested animals!

Anyways, let’s talk about this trio palette! This palette is called K. Karimunjawa, and it’s one of the latest products from Sariayu latest collection – Sariayu Trend Warna 2013 Pesisir Sentrajava. I bought mine in a Martha Tilaar store in the malls for IDR Rp. 45,000 (about USD $4.50). If I’m not wrong, when I went to Carrefour on the weekend, they were selling this at IDR Rp. 38,500.

The inspiration of the Karimunjawa palette comes from the Northern coast of Central Java, whereby there’s 27 little islands of Karimunjawa with the brightest ocean. Karimunjawa is a great home of the beautiful coral reefs. A place for almost 400 oceanic species, including 242 ornamental fishes that live there. As a National Park, Karimunjawa has developed and becomes a Marine Park attraction for both local and international tourists (Martha Tilaar Group, 2013).

Sariayu eyeshadows

The colors are amazingly pigmented, and easily blendable. All the colors have shimmers in them, but I do find that the yellow isn’t as shimmery as the green or the purple. The purple might look dark in pictures, but it’s not that dark when you apply it to the skin. The consistency is very buttery. I find it very easy to blend the colors without having to lose the intensity.


sariayu k karimunjawa

I’ve done a tutorial using this palette in my Northern Lights post. I’ve received a lot of compliments on that look. A lot of people seems to like the yellow eyeshadow since it pops out a lot in pictures.

In general, the color combination works and I think this is an awesome palette, especially for the price that I bought it at.

Sariayu

Sariayu K Karimunjawa

Of course, there’s more than just this shadow from Sariayu trend warna 2013. With the Karimunjawa line, they also carried 2 lip products and a Glow Powder which I did not buy. On their website, they also show the 3 different ways to wear the Karimunjawa trio shadow palette, so do check them out!

Will I buy this product again? Most definitely! I love all 3 colors and for that price, of course I’ll buy it again. I give this palette 5 winks out of 5! I have yet to find something that I don’t like from it. I love love love love it!


Easter Pastels


Easter is near! Lots of pastel colored eggs around and I looove those pastel colors – yellow, blue, pink, purple etc. I am very fond of pastel colors,especially Givenchy Bucolic Blossom quad.. But too bad for my skintone, any pastel colored eyeshadows will just show up very light, whitish-like and pretty much I’ll look washed out.

However, I think I found a trick to wearing the lovely pastels. I know most people use a white base (aka NYX Milk Jumbo Pencil). I found the NYX jumbo pencil to crease a lot even though I applied it sparingly. So, I decided to use a colored base underneath instead of white.ย  I found that the colored base allows the colors of the Givenchy Bucolic Blossom quad to show through. I love it!

I’ve done an earlier tutorial using the same quad but with a nude base right here ๐Ÿ˜€

How-to:

1. I applied Urban Decay 24/7 Glide-on eyeliner in Woodstock on the inner half of the upper eyelid. I applied very little and used my finger to blend the eyeliner out. Work fast since the eyeliner dries out pretty fast.

2. Using a flat eyeshadow brush, I applied the pink shadow from Givenchy Bucolic Blossom quad on top of the base.

3. (Not shown in picture – I applied a very sheer layer of Maybelline Color Tattoo in Edgy Emerald on the outer half of the lid). Using a flat eyeshadow brush, I applied the Cyan eyeshadow from the Givenchy Bucolic Blossom quad on top of the base.

4. Using a pencil brush, I applied theย lilac from the quad on the lower lid.

5. Using a small blending brush, I applied the brown shadow from the quad on the crease just to add some depth.

6. On the waterline, I applied MAC Chromagraphic eyeliner in NC30 and gently patted the lilac shadow on top of the eyeliner using an angled eyeliner brush.

7. I lined my upper lashline, very close to the roots of the lashes, using MAC Black Tied.

8. I curled my lashes and applied Dior Overcurl mascara.

9. I filled in my brows using a mixture of MAC Omega and MAC Brun.

10. I lightly applied MAC Ricepaper under the brows.

Pastel makeup

11. For the face, I applied MAC Matchmaster foundation using Tarte foundation brush.

12. I applied MAC Peaches blush on the cheeks and Revlon Just Bitten lipbalm in Charmed

Givenchy bucolic blossom


Northern Lights

Today’s look was inspired by a photography of the Nothern Lights by Phillipe Moussette. The colors in the photo were so beautiful and breathtaking. Also, since I just bought a new palette, I wanted to try the colors from that palette, so the green isn’t exactly the same as the green in the inspiration photo.

I love how this look turned out. Make sure you keep 2-3 blending brush handy!

How-to:

1. I applied the green shadow from Sariayu K Karimunjawa palette on my eyelid, leaving out just a tiny bit of area on the outer corner.

2. Using a flat eyeshadow brush, I applied the purple shadow from Sariayu K. Karimunjawa palette on the outer corner and on the crease.

3. Using a blending brush, I blended the purple so there’s no harsh line.

4. Using a small shader brush, I applied MAC Black Tied on the crease only.

5. Using a blending brush, I blended the black so it disappeared into the purple.

6. I also applied the yellow shadow from the Sariayu K. Karimunjawa palette on the inner corner of the eyelid using a pencil brush. I blended the color up reaching the bottom of my brows.

7. Using an angled eyeliner brush, I applied Lancome All Made Up eyeshadow on the lower lid. I also run the purple shadow that I used on the crease on the outer corner of the lower lid, on top of the blue shadow.

8. I lined my waterline and tightline using Annabelle kohl pencil liner in black.

9. I lined my upper lashline using Bobbi Brown Gel liner in Caviar Ink and made a winged liner.

10. Curled my lashes and applied L’oreal Voluminous Carbon Black mascara on both upper and lower lashes. I filled in my brows using a mixture of MAC Omega and MAC Brun.

maleficent inspired makeup

11. For the face, I applied Giorgio Armani Silk foundation using Shiseido foundation brush.

12. On the cheeks, I applied contour using MAC Blunt, and I applied MAC Cubis on the cheeks as blush.

13. I also contoured my nose using MAC Blunt.

14. For the lips, I applied Lancome Absolu Nu in 201.

green and purple eyeshadow

Smoking Peach

I’m quite unsure how I feel about this look. I wanted to do a combination of peach and purple, but decided to change it to a peach and black since I think I’ve done a lot of purple shadow a lot lately…but I think I should’ve stick to peach and purple becauuuse I’m not 100% liking this look. I like the peach but may be it’s not smoky enough? hmmm..I know lots of Asian brides like this combination of peach and smoky. Well, anyhow, let me know how you guys feel about this look.

How-t0:

1. I applied Ben Nye Mango eyeshadow all over the eyelid using a flat eyeshadow brush.

2. Using a small shader brush, I applied a black eyeshadow from Coastal Scents 88 prism palette on the outer V.

3. Using a clean blending brush, I blended the black shadow so there’s no harsh edge.

4. I applied Ben Nye Mango eyeshadow on the inner lower lid using a pencil brush and the black shadow on the outer half of the lower lid.

5. I applied Complections black pencil liner along my upper lashline and along the waterline.

6. I filled my brows in using a mixture of MAC Omega and MAC Brun.

7. I curled my lashes and applied L’oreal Voluminous Carbon Black mascara on upper and lower lashes. False eyelashes are optional.

asian bride makeup

8. For my face, I applied Urban Decay Naked foundation all over my face.

9. I contoured my nose and hollow of the cheeks using MAC Blunt.

10. I applied Benefit Hervana blush on my cheeks.

11. I lightly applied Maybelline Pink Please on the lips.

smoky peach makeup