Dr. Jart+ Indonesia V7 Product Launch

As you might know from Twitter (I was live tweeting), I was invited to join Dr. Jart+ Indonesia product launch, and the event occurred just last Wednesday. A BIG THANK YOU AND HUGS to Indah for the invitation! Anyhow, I wanted to share what happened last Wednesday in this post. For the official press release, I’ll post that up later on this week.

I have heard about Dr. Jart+ back when I was in Canada. Sephora stores in Canada carry this brand. To be honest, I never actually paid much attention to it since I thought it was just another brand selling BB creams. Just couple months back, I was actually curious about Dr. Jart+ skincare lines, and lucky me I received an invitation to join their product launch!

Dr. Jart+ is a Korean skincare brand, which is developed by Korean dermatologists. Their products are known globally, and now are available in Indonesia.

Dr. Jart V7 skincare line

Last Wednesday , they wanted to launch the Dr. Jart+ V7 skincare line in Indonesia. Several key people in the pictures below are: Vera Liono (Brand Manager Dr. Jart+ Indonesia), John Kim (Overseas Sales Team Manager), and Dr. Kevin Maharis (guest speaker, an aesthetic physician).

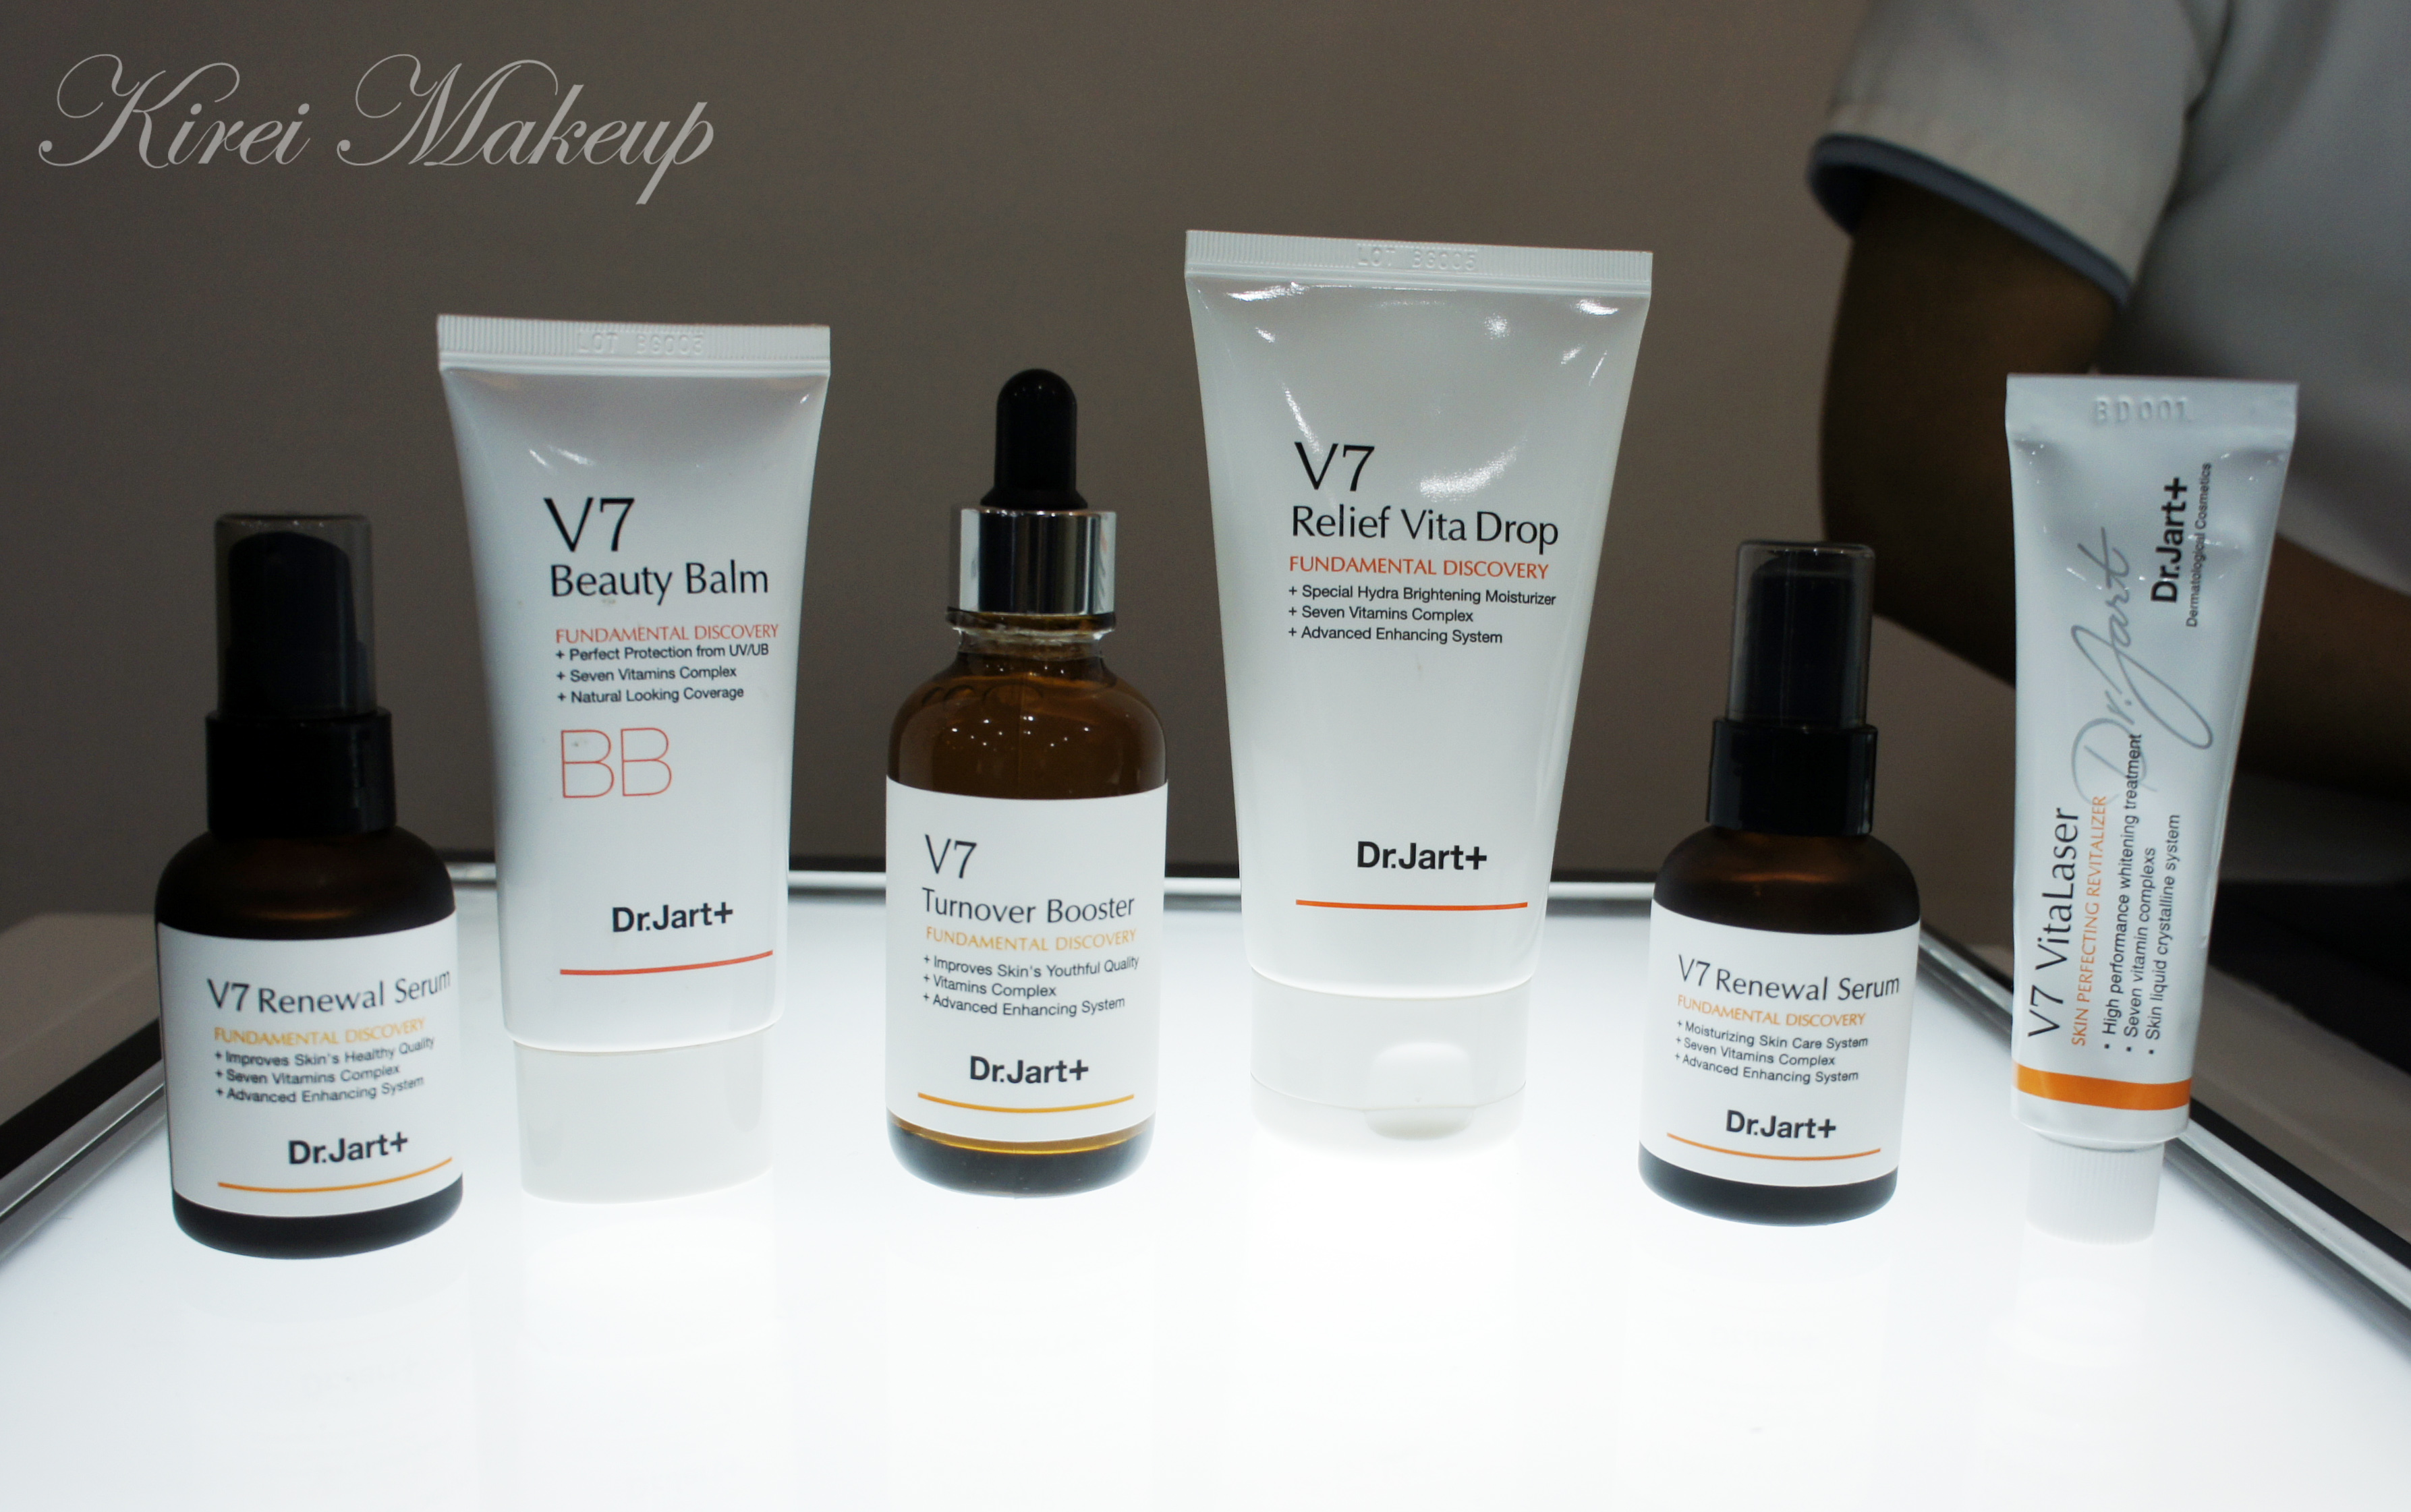
So, what is V7 skincare line? The V7 skincare line consists of several products, which help individuals to achieve a brighter looking skin. It’s called V7 because the products in this line are infused with several vitamins which can help to brighten the skin. The products include cleanser, toner, serum, moisturizer, and BB cream. This line is directed for those who want to get rid of their dark spots, dull skin and hyper-pigmentation. The products do not consist of any alcohol, and artificial fragrance, coloring as well as preservatives. It’s for all skin-type, and for both men and women.

Dr jart indonesia

(Vera Liono giving us a brief introduction regarding the brand)

Dr. John Kim

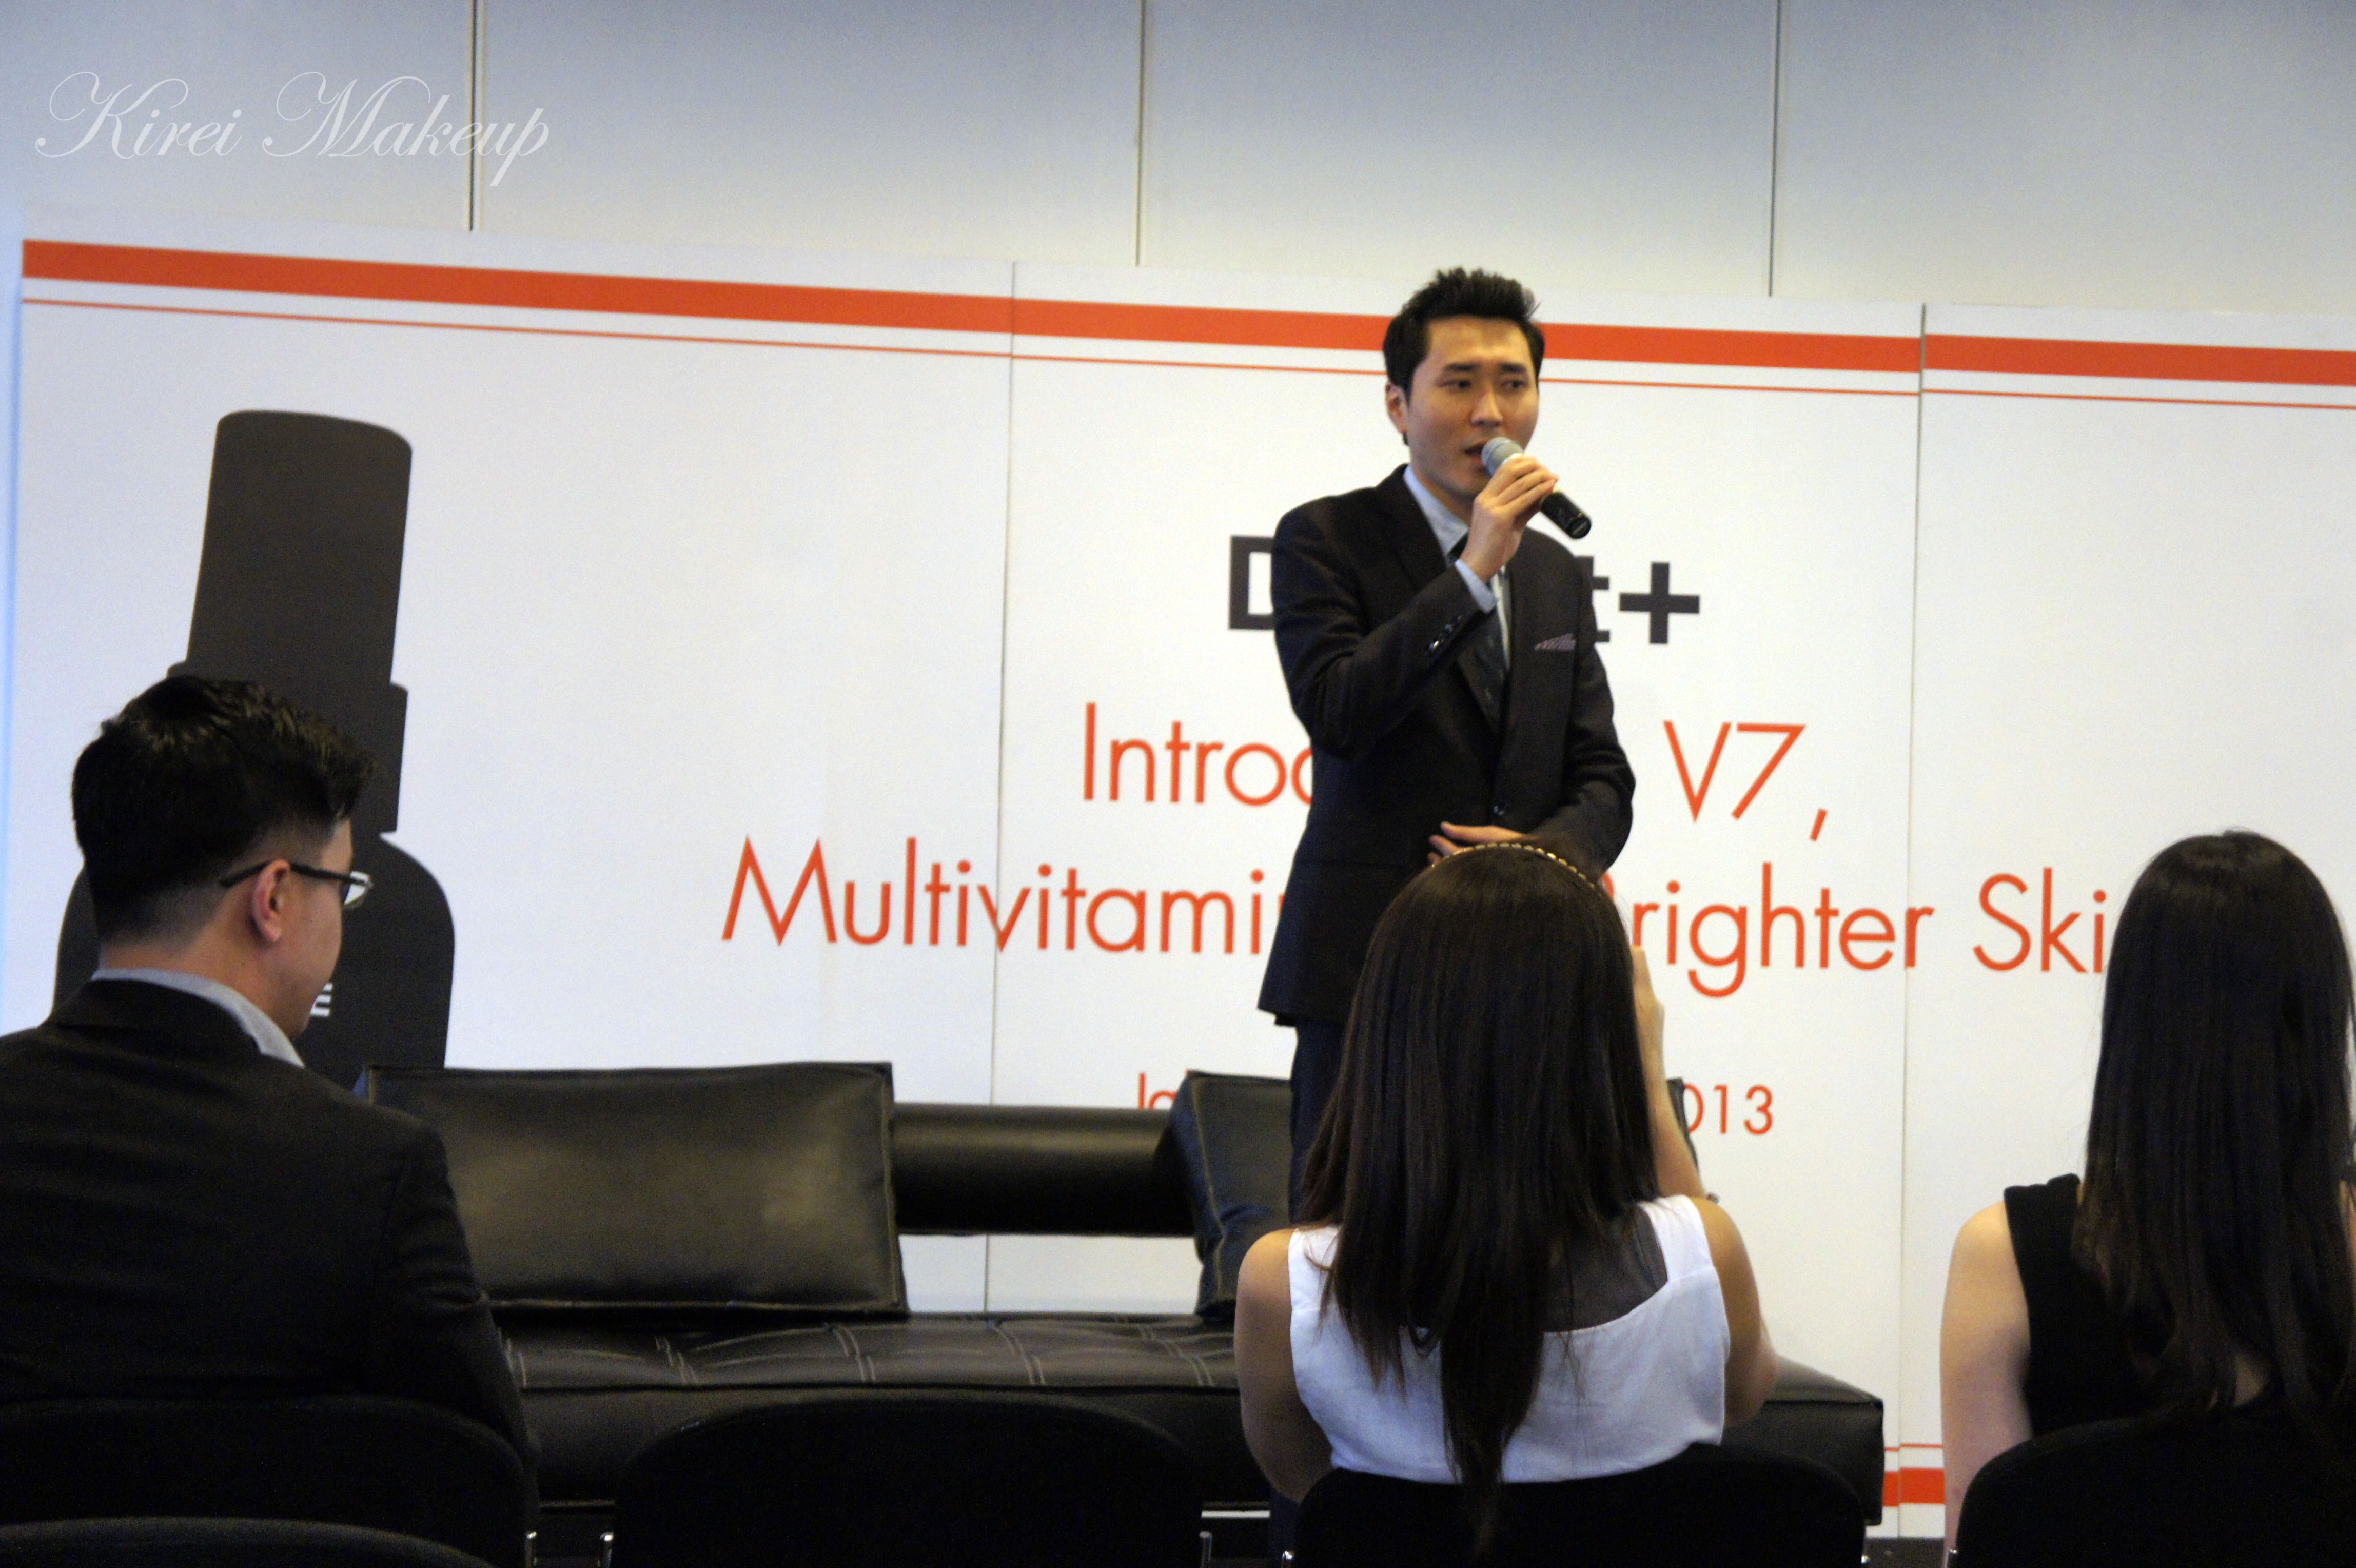
(John Kim, explaining to us about the development of Dr. Jart+ globally)

Dr. Kevin Maharis

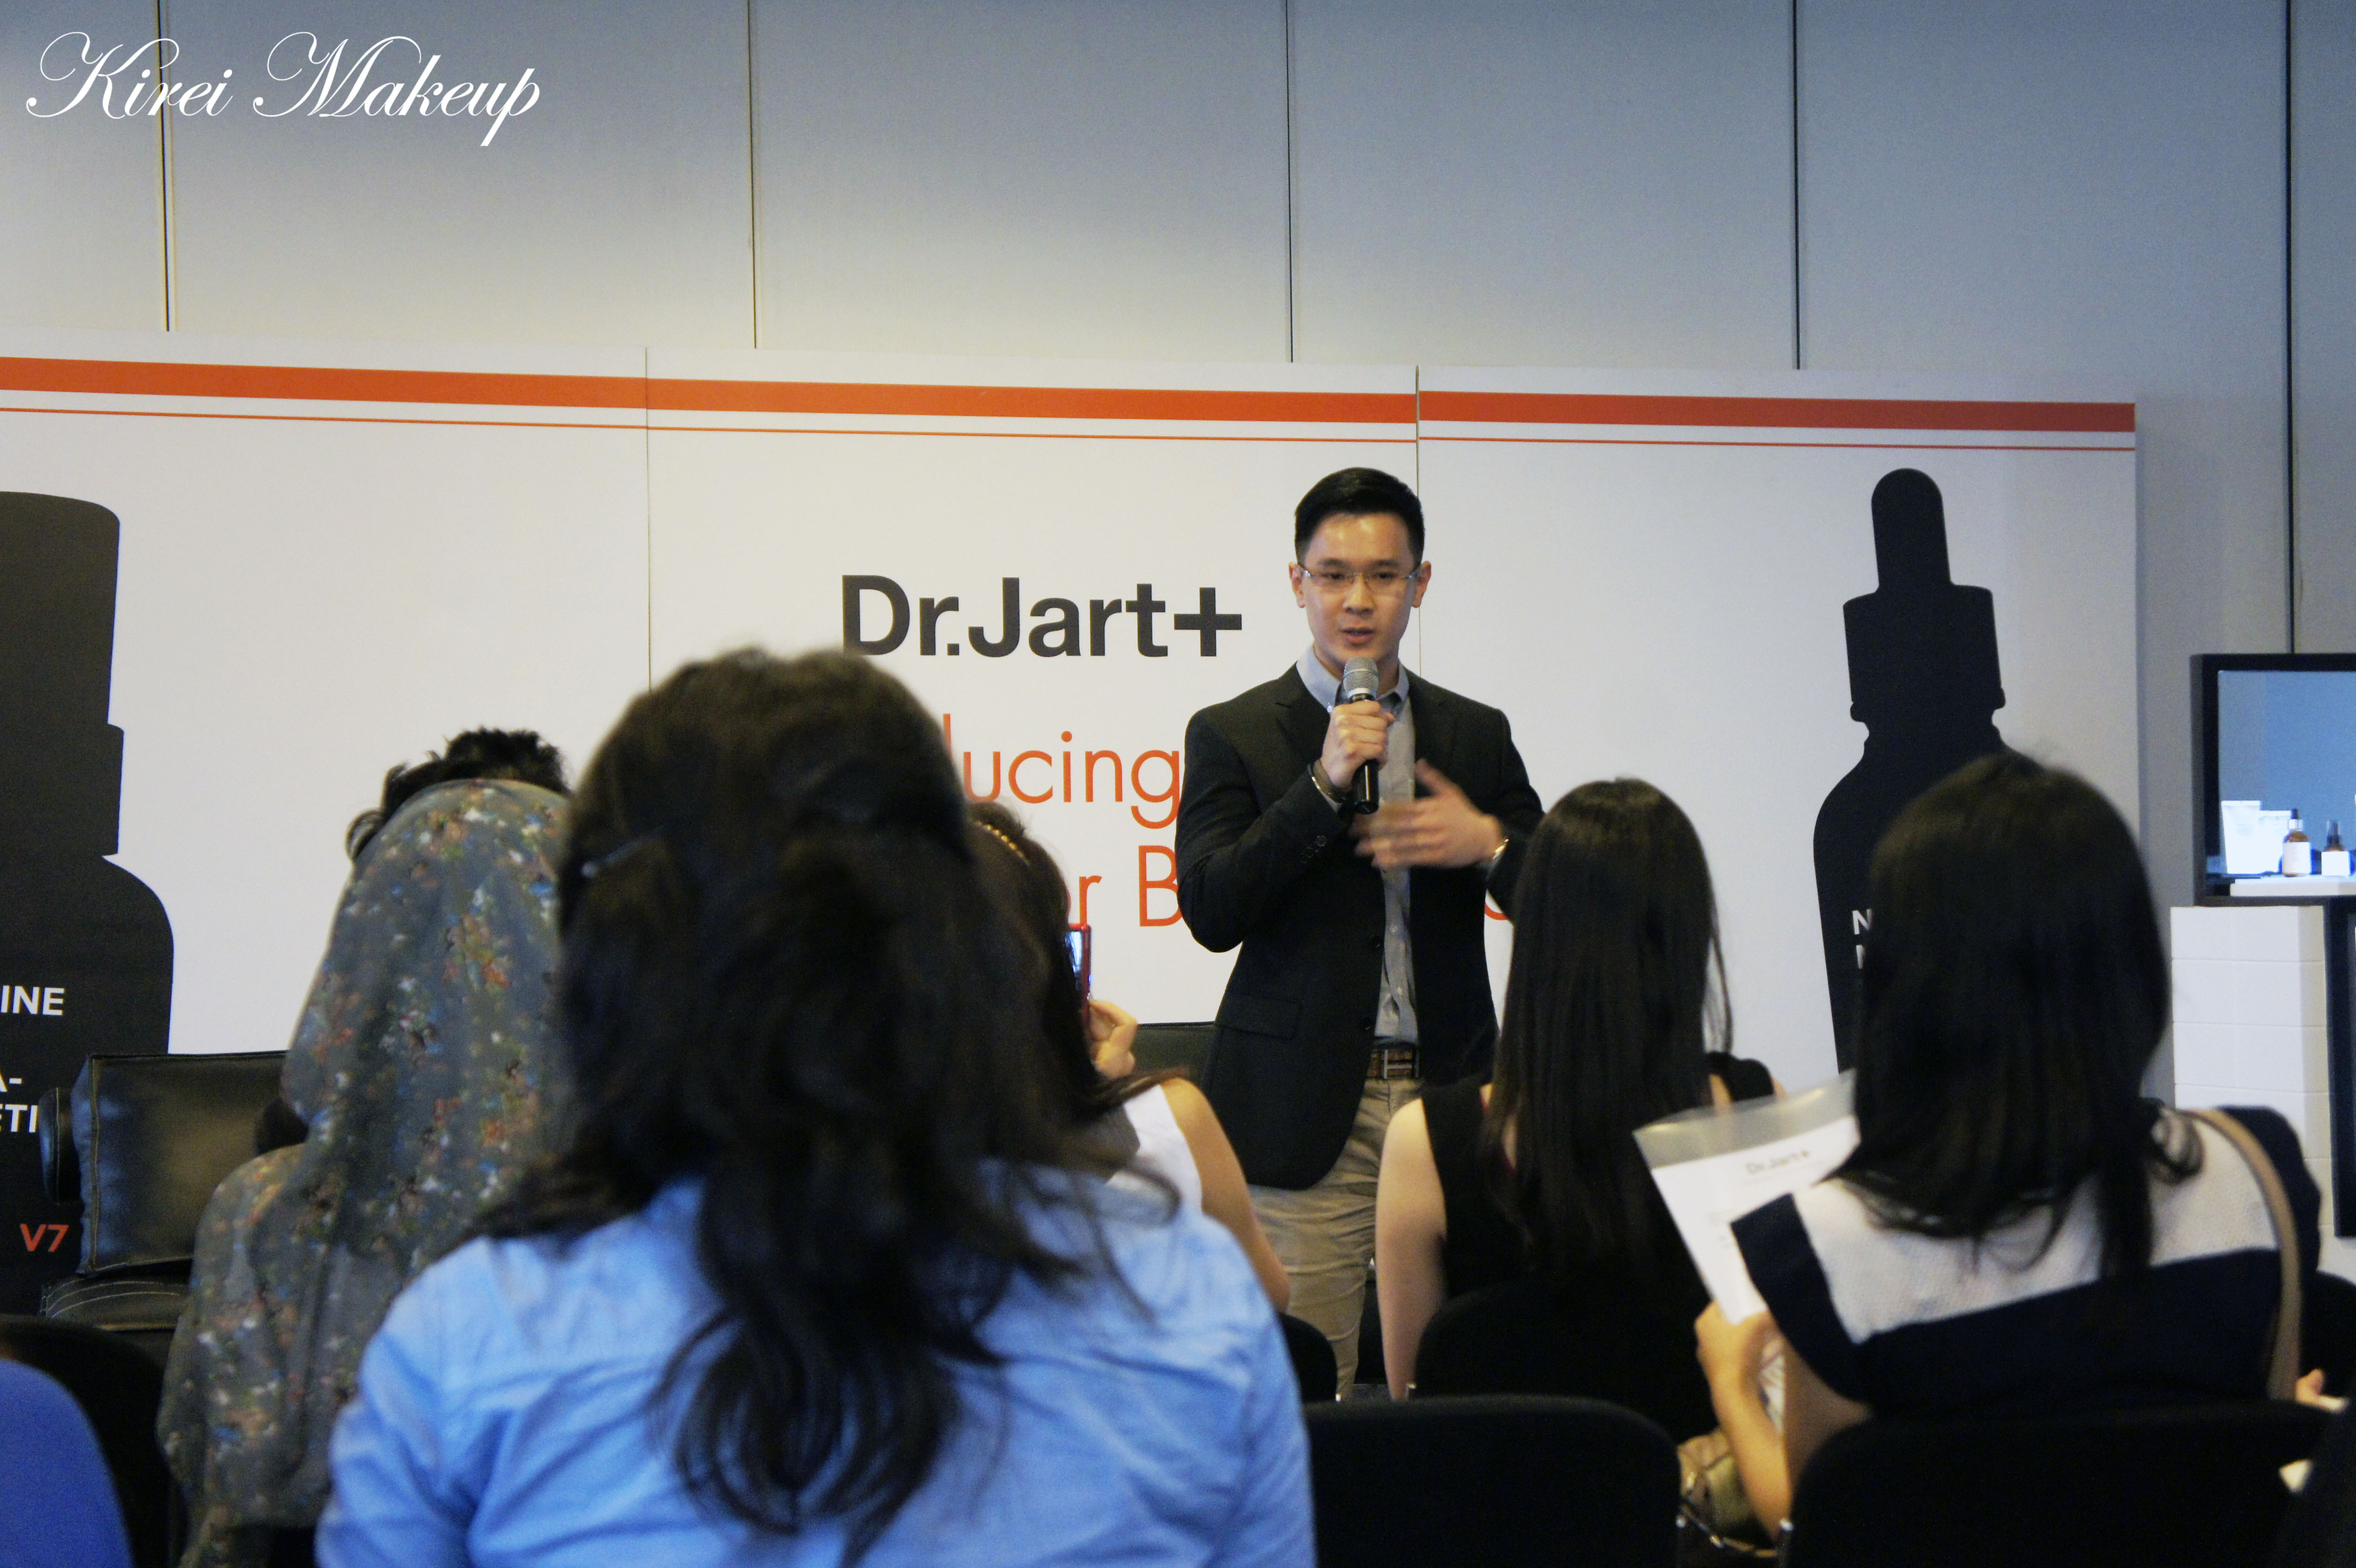
(Dr. Kevin Maharis talking about the importance of proper products during skincare routine)

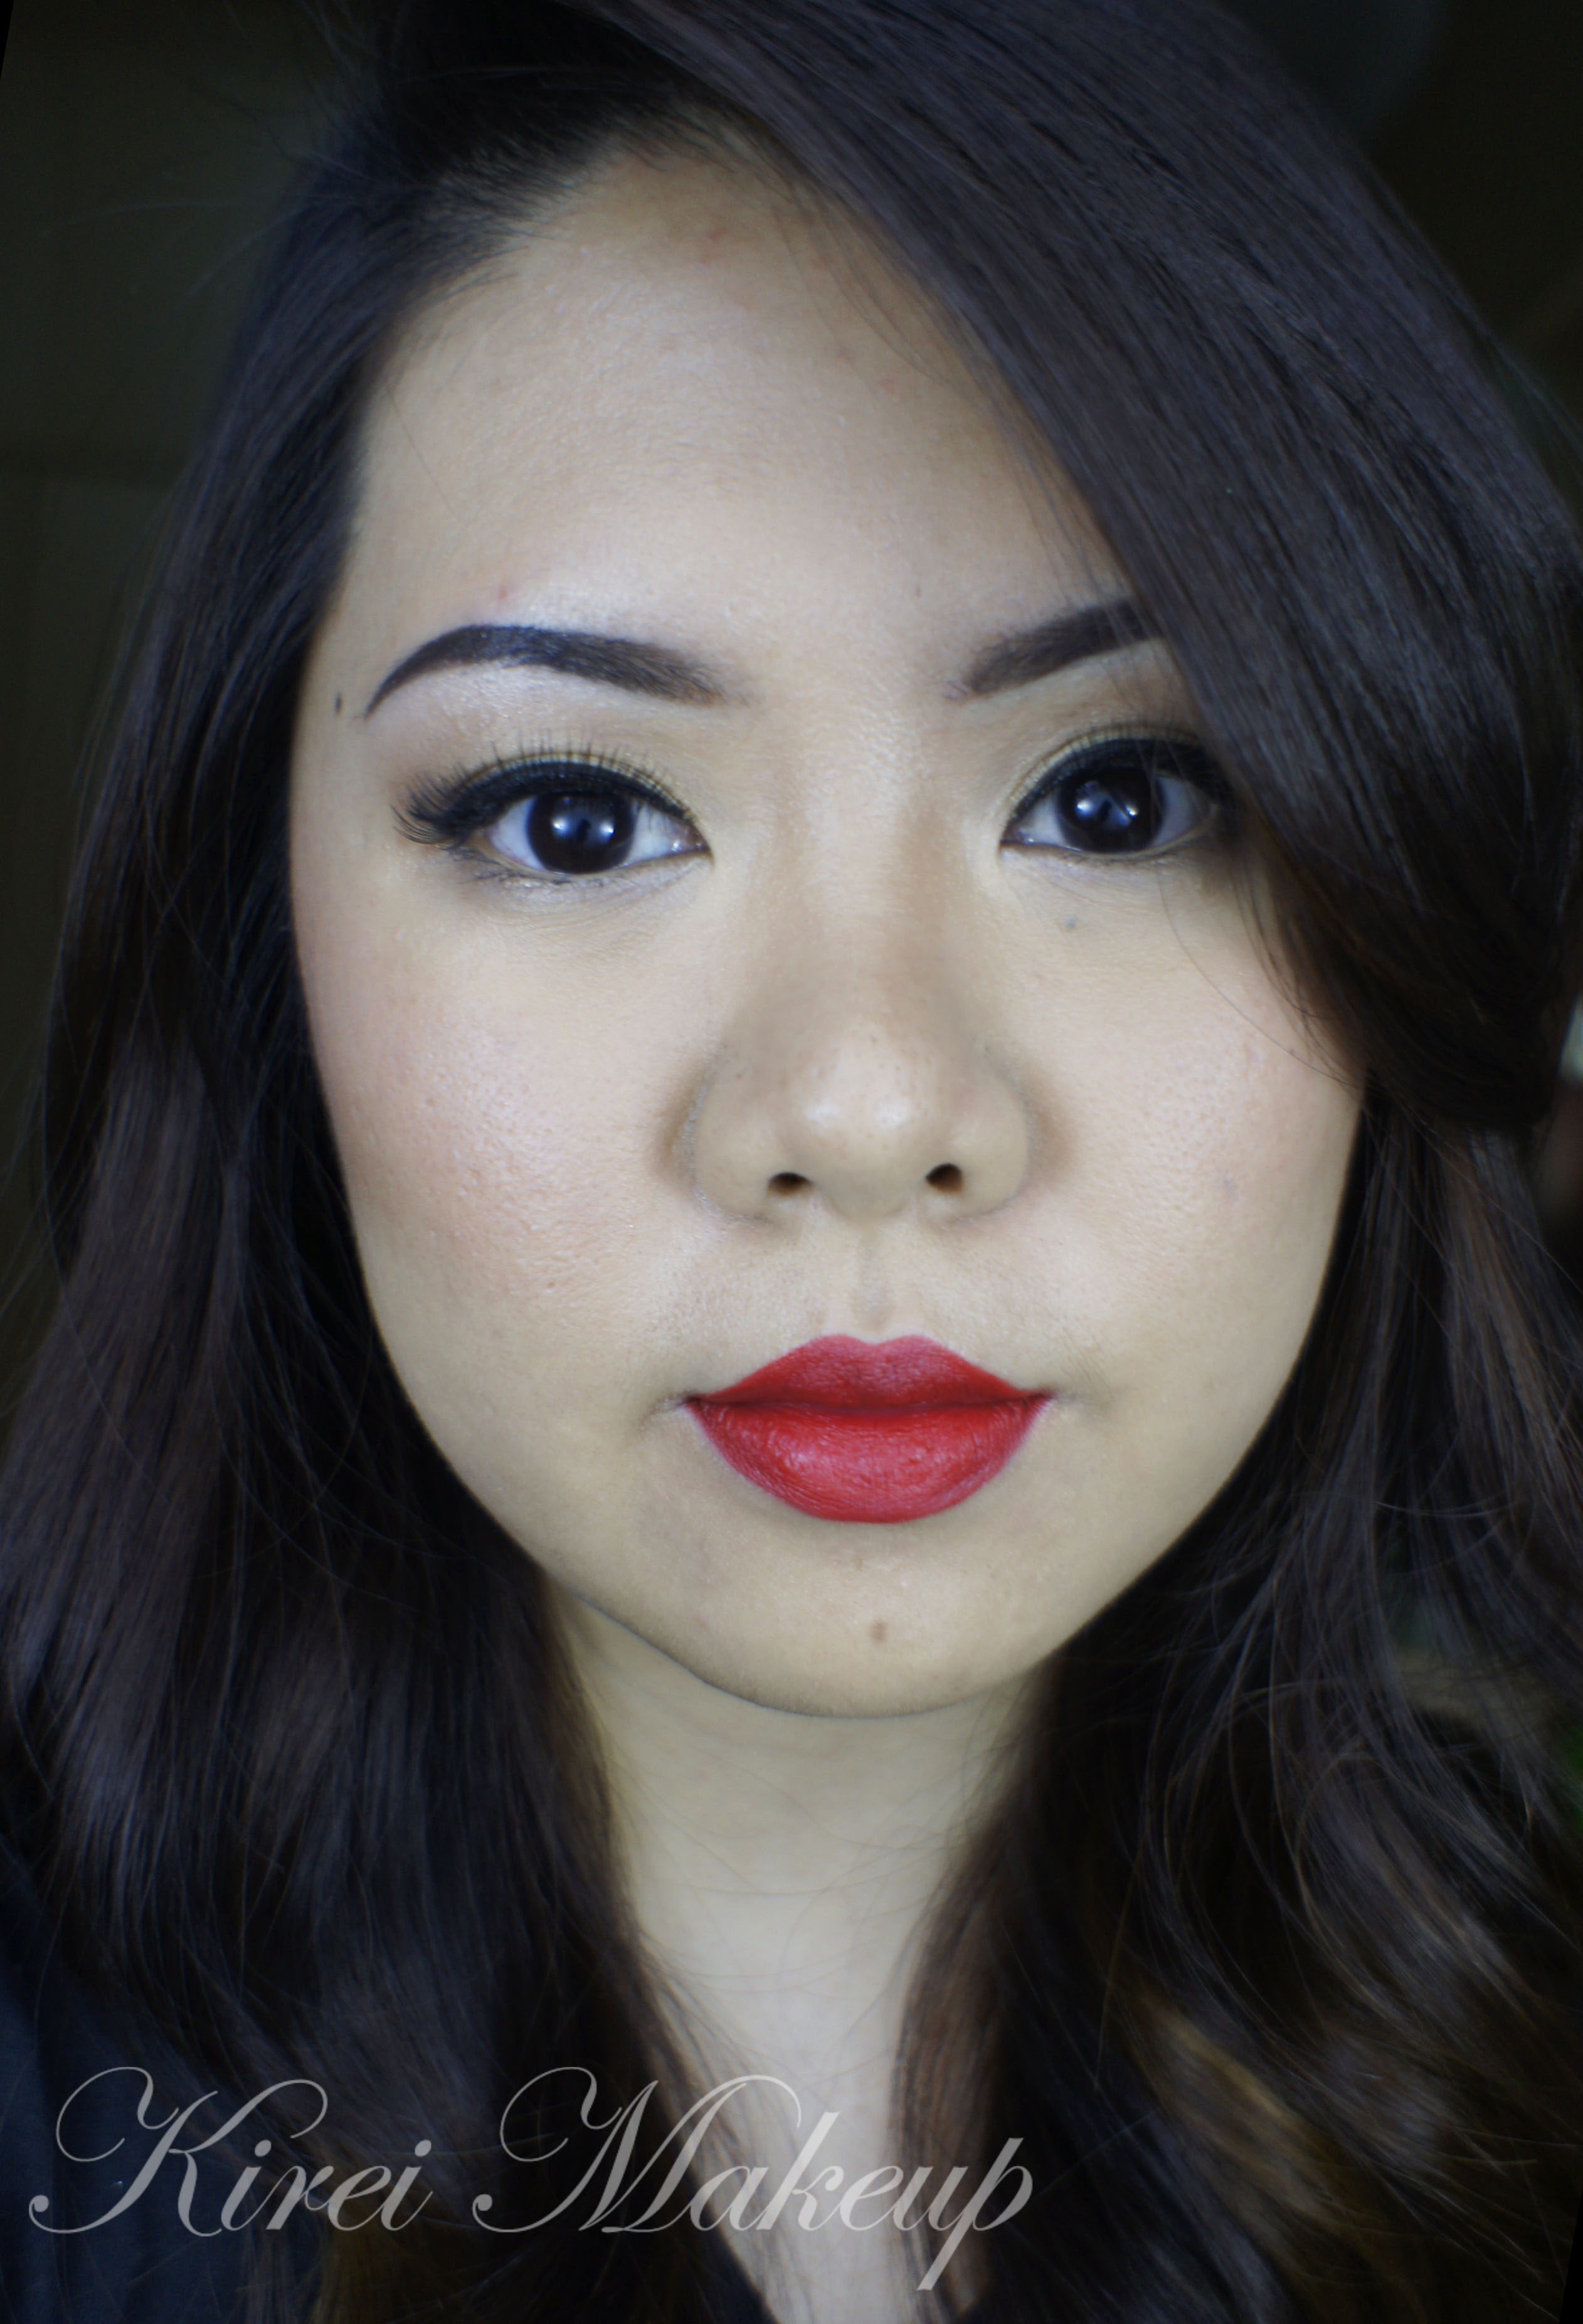
During the event, there was a demo to show us the right sequence to apply these products and what kind of effects the skin will get. I felt that the BB cream was way too light for her skin, when the makeup artist started her application. I zoomed in a little closer to see if my hunch was right, and true enough. Look at the picture below to see the difference between the left and the right side of her face.

Dr. Jart bb cream

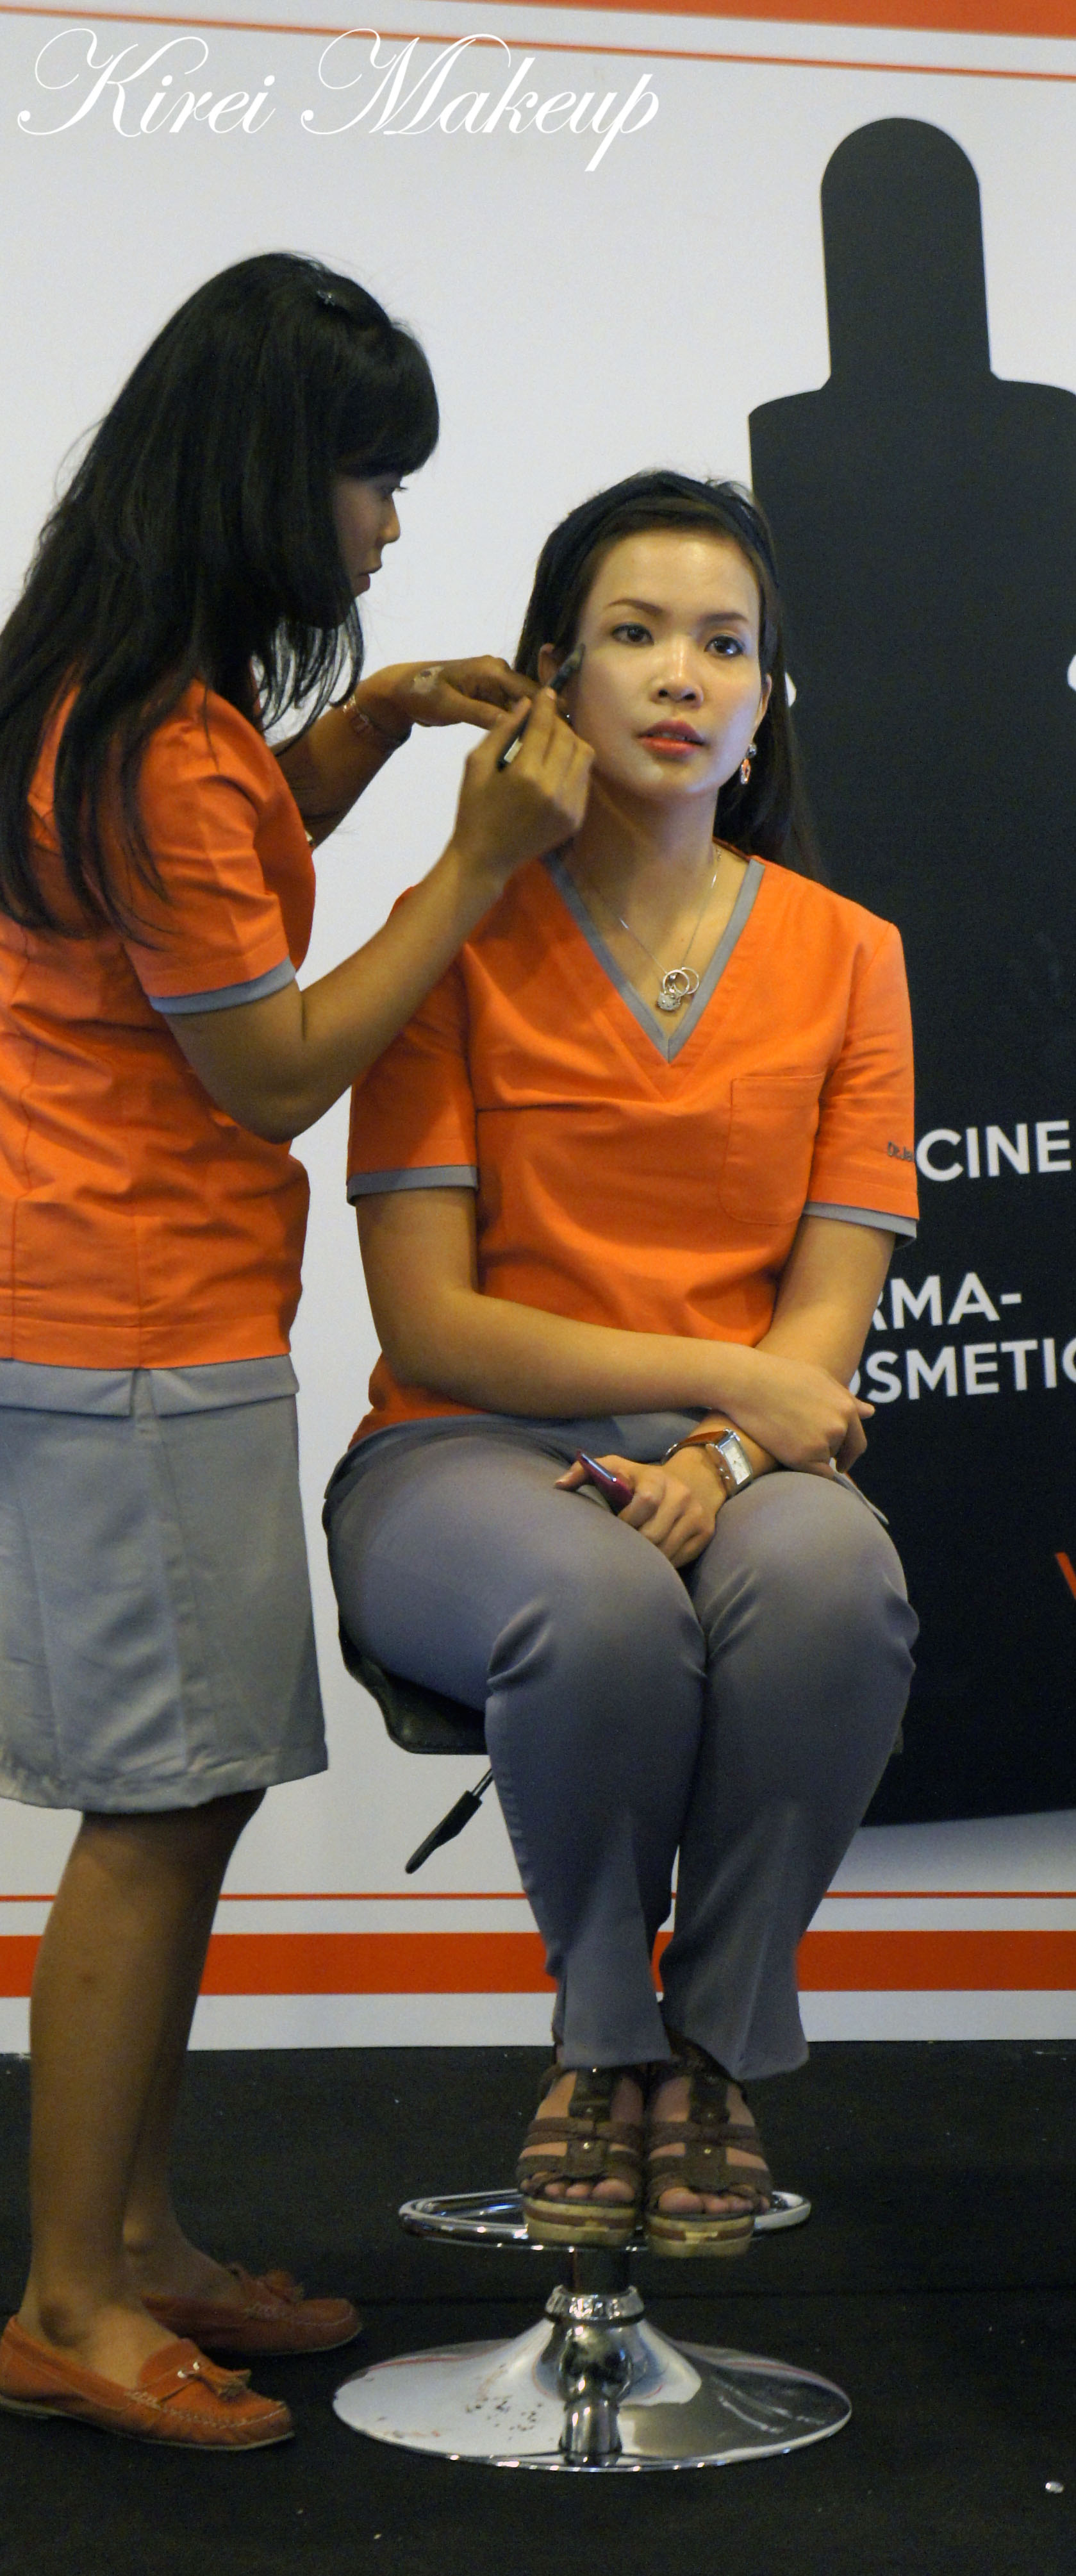
(Skincare and makeup demo)

In the Q&A session, obviously, I had to ask. I raised my concern regarding the range of shades from the BB cream. I am, afterall, a makeup artist and I was curious to see if they have a good answer. I do want and like to recommend products to my clients, friends and family. I, of course, want to ensure that I recommend great products.

Not surprisingly at all, the answer to my question was quite confusing at first. The answer was NO, there is not a wide selection of shade for the BB cream. In fact, there’s only ONE shade for the BB creams. So, anyone who’s darker than MAC NC/W15 (may be NC/W20 can still give it a try), you can forget about the BB creams from Dr. Jart+. I asked if they’ll overcome this issue, and they do not give me any definitive answer. Instead, they kept going on and on how their BB creams come in range for the different skin-type.

Dr. Jart bb cream

(BB cream application)

So, I’d recommend the Dr. Jart+ BB creams if you are light, and have a difficulty finding BB creams for your skin-type (oily, combination, dry, mature, and/or sensitive) you should give this a try. I do think that the BB creams for different skin type is definitely a great idea. Dr. Jart+ carries 9 different BB creams according to your skin-type (only 4 is currently sold in Indonesia).

The price range for Indonesia for each product would be around Rp. 400,000 – Rp. 600,000. Again, let me mention that I’ll give more details in the official press release some time this week.

Dr. Jart+ V7

(Q&A Session)

So, what’s the take-home message from this event? I think Dr. Jart+ carries an amazing skincare line. I have no doubt about it. Afterall, this is one of the biggest Korean skincare brand around the world. How I feel about the BB creams is entirely my own opinion, and for me I don’t find the BB creams to be that good since it only comes in 1 shade. Don’t get me wrong, I think most Korean BB creams only carry 1 shade because Korean women (and men) are very light and pale to begin with. It’s no surprise that they only carry that light shade.

So, please be warn that if you are interested in their BB creams, it might not match your skin-tone. However, you can find a great skincare line for everyone from Dr. Jart+.

Dr. Jart+(with John Kim)

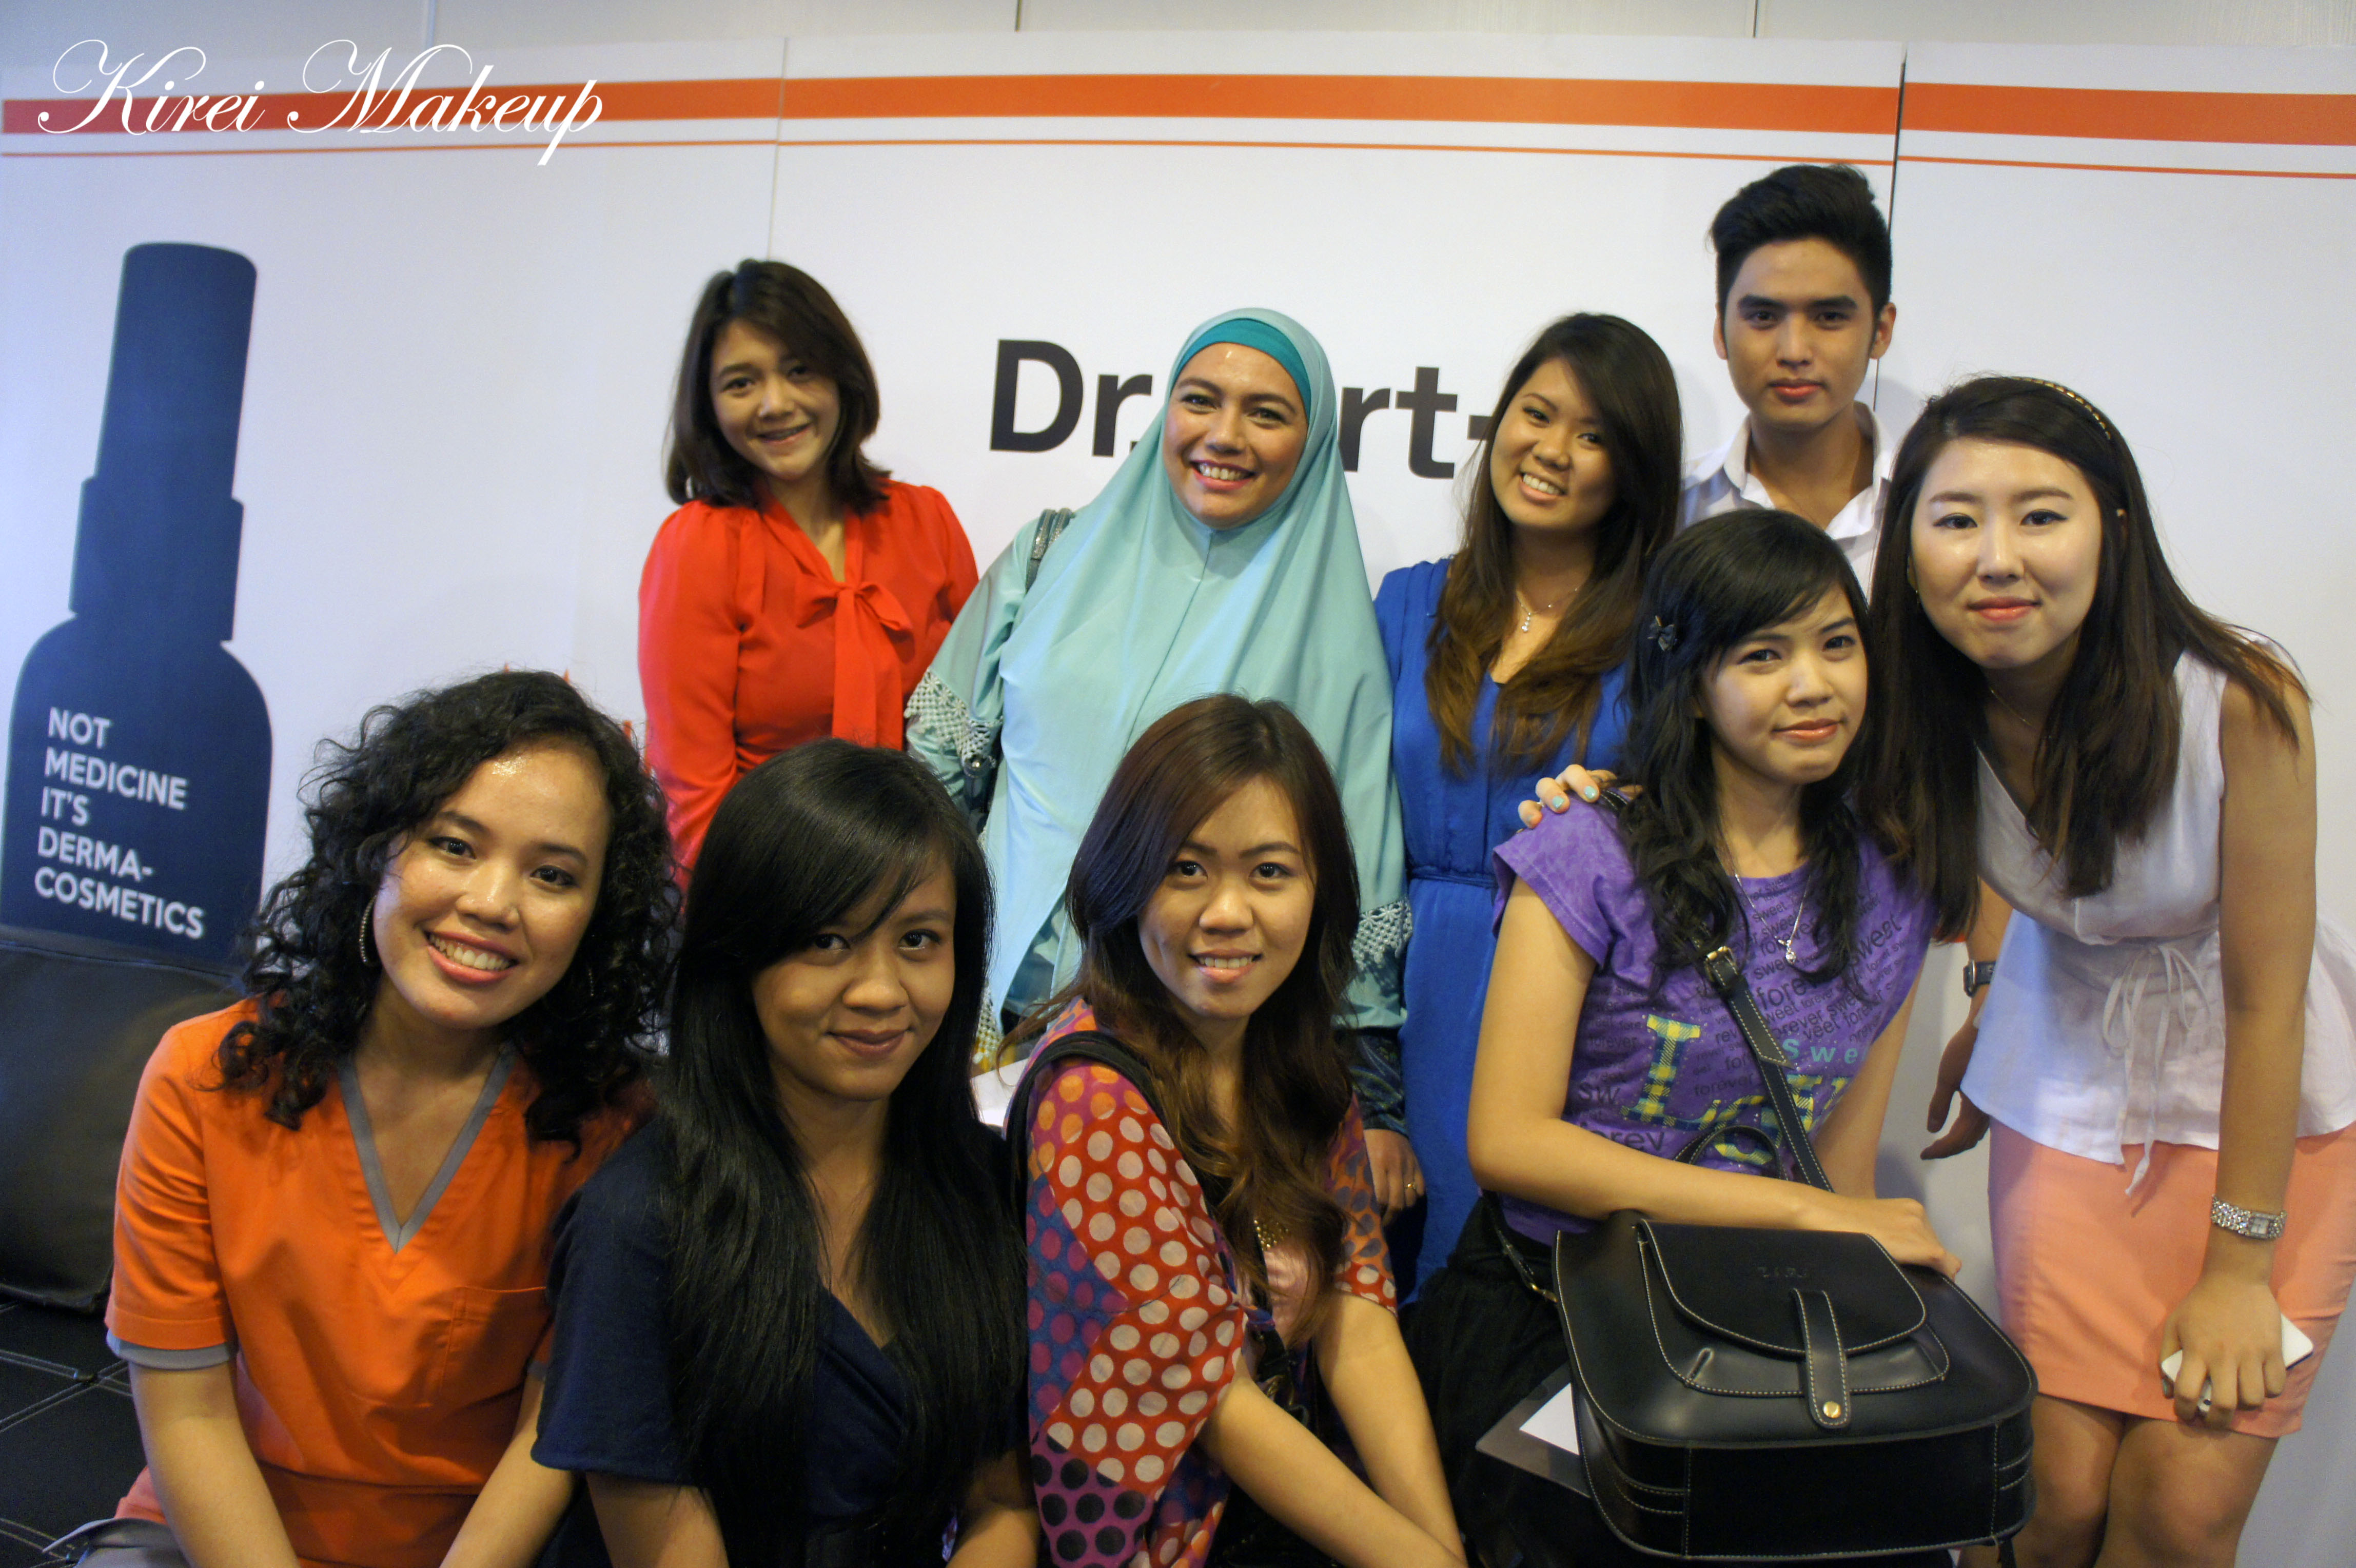
Below is a picture of a few Indonesian Beauty Bloggers who came to the event, along with Dr. Jart+ staff. Not all who came to the event was in the picture below since they had to go to other events. It was great to see the other bloggers, and we had tons of fun (and questions)! Shout out to all the bloggers who was asking all the right questions!

Indonesian Beauty Bloggers

A big thanks to Dr. Jart+ for inviting us to the event! Thank you for the great goodie bag as well!

Product of the Week: L’oreal Super Liner Ultra Sharp Tip

This week in Product of the Week, I’d like to introduce L’oreal Paris Super Liner Ultra Sharp! I bought this when I was in Hong Kong. There’s a Sephora-like store in Hong Kong called Sasa, and it carries a variety of makeup, skincare etc just like Sephora, but they also carry a lot of Asian products from Japan, Korea, China etc. Anyways, one of the few things that I bought there is this eyeliner.

L'oreal SUper Liner Ultra Sharp

As you all know, I love myKat Von D Trooper eyeliner, as well as my Kanebo Kate Super Sharp eyeliner. However, Trooper isn’t available in Indonesia, and neither is Kate. This L’oreal Super Liner, however, is available in Indonesia. I’ve seen it in several department store as well as online store (zalora, lazada etc). Since I was already in Sasa, I decided to buy it and give it a try.

This Super Liner only comes in Black when I was in store. I don’t think it comes in any other color. What is so special about this eyeliner is the fact that the bristle is very slim! Only 0.003mm tip. It’s very sharp, pointy and you can create a thin line.

L'oreal SUper Liner Ultra Sharp

Anyways, getting back to this Super Liner, I’m not sure if the ones sold in Indonesia is the 0.003mm tip. I know there’s a few other tips from this line which is 0.05mm and 0.8mm. This 0.003mm is the smallest I’ve found so far.

I love the packaging, I think the pen is very sleek and slim. The fact that it’s a pen eyeliner makes it even more appealing to me. I don’t have to carry seperate brush, and it makes it so much easier to travel with.

I’ve worn this eyeliner for about 6 hours, and it stays the whole day. I don’t think this eyeliner is waterproof, but it’s definitely smudge-proof. This eyeliner takes a while to dry, so you want to make sure you close your eyes (or look down) after application. If not, you might end up with some product on your lid. However, since it does take a while to dry, it makes it easier to be fixed should you make a mistake.

L'oreal SUper Liner Ultra Sharp

This eyeliner cost HKD$99 (around USD$14). I believe this product is not available in N. America. I think the N. America counterpart of this product is the L’oreal Paris Infallible Super Slim eyeliner, which is a felt tip eyeliner. This one is a brush tip.

This eyeliner costs Rp. 149,000 in Zalora and Lazada. I’m not sure how much it is in store. (I am not affiliated nor endorsed by zalora or lazada).

L'oreal SUper Liner Ultra Sharp review

In terms of application, you can create thin, medium and even a thick line if you prefer. Such an easy way to use and apply. The color is very black, yet it doesn’t end up shiny like my Kat Von D Trooper liner. Since it’s soooo thin, I can get it to the most inner corner part of my eyes.

Nevertheless, I still find Kanebo Kate Super Sharp liner creates a much thinner line than this one.

L'oreal SUper Liner Ultra Sharp

Pros:

  • Easy to use
  • Price is mid-range
  • Very travel-friendly
  • Smudge-proof
  • Very black
  • Long lasting

Cons:

  • Not as thin as Kanebo Kate eyeliner
  • Takes a while to dry

Conclusion:

I chose this as my product of the week because should I run out of my 2 favorite eyeliners, I’ll probably stash this one up in my kit. It’s definitely a lot more affordable than the other 2 (Kat Von D and Kanebo Kate), and definitely more widely available where I am living right now.

I’m giving this Super Liner a 4 stars out of 5


Lavish

I’m just going to say please ignore that red dot on my eyebrow. It hurts and it’s a slightly irritated. Thanks! I accidentally scratched it cause it was itchy when I was doing my eyes, and in the pictures below it was irritated and a bit swollen.

Anyhow, I just recently watched Percy Jackson and the Sea Monster (I also watched Elysium!). Anyways, I saw the Hippocampus from the movie and I love its color. Gorgeous! Anyways, I took some of the colors that I can see prominently on the Hippocampus as an inspiration. Not to mention, I just bought the new Clinique Chubby Eye Tint in Two Ton Teal, so a good excuse to do a teal look!

Let’s get the tutorial started!

How-to:

1. I applied Clinique Chubby Stick Eye Tint in Two Ton Teal all over the lid. I layered this product several times to get the intensity I want.

2. Using a flat eyeshadow brush, I applied MAC Shimmermoss on top of the Two Ton Teal.

3. I used a small shader brush and applied no-brand black eyeshadow on the outer V of the lid.

4. Using a clean fluffy blending brush, I clean up the crease.

5.  Using another clean blending brush, I applied MAC Coppering just slightly above the crease.

6. I used an angled brush to apply MUFE no. 71 on the inner corner of the eyes and MAC Indigo Ink on the outer corner of the lower lid.

7. I lined my waterline and tightline using L’oreal Voluminous Smoldering eyeliner.

8. I created a feline flick (or winged eyeliner) along the upper lashline using Kanebo Kate Super Sharp eyeliner.

9. I filled my brows in using MUFE Aqua Brow Gel.

10. I curled my lashes and applied L’oreal Double Extended Curl mascara on both top and lower lashes.

Purple and teal makeup

11. For the face, first I applied Clinique CC cream to prep the skin, and then applied MUFE HD Foundation all over using a foundation brush. I covered my blemishes and under eye circles using MUFE HD concealer

12. I also contoured my cheeks and nose using MAC Shadowy.

13. I applied a mix of MAC Cubic and MAC Fleur Power on the cheeks.

14. On the lips, I applied Clinique Bountiful Blush chubby lipstick.

Teal and purple makeup

Tmart Pink 22-piece Makeup Brush Set

Happy Monday, everyone! Today I want to share with you guys a 22-piece PINK makeup brush set that I recently received from Tmart.com. I’d like to thank Tmart for sending me this product! If you are interested in purchasing this 22-piece brush set for yourselves, please visit their website.  I do not get any fee whatsoever if you click on the link.

Anyways, let’s get the review started!

My first impression of the set was “IT’S SO PINK!” hahahaha..I’m very old fashioned when it comes to my makeup set, every brush that I owned pretty much is black in color. I’ve never bought any pink/green/yellow (i.e. colorful) makeup brushes in my life, and so when I received this set the color was quite of a shock for me. Nevertheless, when I first opened the makeup bag, I am quite impressed by the amount of brushes included in it.

I believe the bristles of these brushes are all synthetic. It’s very soft and fluffy, especially the big fan face brush!

Tmart shopping

I’ve divided the brushes into several categories, but below we’ll start with the big face brushes. So, you get a big face fan brush, a powder brush, a blush brush, a flat-top brush and a foundation brush. (not in the picture below, but in the picture above: small face fan brush)

I actually do not like these brushes much. There are several reasons why I’m not a big fan of these brushes. One, the first 2 brushes from the left (fan and powder brushes) were broken. It wasn’t obvious when I first held it, however, upon a closer inspection, I realized that the handle of these 2 brushes were loose. So, when I tugged the ferrule (that’s the aluminum part), it came off from the handle! You can fix this by gluing it back together.

Next, the flat-top brush is too flimsy. I’m not sure what this brush is for since it’s not dense enough to be used to apply foundation. It’s also too flimsy to be used for contouring, and buffing. I have yet to find a good way to use this brush.

The foundation brush, however, it’s not that bad. It’s pretty sturdy and dense. It’s a good brush to apply foundation or cream blush/bronzer/highlighter.

Also, I forgot to include the small face fan brush, which is also a great brush for contouring/highlighting! The one that comes with the brush set is pretty good. It comes in a good size, and has enough bristles to do light contouring/highlighting.

makeup brush murah

The next set of brushes are the flat shaders, which I love! I want to categorized them as eyeshadow brushes, but I know they also can be used in so many ways. Anyways, if you buy this set, you get 5 flat shader brushes. These brushes are my favorite in this set.

The bristles are very sturdy and dense, which make these brushes great for eyeshadow application. They are also synthetic which means they would work excellent with cream-based products! These brushes will also work great with water-activated products.

tmart makeup brush

Upon closer look, you can see that the size of the brushes aren’t all the same. You get some of the larger size bristles, and you get the smaller ones. I love that it comes in different sizes. It’s great because you can use some for eyeshadow application, and others for lips or highlighting.

What is great with these brushes is the fact that you can get 5 in the set! Usually you only get 1-2, and to be honest, you can never have enough of the flat shader brush. They are so useful for eyeshadow application, body painting, face painting etc.

cheap makeup brush

The next set of brushes are the eyeliner brushes. These 2 brushes are more for precise line works for eyeliner, eyebrow or face painting. You get a straight edge brush, and you get the angled brush. The straight eyeliner brush works great for eyeliner application, and also can be used to highlight under the brow. Obviously this can also be used as a lip brush for precise lip work.

The angled brush, as you all know, is widely used to create winged or cat-eye eyeliner. It is also great to be used for filling in the brows using powder or gel product. Other than that, it can be used to create geometric shapes for face paintings and body paintings.

tmar makeup brush

The angled and straight eyeliner brushes are a great addition to this set because they have such dense and sturdy bristles that will work great when creating eyeliner or shapes. It’s not flimsy, so your line can be precise. The brushes are not too dense, so you can create a thinner line if you want.

tmar shopping

The next 5 brushes, I feel, should be under a lip brush category just because they are so small! I’ve used the longer ones as a shader brush, just to smudge the eyeshadow on the lower lid, which works. However, I feel that they work better as lip brushes.

The bristles on these 5 brushes are smaller in width and shorter in length compared to the eyeshadow brushes. One of these brushes (the first one of the left), is quite flimsy, the rest is quite dense and sturdy.

tmar shopping

These brushes, like I’ve said, will work great for lipstick application, especially that small one of the right in the picture below. It’s so small that you can work precisely for red lipstick application.

They also work for face paintings and body paintings. These brushes are small enough for precision work.

tmart shopping

The brushes on the next category, are on the miscellaneous side. I think, I’m not quite sure, the brush on the left in the picture below is supposed to be an eyeliner brush. The one on the right is a smudge brush.

tmart makeup brush

The eyeliner brush is pretty stiff. However, I feel that it’s not thin enough to be used as an eyeliner brush. Nevertheless, it can be used as an eyeliner brush. I just prefer the angled brush over this one.

The smudge brush shaped like a dome. It’s a sponge-tip brush. I’m not a big fan of this brush. It’s not versatile enough to be used as a pencil brush. It’s just good for smudging.

tmart makeup brush

Last but not least, the eyebrow collection! The brush on the left can be used to brush those unruly brows, if you have. The comb side can be used to clean excess mascara off the lashes.

The spooly can be used in conjunction with cuticle scissors to trim eyebrows. It can also be used to remove excess brow product from the eyebrow. Of course, it can also be used to remove excess mascara off the lashes.

tmart makeup brush

Pros:

  • 22-piece for USD$13.95 (from Hong Kong warehouse, meaning for Asia), and USD$15.95 for USA. Usually retailed at USD$33.99. Pretty cheap for a set of 22 brushes.
  • World-wide free shipping!
  • You get a lot of eyeshadow brushes!
  • Bristles are soft.
  • Bristles do not shed much for the smaller eye/lip brushes.
  • Great for beginners who do not want to spend money in buying individual brushes.

Cons:

  • Beware that handle might come off.
  • Bristles of the brushes shed quite significantly on first wash for the larger brushes.
  • Some of the brushes might not be of any use.

I cannot comment much about shipping because this was given to me for free. However, if it helps, the person who contacted me communicated with me throughout the whole time to ensure I received the product on time. I was in Hong Kong when this product was delivered to where I was staying, and it took 5-business days to reach me. It could’ve been faster, however, there was a typhoon in the week that I was there, which might cause a delay.

Conclusion:

Great brushes for beginners who do not want to spend too much money buying medium to high-end makeup brushes. I know that makeup brushes can be quite expensive, and if you’re doing makeup on yourself, these brushes might be great to start with. The price is pretty low, and affordable for most people. However, if you want to become a makeup artist, you might want to invest on a more well-known brands.

Although these brushes are great to start with, I cannot say how long they’ll last. I was quite disappointed to see that the handles of some of the brushes weren’t even glued properly. The bristles do shed quite a lot on the bigger brushes.

On top of that, I wished that they’d have included a blending brush for the eyes, as well as an angled face brush which is more useful than the flat-top brush.

Nevertheless, the eyeshadow, eyebrow and lip brushes are excellent. These eyeshadow brushes by themselves can proved to be very useful for those who are just starting to do makeup on themselves.

So, if you want to buy this set of brushes, please visit TMART.

I’ll give these brushes 3 starts out of 5!


L’oreal Cookies and Cream

Finally! A tutorial, whaaat?! Well, beauty lovers, I hope this will satisfy you for a while. I do have a few more stuffs lining up, but one by one, shall we?

So, I’ve owned this L‘oreal Cookies and Cream palette for a while (please check my post for the swatches here). However, I didn’t really get the chance to play with until now. For the tutorial below, I followed the instruction from the back of the palette. Personally I won’t do it this way since I find that it’s not smoky enough for me.

Also, I recommend everyone to use a primer on the lid before eyeshadow application. Although the pigments are pretty good, the eyeshadows didn’t really have any staying power. The reason why I didn’t apply any primer is because I was testing for creasing and such. If you have an oily lid, you’d probably want to apply primer.

How-to:

1. I applied the 2nd lightest eyeshadow (a silver) from the palette all over the lid.

2. On the crease, I applied the medium (silver grey) eyeshadow using a fluffy blending brush.

3. Using Smashbox bullet brush, I applied the darkest eyeshadow (graphite) on the outer V.

4. I blended the outer V using a clean blending brush.

5. Using a clean blending brush, I applied the highlighter color (vanilla) under the brow.

6. I applied the medium color (silver grey) along the lower lash line using an angled brush, and the darkest color on the outer half of the lower lash line.

7. I created a slight winged liner using L’oreal Super Slim Liquid Eyeliner along the upper lash line.

8. I also lined my waterline using L’oreal Smoldering Voluminous pencil liner.

9. I curled my lashes and applied mascara.

10. I also applied false eyelashes Fleur Fleur in 201.

11. I filled my brows using Shu Uemura Hard Formula no. 9.

Asian Smoky Eyes

12. For the face, I applied UD Naked foundation.

13. On the cheeks, I applied L’oreal Rose Gold Visible Lift blush.

14. Slightly contoured my nose using Smashbox contour/highlight trio palette (discontinued).

15. On the lips, I filled it in using L’oreal Infallible lipliner in Rose.

Asian Smoky Eyes

Lil’ Adventure [non-makeup]

Hi all! I’m so excited to be back to the blogging world again! Sorry for missing for couple weeks, I had quite a trip with my bff, Liz, who came all the way from Canada! Pretty much we were in Jakarta, Bandung, Singapore and Hong Kong. We were just so excited to be reunited! hahaaha..Let me just mention at this moment when Liz touched down in Jakarta, she had been traveling around Europe on a backpack. She’s the real DORA!

Anyways, in Jakarta, we obviously hit most of the malls, and a few of the tourist attraction area here. Below is a picture of Jakarta Kota Tua (i.e. Old Town). We also went to Taman Mini Indonesia Indah (Beautiful Indonesia Miniature Park).

Jakarta Tourist Attraction

Next we went to Bandung. We visited the 2 craters there – Kawah Putih (White Crater) and Kawah Ratu (Queen’s Crater). I have more pictures, but my mom and my sis are in it, and I prefer not to put those up. So, below is a picture of our Yorkie in Kawah Putih.

If you are a tourist and want to go to the White Crater from Jakarta, please be aware that it is a long drive from Jakarta (around 3-4 hours to actually reach the crater itself). If you are thinking “is it worth the long drive”, I’d say YES! This crater is gorgeous! See the photo below? No photoshop! The lake is filled with blue and yellow water due to the Sulphur content. It’s amazing!

Indonesian Crater

Next in Bandung, from the Queen’s Crater we went towards the Hot Spring! We were quite skeptical about the Hot Spring ever since we’ve tried Onsen in Japan. We were like “naah, it’s probably not even that hot”, “it’s probably small”…Nooooo nonono! Boy, were we wrong or what! This hot spring was HUGE! It’s amazing!

You can choose to go to the swimming pool, or to actually go further in and enjoy the hot spring in nature. There’re several hot springs where you can just dip your feet in, or you can go with your clothes on and take a dip in this huge “lake”. There’re also several waterfalls.

The water temperature ranged from 30 deg. Celcius to 40 deg. Celcius. The one in the photo below is one of the warmest they have there. I believe this one is 40 deg. This hot spring place is called Ciater Hot Spring. There’s a hotel right in front of it, but we didn’t stay there.

Bandung Pemandian Air Panas

Next after Bandung, we went back to Jakarta and then prepared ourselves to fly to Singapore! Obviously, we went to Marina Bay Hotel and the mall to meet up with some of our friends there. We also went to Gardens by the Bay, which is located right across from the hotel. If you do go to Singapore, I strongly recommend going to Gardens by the Bay. Amazing place, and it’s free! You get to see all these amazing “Tree structures” and it’s just a great big garden.

I’d also like to give a shout out to Royal Plaza on Scott Hotel in Singapore. If you’re looking for a place to stay, I’d definitely recommend this hotel. The service, the staff and the room were one of the best that I’ve seen so far. Their customer service is TOP-NOTCH!

Marina Bay Singapore

Now, in Gardens by the Bay there are 2 domes which you have to pay to get in – $28 for both domes, or $14 each per person. We went to both domes – Flower Dome and Cloud Dome. Inside the Flower Dome, there’s a lot of flowers, cactus, Baobab trees etc. It’s all fun and very pretty. If you love beautiful roses and orchids, you’ll love being there!

My favorite, however, is the Cloud Dome which is shown below. Inside the Cloud Dome there’s a 7-floor high man-made waterfall! Amazing, much? The idea of the Cloud Dome is to replicate Cloud Forests all around the world. You can take the elevator to go all the way up and slowly work your way down. Simply a must-go!

Singapore Gardens by the Bay

Next we went to Sentosa and of course, it’s not complete without going inside the Merlion! Below is a picture of us inside the Merlion’s mouth! There’s a photographer there who’s willing to help take a picture for you with your camera (and with his camera so you can buy the photo in the gift store).

Merlion

Below is a picture of the Merlion we were in the picture above! We also managed to go all the way up to the Head of the Merlion, but there were a lot of people there.

Singapore Merlion

Next up was Hong Kong! We went to several of the tourist areas there, and obviously there were loads of pictures, but due to the presence of other people in there, I chose not to share the pictures on the blog to respect their privacy.

So, we went to The Peak, but to get there we had to pass some of the cool places. If you see my Instagram feed, you’ll see some cool photos of buildings and such. Below is a picture of us in front of what was left of a train station (if I’m not wrong).

Hong Kong Old Train Station

Below is a view from The Peak at 9pm. Amazing, eh? In Hong Kong, we also managed to go hiking, went to see the Big Buddha, took the crystal cable car, went to Cheung Chau Island etc. You’ll find all those photos on my Instagram!

Hong Kong the Peak

We were supposed to go to Macau, however, there were typhoon/cyclone warning and Liz had to leave. I went to Macau with N the week after since I stayed in HK longer. Macau was great! I went for a day-trip and managed to hit all the tourist spot. There’s a local day tour when we reached the Macau Ferry Terminal, so that was the best way to do Macau in a day.

Below is a picture of Macau’s St. Paul’s ruin. Lots of people there! It’s one of the famous tourist spot in Macau. We also get to see the casinos (obviously), the temple of the Sea Goddess and several other locations.Macau Ruins of St. Paul

Now, if you do have the chance to be in Macau, I’d suggest you buy a ticket to a show called House of Dancing Waters in the City of Dreams. We bought our tickets in advance, but you can buy the ticket when you get there. This show is FANTASTIC! It’s like Cirque du Soleil’s “O”, but a smaller scale.

Words cannot describe how great this show is, just go and watch it, will ya!

The House of Dancing Water

With that, I ended my trip and so is this post! Will see you on the next post! 😀

Disclaimer: I am not paid or endorsed to promote any of the attractions above. This is purely out of my own travel experience and out of my own pocket.

Six Homemade Skin Tightening Mask using Flour, Egg and Yogurt [Guest Post]

Women, well we want to control every thing- from our men, to our work, to our kids and off course our age. Every female has complained at one point of time or other about getting old, and trust us, the feeling is so contagious that now people in their mid 20’s has picked up these worries. And who could cash on them? Well obviously our branded skin care products. So, what if we told you that you could avoid those signs of ageing- be it in the form of wrinkles, fine lines, uneven skin tones or worse that loosening of the skin by using simple skin tightening masks with ingredients right from your kitchen? Well here is your guide to natural skin rejuvenation with three elements namely Flour, Egg and Yogurt:

The Gooey Egg Mask

All you would need for this are two or three eggs, based on your area of application. Crack those eggs carefully and separate out the yellow from the white. Once separated beat the white to form a consistent mixture. Avoid having any lumps, so we would suggest using a blender to beat that white. If the smell of the egg is not really your thing, add 3-4 tablespoon of fresh lemon juice to the mixture, which would minimize the smale. Use your index finger to apply the paste smoothly over your face and neck area, keeping it on for 20 minutes and wash off with slightly lukewarm water.

The Flour and Yoghurt Mask

Flour is well known for its amazing properties of skin tightening, where as Yoghurt is a natural de-tanning agent, hence this is skin rejuvenation at its best. Take 4 table spoon of flour in a glass bowl and add 2 tea-spoon of honey or lemon into the mixture. Use a spoon to mix the ingredients, which would finally form a dry sticky pale yellow mixture. Add 2 tablespoon of yoghurt into the mixture and start beating the ingredients to form a thick paste. Apply it on the face before bath and keep it for 20 minutes, and finaly rinse off with plain water.

The Yoghurt and Egg Mask

To get that flawless skin, take an egg and crack it to separate the yolk from the White. Take a bowl and put in two table spoon of yoghurt and 3 tea-spoon of brown sugar. Mix it well to dissolve the sugar into the yoghurt. Thereafter add the egg white to the mixture and beat it uniformly to form a smooth paste. Apply it on the face and keep it till the time the mask dries out- ideally 15 minutes. Finally. Wash off and Damp dry.

The Egg and Flour Mask

You would need the egg white for this mask, so separate it from the yolk, and add to a mixture of 4 tablespoon of Flour, 2 Tablespoon of Yoghurt and 3-4 drops of glycerin based on your skin type. Whip the mixture well to avoid formation of any lumps. Apply it on the face and neck area and let it rest, till the paste starts drying and thereafter wash off with cold water.

The Rice-Flour and Cabbage Mask

Pluck out two three juicy cabbage leaves, dice them and finally grind them to form a gooey green paste. Add two tea-spoon of almond oil and 3 table spoon of rice flour to the mixture and blend it well. Using the egg white can be a substitute for almond oil. Apply the mixture and let it stay for a maximum of 20 minutes and rinse off with normal water.

The Cabbage and Yoghurt Mask

Take 3-4 leaves of a juicy and green cabbage and blend it well to form a sea-green paste, minus the lumps. Add 3 table spoon of Yoghurt and 2 tea-spoon of honey to the mixture and continue blending it to form a sticky mixture. Keep it on the face for 15 minutes and wash off with slightly luke-warm water.

Well, the list ends here. We would recommend a skin patch test before directly applying any of these masks on the skin. And just an additional tip including that egg, flour and yoghurt into your diet can also bring out amazing results.

About the Author:

The above article is composed by CJ, a beautician by profession associated with mynewa.com who loves to share her beauty and health tips via her articles.

P.A.C Merak Kasmaran

I purchased the PAC Cantika Jawa Timur 2009 Color Trend. The trio is called Merak Kasmaran, which means Peacock in Love. This is a trio shadow palette – golden yellow, deep purple and teal. The colors aren’t so peacock-y, considering that there’s a lot of blue, green, yellow and bronze in peacock’s feathers, but it’s quite pretty. I bought this for IDR 48,000 at Martha Tilaar store in Pluit Village Mall.

I’m not too crazy how this ended up, but I had to post it! I’m lacking in posts since I’ve been busy going on adventures with Liz. So, I’m so sorry if I’m going missing for couple more weeks. Follow me on Instagram for updates.

How-to

1. I applied the purple eyeshadow from PAC Merak Kasmaran all over my lid using a flat eyeshadow brush.

2. Using a medium brown eyeshadow (no-name brand, a gift from working at the IMATS booth couple years back) and a small brush, I applied the shadow on the crease.

3. I used a shader brush and blended the edge of the crease.

4. I also applied MAC Swiss Chocolate on the outer V.

5. Using a clean flat eyeshadow brush, I applied the gold yellow shadow from PAC Merak Kasmaran on the inner corner of the lid.

6. I applied the Teal shadow from PAC Merak Kasmaran on the lower lid using an angled eyebrow brush.

7. I lined my waterline and tightline using MUFE Aqua liner in black.

8. Using the same eyeliner, I created winged/cat-eye liner along the upper lash line.

9. I curled my lashes and applied Maybelline Express Volume mascara on the upper and lower lashes.

10. I wanted to try out a new set of falsies I bought in Japan, so I applied Fleur Fleur in 201. I had to cut the ends since they were too long. I know they were purposely made long to give a droopy eye effect, but me no like that effect and thus I cut it.

11. I filled my brows using MUFE Aqua Brow Gel.

PAC Merak Kasmaran

12. For the face, I applied UD Naked foundation using a foundation brush.

13. I applied MUFE HD Concealer under the eyes.

14. I also applied MAC Cubic blush on the cheeks, and Sephora Hello Kitty lipstick in Peach.

ps: I felt like the crease on my right eye (left in photo) is a bit unblended for some reason, which probably is because I was rushing, so please ignore that. I was rushing to go out after the tutorial.

PAC Merak Kasmaran


Product Review: PAC Intense Color Eyeshadow Pencil

Hi all! I’m soo sorry for missing for couple days. Let me just warn you that I’ll probably be missing for a couple weeks. Follow me on Twitter or Instagram to see what I’m up to! Since I don’t have much time to do tutorials or product of the week, I wanted to share this new product I recently purchased.

I just saw this PAC Intense Color Eyeshadow Pencil while browsing around in the Martha Tilaar store at Pluit Village Mall. There were several colors, but I think this one caught my eyes, the Oriental Purple pencil. I’m not sure how many shades there were, since I wasn’t paying much attention, but I know there was several.

I can’t find this product on their website, though, I’m not sure why. It’s definitely weird, I do wish they had more info about this product on their website or in store. If I wasn’t curious and touch every single thing in that store, I probably won’t realized that this product exists.

PAC Intense Eyeshadow pencil

So, this eyeshadow pencil is really similar to NYX Jumbo eyeshadow pencil, but with 2 ends to it, which I totally love. I might go get some more I think. They have a good range of colors. OK so, Oriental is the chartreuse (green/yellow) end, somehow it looks like yellow in the picture. However, I can assure you it is green-yellow. Purple is a warm undertone purple end. It’s gorgeous, and this will look great on everyone’s skintone.

This eyeshadow pencil does not really work well as eyeshadow, it’s more of a base/primer. It’s very soft and easily blends to the skin, but it lacks staying power, which is what I expected. Most of these “eyeshadow pencil” products that I’ve used (from other brands), definitely do not have any staying power. They crease almost instantly and have to be set with powder eyeshadows on top of it.

It does, however, makes a great primer. If you find yourselves having difficulties getting color (mostly the bright ones) out of certain eyeshadows, these eyeshadow pencils will definitely help. You can use white if you don’t want too many colors in your makeup wardrobe, but I always love having the colored ones. It really helps the eyeshadow that are similar in shade with the pencil to show up even more.

PAC Intense Eyeshadow pencil

Longevity

This pencil takes about 15-30minutes before it creases if you have not so oily lid. If you have oily lid, it’ll crease almost instantly. If you have dry lid, this will look horrible on you. It’ll accentuate the dry skin even more, so make sure you don’t have any dry patches.

However, if you use this as a primer or as a base, this baby works like magic! You have to put another product on top of it, preferably similar colored powder-eyeshadow to set this in place. Set it with eyeshadow and it will not crease nor budge. I wore it for 5 hours, and there was no creasing. However, do keep in mind I was in an air-conditioned area most of the time.

Coverage

I think it has a medium coverage. You can apply it as a sheer color by applying it to your finger first and dab it to the lid. If you want it thick, you can apply this directly to your lid to get the most out of it.

Blend-ability

This pencil blends beautifully and very easily. You can use your finger or a blending brush.

Finish

The finish is matte. No shimmer, no glitter, no nothing. It’s a matte finish.

Price

This pencil costs IDR. 132,000 (about USD $14). However, they were having a 15% off if you buy 3 items.


PAC Intense Eyeshadow pencil

Pros

  • Great pigmentation and color pay-off.
  • Matte finish.
  • Blends easily.
  • Great range of shades (from what I saw in the store – may be around 5 pencils which means there’s 10 shades).
  • Lovely packaging – 1 pencil with 2 different colors in each end.
  • Local Indonesian brand.
  • Works amazingly as eyeliner.

Cons

  • Expensive compared to NYX jumbo eyeshadows that I owned from Canada, which only costs around $4.50 each.
  • Smudge and crease easily if you don’t set it with powder.
  • It’s no different than colored pencil eyeliner.

I give this product 3.5 winks out of 5! The reason why they lose 1.5 points is because for this pencil, I cannot justify the price. It’s way too expensive for the quality. Not worth the money. It’s not something that you must have. It’s something nice to have in your kit if you have the extra money. If not, stick to NYX jumbo pencils, or any colored pencil liner. They do the same job.

MAC Russian Red

As you all know from my Twitter, I’ve been looking forward to use my M.A.C Russian Red lipstick again. I know, I know, it seems like this week is a MAC week. Well, can’t be helped, I’m trying to fall in love with MAC again! Afterall, MAC was one of the reasons why I went into makeup in the first place.

So, talking about MAC Russian Red, this is the best true-red lipstick. If you want a cooler red, you can try MAC Ruby Woo instead. I also love how this lipstick has a matte finish to it. I’m not a big fan of shiny or glossy lips, so I love how even though this lipstick has a matte finish, it is not drying. It also helps if you prep your lips before application to ensure your lips aren’t chapped.

I purchased this Chanel quads in Intuition in February and didn’t have the chance to play with it, so I had to use it for this look. I love how soft and pretty the eyes look. If you are looking for a neutral, day makeup, do try the eye-look and you can skip the red lipstick.

I’ve done a similar look in Battle of the Classics.

How-to:

1. Using a flat eyeshadow brush, I applied the gold eyeshadow from the Chanel Intuition quad.

2. Using a fluffy blending brush, I applied the deep brown shade from the same quad on my  outer V and on the crease. I used whatever was left on the brush and swept it along the lower lash line.

3. I blended out the crease using a clean fluffy brush.

4. Using an angled eyeliner brush, I created a winged liner along the upper lashline.

5. I applied MAC Chromagraphic liner in NC30 on my tightline.

6. Using a small flat shader brush, I applied the pink highlighter shade from Chanel Intuition quad on the inner corner of the lower lid and under the brow.

7. I curled my lashes and applied Maybelline Volume Express mascara on both upper and lower lashes.

8. I filled my brows in using MUFE Aqua Brow Gel.

9. For extra drama, I applied Quo false eyelashes.

natural wedding makeup

10.  For the face, I applied MUFE HD Foundation using a foundation brush.

11. Using whatever was left on the brush, I swept it across my lips.

12. I lined and filled my lips using MAC Redd lip pencil.

13. Using a lip brush, I applied MAC Russian Red on my lips.

14. I powdered my face using a loose translucent powder.

15. I contoured my face using MAC Shadowy and applied MAC Fleur Power on the cheeks as blush.

asian red lips